
Part 1 showed the cabinets going in. Part 2 talked about building and finishing the desk surface. Once that was all done, it was time to install the desk!
The two desk pieces fit into their spots pretty well. There were some non-square walls that I had to deal with and it required a bit of sanding on one end for a good fit, but overall, it wasn’t too bad. The oak desk surface was screwed to the cabinets and supports from the bottom up. I added a couple 45 degree angle supports just to ensure that the desk was solid. I was able to put all my weight on the biggest span so it should be ok.
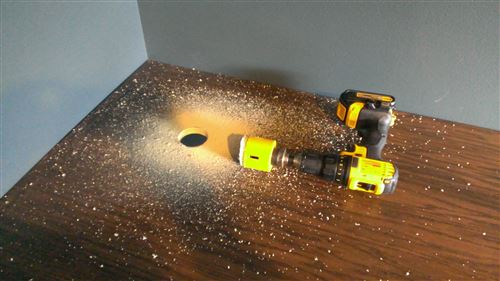
After installing it, I drilled a hole for the cords to snake down under the desk and installed a grommet. This was one of the most nerve-wracking parts of the build. I had to take a giant hole saw and cut through this piece of wood that I had spent weeks building. Thankfully it went smoothly.
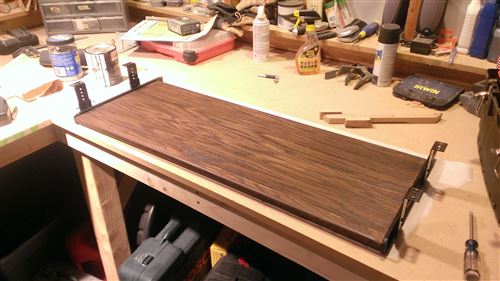
Once it was all assembled, I realized that the surface was an inch or two too high. I’m a big guy so I like a tall desk, but this was too much. When I designed this, I had only accounted for the height of the cabinets and forgot to include the thickness of the desk and the spacers I had to put under the cabinets so the doors wouldn’t scrape against the carpet as they opened. It wasn’t a huge deal though because I knew I could use a keyboard tray. I don’t generally like keyboard trays because I feel like they are too small or too flimsy so I decided to build my own. I ordered 14” slides and then used some leftover oak plywood to build a keyboard tray that is almost 3 feet wide and over a foot deep. Now THAT is a keyboard tray! It’s rock solid and plenty big enough.
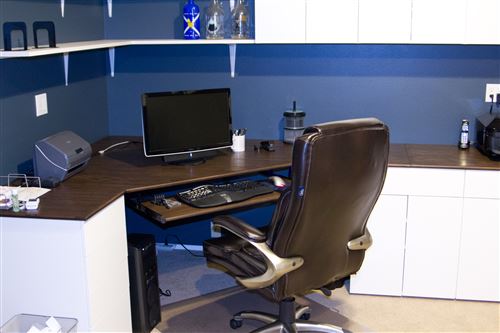
After that was all done, it was time to move in. I ran all the cables and tried to start with some nice cable organization. One of my favorite features is this little cord manager which sits to the left of my keyboard. It holds all of the little USB dongles that I use regularly (micro USB, mini USB, smart card reader, etc) so that I don’t have to go digging through a door or under my desk to find the right one.
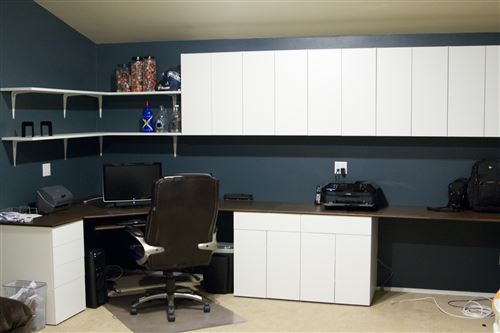
I’ve started cleaning up the pile of boxes that used to be up against this wall. A lot of it is getting thrown away or donated, but the remainder is getting organized into the cabinets. Once that is done and I finish a couple other house projects, I would like to build some small shelves under the desk to the right of where my desk chair is to help even out that space. Right now that opening looks a little lopsided. I also need to add some handles on the drawers and cabinet doors. Those parts can wait a little while though.
This was a huge project, but I’m very proud of the way it turned out. I did it for about $3500 less than a contractor would have charged me. It’s not overly fancy, but it gets the job done.