
 I’m not a fan of the new photo viewer in Windows 10. Specifically I have troubles rapidly flipping through a bunch of files in a folder and I’ve seen some stuff online showing it’s poor rendering capabilities. The old Windows photo viewer was simple and perfect. Why change?
The good news is that you can get it back, but it requires a few registry edits. I’m not going to explain how that works. Ask a geek in your life to help you out if you don’t know. It’s not generally something you should ever do. That being said, here are your instructions: http://www.tenforums.com/software-apps/8550-unable-replace-photos-app-photo-viewer-default-10240-a-2.html?s=30e1f367ee6f758b05431dc82f25b765
Once that’s done, right click on a JPG and choose Open With. Select the old Windows Photo Viewer and check the box to always open with that app.


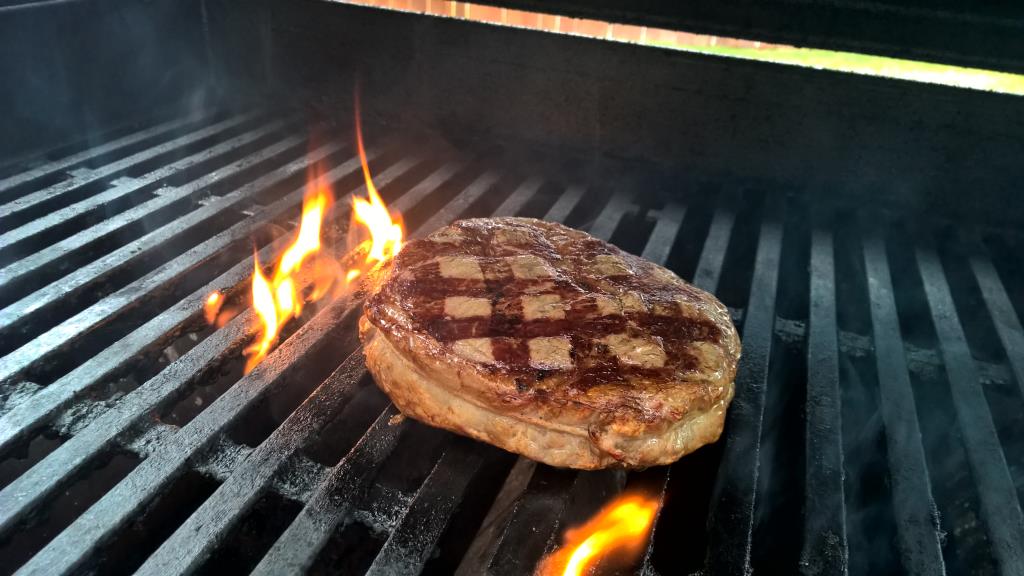


 Tyla and Elijah went to a birthday party one night so I was on my own for dinner. I had been to the butcher earlier that day and picked up a couple sausages: Italian and Hot. I wrote about
New National Wilderness In Idaho
I try to avoid getting too political, but as we run up to a new presidential election, I think this is a good time to point out one silly point of this story. You’ve heard all the stories and read all the headlines. Who is responsible for making this area a protected wilderness? Most people would probably say Obama. And sure, he was the final guy to sign the bill, but what about all of the senators and representatives that voted for this. What about Representative Mike Simpson of Idaho who spent the last 15 years trying to get this to happen? And what about the nameless people down at the city and county level who have been fighting for this too. As I’ve said before, our president’s name gets attached to lots of stuff (both good and bad), but they are rarely to credit or blame for any of it. When you vote in November, you’re voting for the head of our public relations team. So don’t get too excited or too bent out of shape about who wins or loses. Focus that energy around your local city government which really has an impact on your life.