Growing up, Allie the Alligator was one of our favorite pool toys. It was a giant blow up alligator. It was a treat to get it out since it was so hard to blow up. I pulled it out on this latest trip so Elijah and cousin David could see it. It’s a lot easier to blow up now that Dad has an air compressor! Here’s a shot of the boys on it and another one of me, ChrisH, Rachel and AngieH on it in 1988.
Tractors Galore
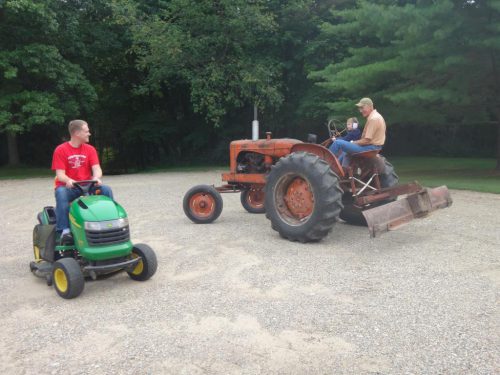
Elijah is a farm boy born in a subdivision. He LOVES tractors. He’s in heaven when we go back to Indiana because Dad and Mom have three tractors at their house. They have two John Deere lawn mowers and one Alis Chalmers WD 45 which Elijah has named Otis.
Elijah was already enjoying riding those around the property and even driving one of the John Deere tractors by himself. Then we met up with my high school buddy Scott. When I was in high school, his family owned a Deere dealership. Since then they sold it but they still own/manage the dealership and they have a bigger/newer shop. They sell everything from lawnmowers and blowers to top of the line combines, tractors, seeders and sprayers. Scott is the resident expert on their GPS equipment which is fun because that’s what I did in my internship at John Deere. It has changed a LOT since then.
We chatted with Scott and his dad for a while and then headed outside. Scott tossed me the key and told me to take Elijah for a drive in anything he wanted! Our first pick was a fairly new 8245R. Back in high school I used to help Scott’s family on the farm a little bit but it has been a very long time since I’ve driven anything like that. Thankfully he gave me a quick tutorial on all the buttons and switches and we were off on a quick tour of the parking lot. After that we climbed around in a combine (complete with refrigerator) and then took a 5000 series tractor with a bucket out for a longer drive. Elijah loves the smaller tractors with a bucket and no cab. Scott asked if there was anything else we wanted to drive and for some reason, Elijah wasn’t interested in any of the other huge equipment they had (bummer!) but he loves Gators. Scott found one of their brand new, high end models and let me take Elijah and Tyla for a ride. Those things FLY! He said a guy in their shop had it up over 50 but I kept it under 40 with a three year old sitting on my lap.
It was a fantastic outing. At the end of the day I asked Elijah for his favorite part of the day. He said, “Mr. Scott is so nice! He let us drive TRACTORS!” Thanks Scott and Ken! We loved it!
Warren Dunes
Indiana has better beaches than Washington crazy. Sound crazy? You’ve never seen Warren Dunes! The Lake Michigan shoreline is gorgeous. It has huge sandy beaches and the lake is so big it looks a lot like the ocean (minus the salty water, huge waves and sharks.) You can only see the other side if it’s a VERY clear day and then you can only see the tops of the highest buildings.
One of our favorite shoreline spots is Warren Dunes State Park. The beach is beautiful and there are pretty big dunes that you can climb. The tallest one is 240 feet. Climbing up it in the hot sun on slippery sand is quite a chore, but the view from the top is worth it. As kids we would run as fast as we could down the hill. As gravity pulled you faster and faster, your strides would get enormous until you inevitably started tumbling head over heels. I climbed the big dune with Tyla and Luke but our descent was a little more controlled than it was in my youth.
Elijah and David had fun playing in the sand on the beach and even though it was a very hot day, we got there early enough that we could enjoy ourselves before it got too hot and we left.
We finished up the trip with a stop at Oinks in New Buffalo for some delicious ice cream. Yum!
[UPDATE] Thanks to Ken for pointing out that Warren Dunes is in Michigan, not Indiana. But my statement still holds true. Indiana has some nice beaches/dunes too! Michigan’s coast line definitely wins though. It’s huge!
Hesston Steam Museum
Tyla, Elkijah and I spent a week in Indiana with my family. We had a fantastic time! The weather was great and, unlike our Christmas trip, Elijah was healthy. We crammed in a ton of activities and spent most afternoons in the pool since it was quite hot. Posts over the next few days will highlight some of our activities.
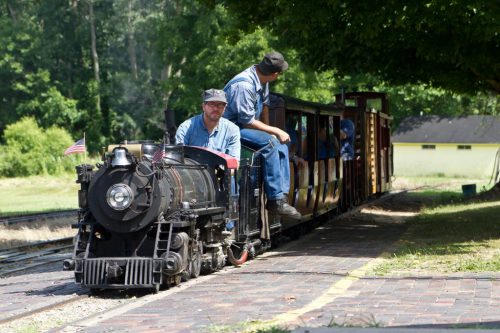
One of our first stops on the trip was at the Hesston Steam Museum. We bounced along back country roads for about half an hour until all of a sudden we ended up at a field with a bunch of steam trains and equipment. It has been operating for over 60 years. It started with a couple guys who liked steam equipment and has grown like that ever since. The facility is mostly operated by volunteers.
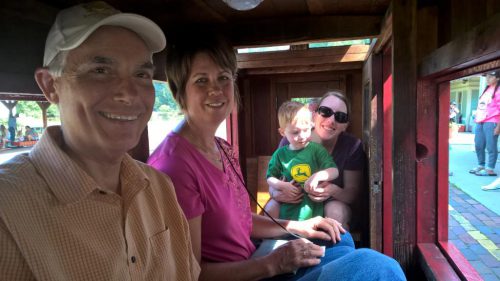
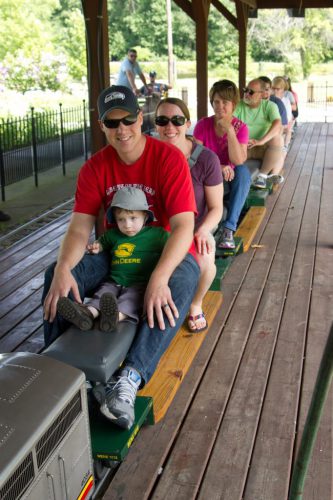
We focused our attention on three of the trains they have in operation. There’s a full size narrow gauge train, a smaller train which was just big enough for us to squeeze into the caboose and a tiny train where you ride on top of the cars. That tiny train was all of our favorites and we rode that one twice.
It’s a pretty impressive place in a pretty unlikely spot, but if you’re ever in the area, it’s worth a visit.
Spinning
Garage Sign
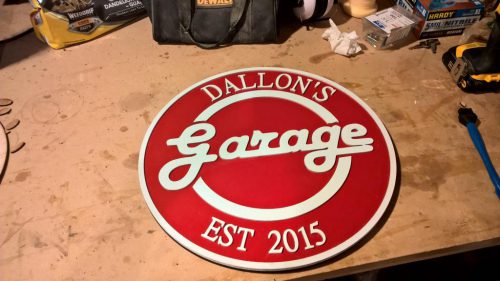
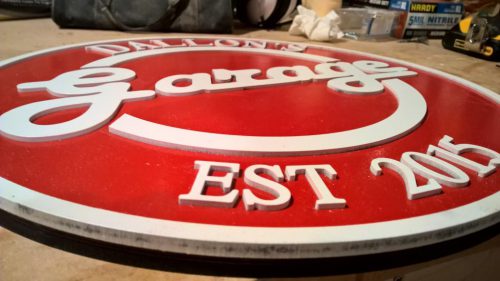
My parents have been building a fantastic new garage at their house. I thought it would look good with a new sign in it. I found some inspiration online, drew it in Inkscape and then took it to the laser cutter at work. The sign is made out of two sheets of 1/4″ MDF. The bottom is just a circle and the top has all the shapes cut out of it. I also cut the white portions out of 1/8″ plywood and put that under each of the white pieces. That gave it a raised look which I really like. After I got it all done, I realized I probably should have put “Martens Garage” instead of just my Dad’s name because Mom uses it for her project too but, oh well. Maybe I’ll have to come up with something else that has Mom’s name on it.
Free Video Editor
 I use Adobe Premiere Elements for all my video editing and it does a great job. I rarely run into any feature limitations. However, it does cost $90. If you’re looking for something a little better than the default editor that came with your operating system but you don’t want to spend any money, check out Davinci Resolve. They have a very powerful version of their video editor available completely for free! I have not used it myself, but I’ve been hearing a lot of good things about it. They’ve been in the video editing market for quite a while and their video editor has really impressive features including color correction. I’m considering switching over just to get some of those features.
Best of YouTube
These blog posts were a great idea. Now I’m not just getting lost in YouTube videos, I’m researching content for this site!
First up is the ultimate Nerf gun. What it lacks in maneuverability, it makes up for in power and wow factor. There are a lot of other great videos on this guy’s channel too.
Hungry? How about a burger wrapped in bacon and filled with mac and cheese?
And finally, Colin Furze is at it again. This time he has the most outrageous doorbell you’ve ever seen. Spoiler alert: it involves an Uzi.
Router Table Cart
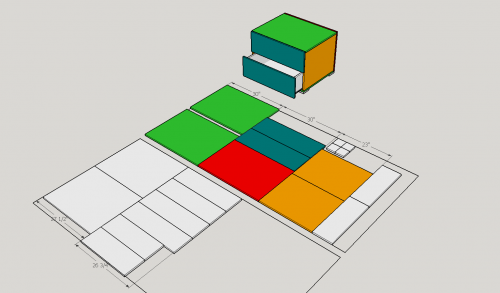
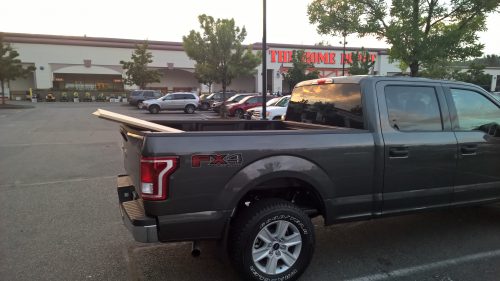
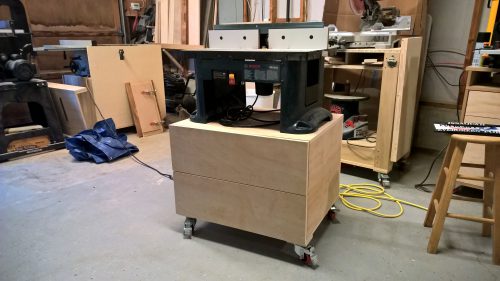
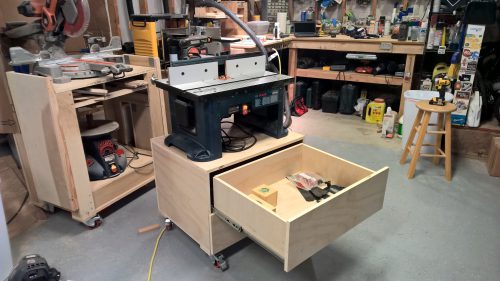
I bought a router table a while back but I’ve never had a good place to use it. I kept it along the wall in the garage and when I wanted to use it, I had to drag it out and either use it on the floor or put it on a folding table. It was worth it for big projects but for small things I often skipped it. Now that I have more space in the shop area, I decided to build a cart to give the router a more permanent home and give me some additional storage space. It’s just a simple cabinet on wheels with two drawers but I’m excited to have it completed, and it was wonderful to just drive to Home Depot and throw a couple sheets of plywood in the truck!





Comcast Deals
After some questions and some typing, I got my $90 bill lowered to $59. Previously it was $55 so $59 is pretty good. The deal lasts for 12 months. It’s their Internet Plus plan with 75Mbps down. We do lose some cable channels but we watch so little TV I don’t care. We basically just get the local channels now and somehow that package also includes HBO which I’ve never had in my life. It’s good enough for a couple sitcoms and football. I think we could save $10/month if we dropped TV completely, but for now, that’s a reasonable deal. If I could find a way to reliably watch football games for a similar price, I’d probably drop the TV part of our package.
The last two times I’ve called Comcast like this, I’ve basically gotten the “new subscriber” price with no contract. It will be helpful to know this going in so I can figure out what package/price I want to end up with.