Studio711.com – Ben Martens

Photography

Google Photos Replacement

We really enjoy Google Photos. All of our photos from our phone, our dSLR, screenshots, text messages, etc. all get sent to Google Photos. Proper backup of all those things is done with our 3-2-1 backup strategy, but Google Photos is our way to easily find photos. Their search engine makes it every easy to search for something like “Tyla Ben motorcycle 2018.” Their facial recognition is creepily good, even identifying baby photos of people who are much older now.

This was a free service for many years, but over the past year or two, they’ve started charging for it. That hasn’t impacted us becase we both use the Google Pixel 4a. Those phones have unlimited photo and video storage forever. That deal is for compressed versions of the photos and videos, but since we’re only using this to find photos, not for permanent backup, that’s not a problem.

But what happens when we eventually upgrade to a new phone? Hang on tight. We’re going to nerd out about all the options and the pros/cons of each one

1) Some people go the route of keeping their old Pixel 4a’s around and just using them to sync their pictures to Google Photos. A picture gets taken on the new phone, gets synced to the old phone, and then gets uploaded to Google Photos. That might work, but it gets a little more complex since we’ll probably end up giving Elijah one of our old phones. (Whether he gets a SIM card with it is a separate discussion.) Android does support multiple users on one phone, but I’ve never messed with that before and I imagine that I’d have to periodically switch back and forth between the two users to force them to sync so it gets pretty complicated and it’s not automatic.

2) We could pay for Google Photos. To estimate how much this would cost, I used Google Takeout to create an archive of all of my photos. Our compressed photos average 1.7MB per photo and we take about 15,000 photos per year. We took about 2000 videos last year at an average 100MB/video. That adds up to a little over 200GB/year. Looking at the plans, if we did photos only, we could get by with the $20/year plan but otherwise we’d very quickly need the $100/year plan. That’s not cheap but maybe it’s worth it once I consider the hassle of the other options.

3) We have an Amazon Prime account, and we probably always will. That comes with free unlimited, full resolution photo storage in Amazon Photos. I didn’t even realize that Amazon offered this service, but in many ways, it’s comparable to Google Photos. It differs from our current setup in that it doesn’t include video storage, and their sharing isn’t quite as nice either. Google Photos lets Tyla and I set up photo sharing and then anytime either of us take photos of anyone in the family, it automatically gets added to the other person’s account. If we want to see ALL the photos, we have to go into a separate folder. It works really well at automatically sharing the photos we generally care about the most. Switching to Amazon Photos would be a pain as I’d have to reupload everything which would hit my “unlimited” bandwidth limits at home. Then I’d also have to recreate albums and favorites. But even with all that work, it’s not impossible, and “free” is a nice price as long as we’re ok with not having videos uploaded there.

4) If I already have all the photos collected on a server at home, why do I need to reupload them anywhere? What I’m really looking for is a way to automatically tag and search our photos. It turns out that there are a ton of projects aiming to let you self-host this technology. I won’t try to compare them all, but this post does a good job of explaining many of them. Note that many of the projects have been improved since that was written, so you have to actually go look at each one to see its current feature list. Some of them look nice, but the drawback here is the extra time/pain of self-hosting. It all generally works fine, but when it doesn’t, then I’m tech support and I need to make it work. I also have to spend a lot more time trying to figure out how to safely expose this for us to access from outside the house. Additionally, most/all of these solutions end up making their own copies of all the photos, so I end up storing everything twice. Our entire photo collection is over three terabytes, and it’s duplicated across two physical drives so doubling that again means I’m going to have to add space.

When I look at all the work involved in switching, the cost of paying for Google Photos doesn’t seem so bad, but I’m a nerdy cheapskate at heart so this is still up for debate. Do you have any other solutions that I should consider? And yes, I realize we could give up on the idea of having all our photos be easily searchable, but once you’ve experienced that, it’s hard to give it up. We use it a lot!

Discovery Bay

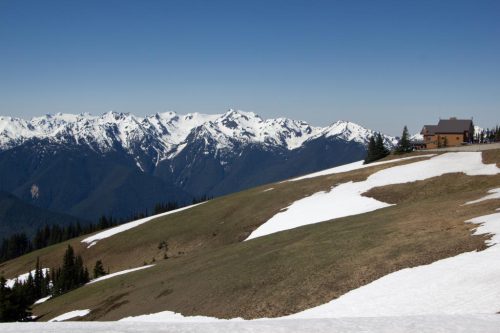
For Memorial Day weekend, we packed up the car and headed west with Tyla’s family to stay in a condo on Discovery Bay. It was great to get away for a while and we had a couple fun day trips to Fort Worden State Park and Hurricane Ridge. In the evenings we filled our time with board games, including our first attempts at 7 Wonders which quickly jumped near the top of my favorites list. The weather was beautiful for the entire trip!
Seattle Aquarium

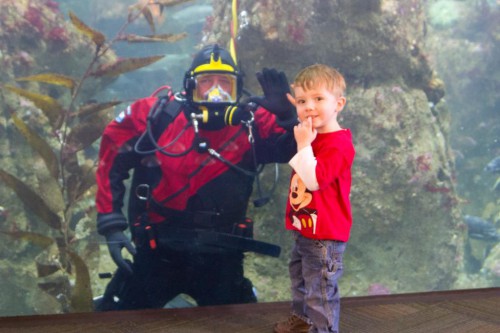
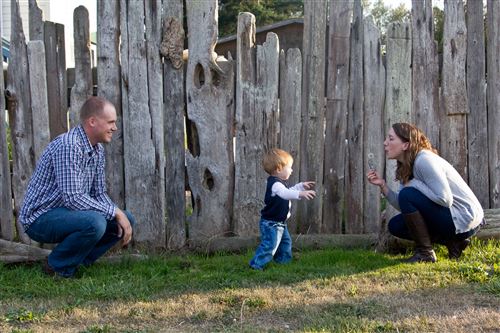
For Logan’s birthday, we all headed to the Seattle waterfront to visit the aquarium. It turned out to be a beautiful day so not only was the aquarium fun, but we also got to walk along the waterfront (which is completely under construction as they replace the seawall) and eat lunch at Ivar’s. Elijah is getting to a good age for the aquarium and really got into it, especially the area where he could touch the animals.

aquarium2016_1 aquarium2016_2 aquarium2016_3 aquarium2016_4 aquarium2016_5

Family Photos

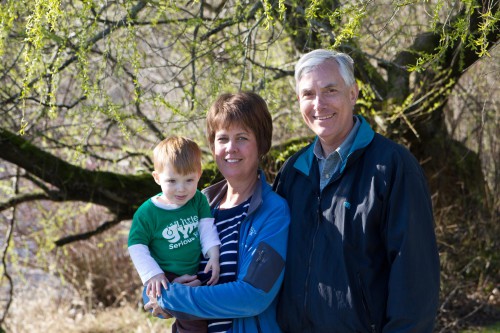
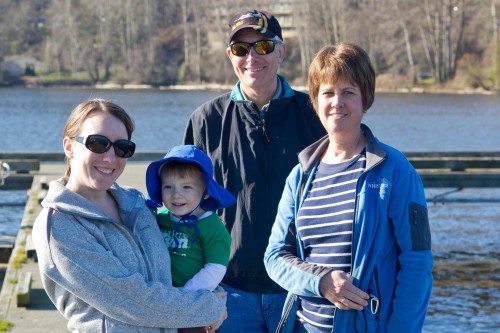
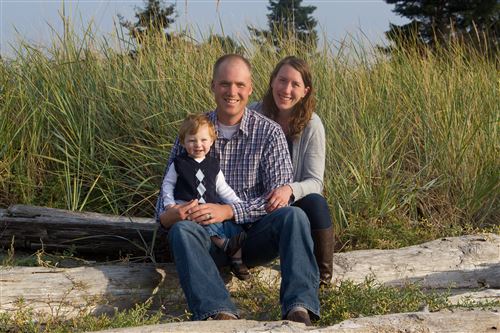
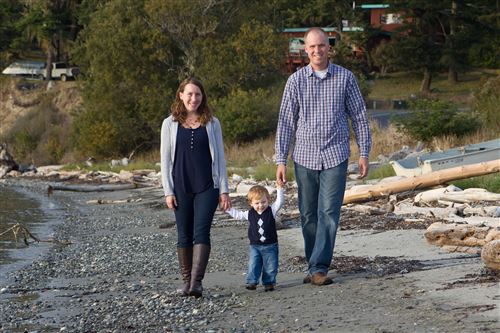
While Mom and Dad were here, we tossed Dad the camera and took another crack at some family photos. This time we headed to Meydenbauer Park. Thanks for the help Mom and Dad!

familyphotos_2015_01  familyphotos_2015_03familyphotos_2015_02 And I’m pretty sure that Tyla needs to make this one her Facebook profile picture:

familyphotos_2015_05

Log Boom Park

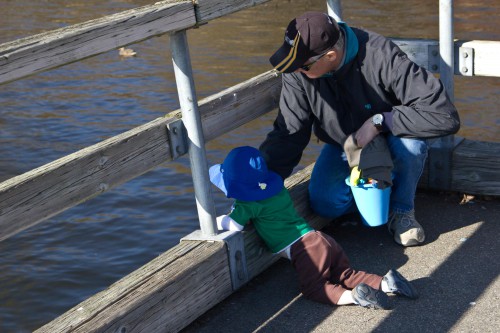
We had some gorgeous weather while Mom and Dad were visiting which made it convenient and fun to spend a lot of time at various parks in the area. Elijah loved playing on the different equipment and we loved sitting in the sunshine. One of the parks we visited was Log Boom Park and I thought I’d share some of the photos from that trip:

logboom1logboom3logboom2logboom4

Point Defiance Zoo

Over Christmas break, we took a trip down to the Point Defiance Zoo. It’s farther away than Woodland Park but Elijah and I had never been there and it had been a long time for Tyla. Unfortunately the day we picked turned out to be extremely cold (well for Seattle anyway) so we didn’t stay super long, but we did enjoy ourselves. It was nice having an aquarium right inside the same park so that we could spend time inside. Elijah was interested in some of the animals but the best part was the big slide on the playground.

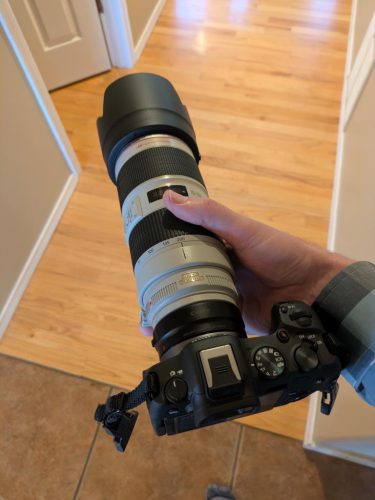
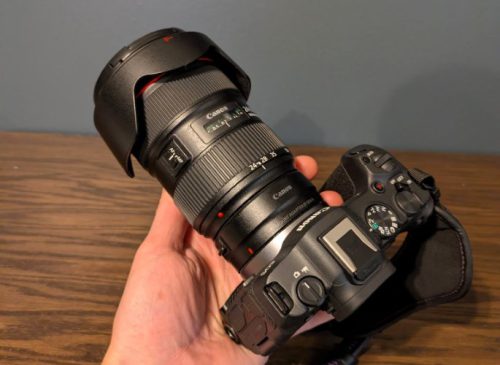
Normally I’d carry our big Canon dSLR on a trip like this, but I decided to only use our new Lumia Icon phones and see how that worked. I was extremely impressed! I missed not having the depth of field options to work with, but the photo quality was more than passable. The Icon takes 43 megapixel images which is kind of silly, but the point is that there is a lot of detail there so you can crop the photo and sort of get an analog to an optical zoom. The Icon also saves images in both JPEG and DNG (a RAW format) which made it nice for editing later in Lightroom. While none of the photos turned out spectacular, I didn’t regret leaving the dSLR at home this time.

Note that with this new website platform, you can now click on any image to view it full screen.

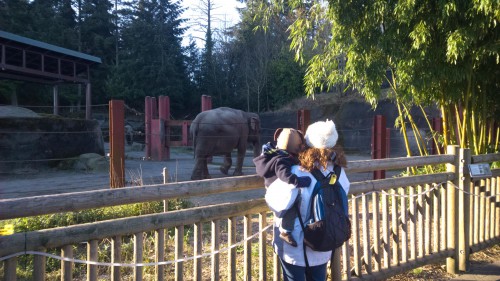
One of the first animals that Elijah learned to mimic was the elephant.

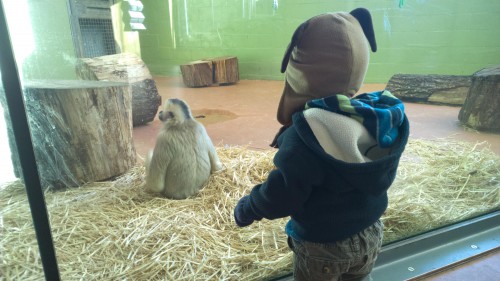
Two monkeys

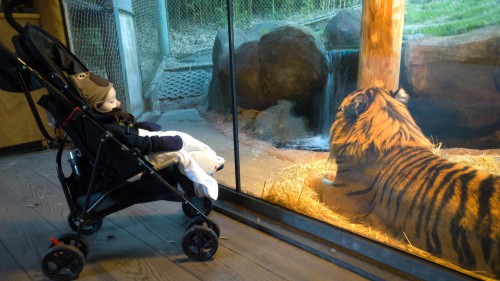
He spent a lot of time watching the tigers.

I'm not sure if Tyla or Elijah enjoyed the petting areas more.

Family Photos

While we were out on Lopez Island, we took the opportunity to snap some family photos. I know these don’t stack up to some of the really good professional photos, but it shows how far you can go with the key pieces: a reasonably nice camera, good lighting (one hour before sunset or one hour after sunrise), and a nice location. Thanks to Dad for snapping the photos that I’m not in!

Monthly Photos

Every month, Tyla and I sat Elijah down in our little homemade photo studio and took a series of pictures. It was an interesting photo challenge for me and I learned quite a bit. I’m not saying the results are professional, but I thought it was worth sharing what I learned.

  1. Consistent Lighting – The more consistent your lighting, the easier time you’ll have combining all the photos into a collage. We accomplished this by purchasing some halogen work lights. They’re very hot so I bounce the light off the ceiling instead of frying and blinding my son.
  2. Consistent Backdrop – Tyla bought a big white sheet and a big black sheet from a thrift store. In a corner of one room, I put 3M sticky hooks on the wall. I covered the top two corners of each sheet on both sides with packing tape and then punched a hole through the corners making a cheap grommet. Those holes go over the sticky hooks and bam, you’ve got a simple backdrop that’s easy to remove if you need the space.
  3. Consistent White Balance – I purchased a color calibration card and got in the habit of snapping one photo with that in the frame each time. This makes it super simple to get the white balance consistent across all the photos even if your lighting isn’t the same every time. Unfortunately I didn’t buy it until a few months into the project and I never could get those first few months to be just right (we also didn’t have the halogen lights until later in the project so that compounded the problem.)
  4. Reference Photos – If you’re going to take the same photos every month, make sure you list them out on a sheet of paper or just print off the first set that you get. At some point you’re bound to make a mistake and use the wrong prop with the wrong backdrop. You can see that in our dog photos.
  5. Tagging – I use Lightroom to store and edit my photos. Whether you use Lightroom too or if you just put them in a folder, make sure that as you’re editing the photos each month, you tag or otherwise set aside the ones that you’ll use when you group the whole series.

Every month seemed to present it’s own challenges. For example, he’s very mobile now so getting him to stay in one place long enough to take a photo is nearly impossible. Other times it was hard to find a time when he was happy and we were free. But in the end we got a fun series of pictures that shows how much he changed over the first year of his life. Kudos to Tyla for coming up with the idea.

Light Painting

Last year at the Scherschel Fireworks Extravaganza, we messed around with using sparklers and long exposures on the camera. This year I wanted to try it again, but instead of sparklers, I had picked up some red, green and blue battery powered glow sticks. They had lanyards attached to them which made them very easy to swing around. The results were quite interesting and I’d love to try it again. Here are a couple examples. For the bottom one I moved around creating the light swirls and then stood very still and briefly shone a flashlight on my face for a spooky effect.

If you want to try this yourself, you’ll need a camera with manual controls and a sturdy tripod. Specifically I took these photos with a 30 second exposure, an aperture setting around f/10 and ISO 100. It takes a few test shots to dial it in just right, but once you do, it’s easy to repeat.