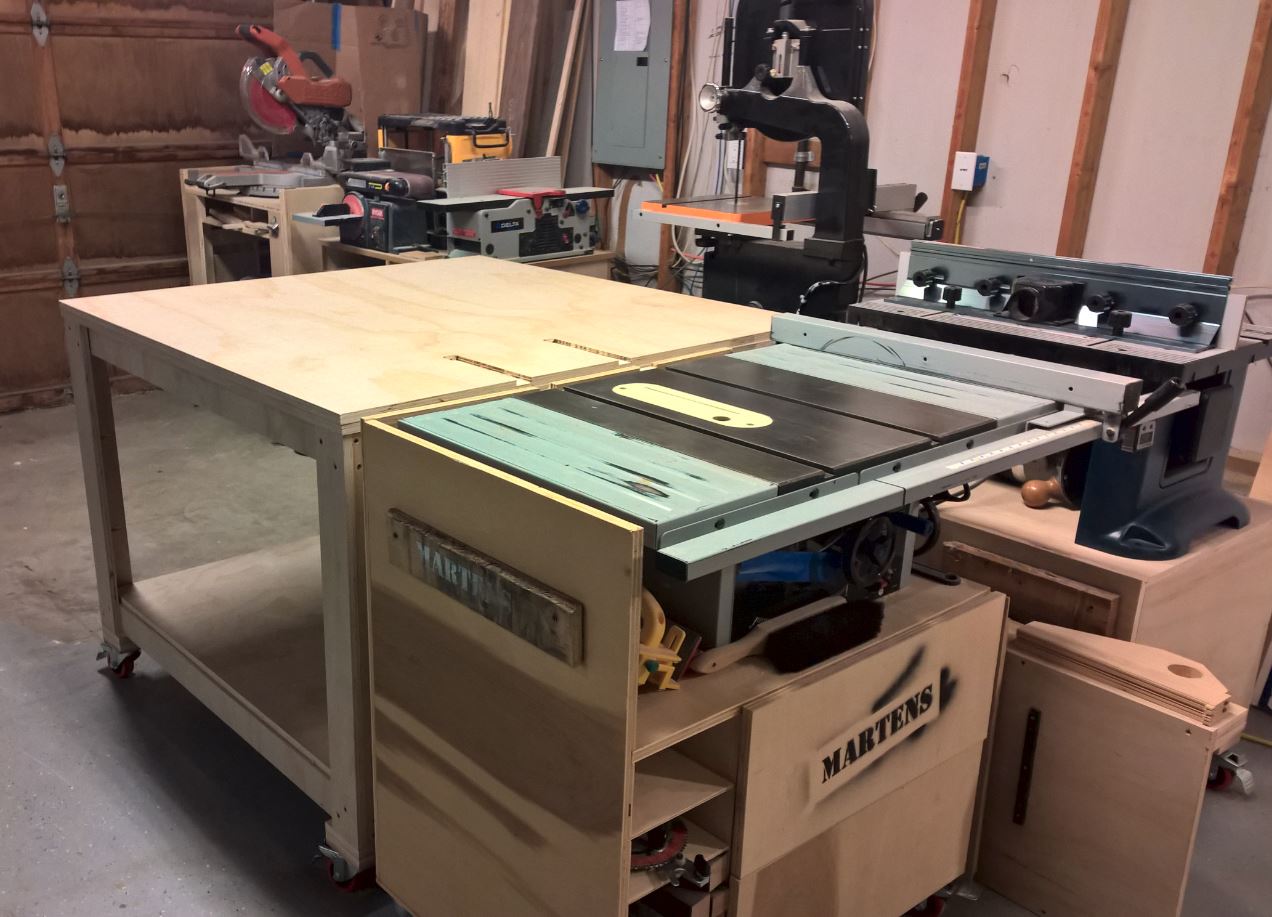
When I push wood off the end of my table saw, it just falls over the end, or if I’m not too lazy, I get out my new roller stands to catch the wood. It’s not the safest setup. I also lack a nice big area to build stuff so I end up building on the floor a lot. It was time for a change.
Enter the dual purpose outfeed/assembly table. I built it all out of a couple sheets of 3/4″ plywood. It’s about 1/8″ lower than my table saw to easily catch wood without getting caught up. I routed some channels into it that align with the miter slots on the table saw so that jigs and such have a place to go as I push them through the saw.
It’s also a great place to assemble projects. It’s on nice caster wheels so I can pull it out if needed or even roll it outside to use as a painting surface. The top is two layers of plywood. The top is meant to be unscrewed and flipped over or replaced every once in a while as it gets cut up or if it gets wet and the plywood delaminates.
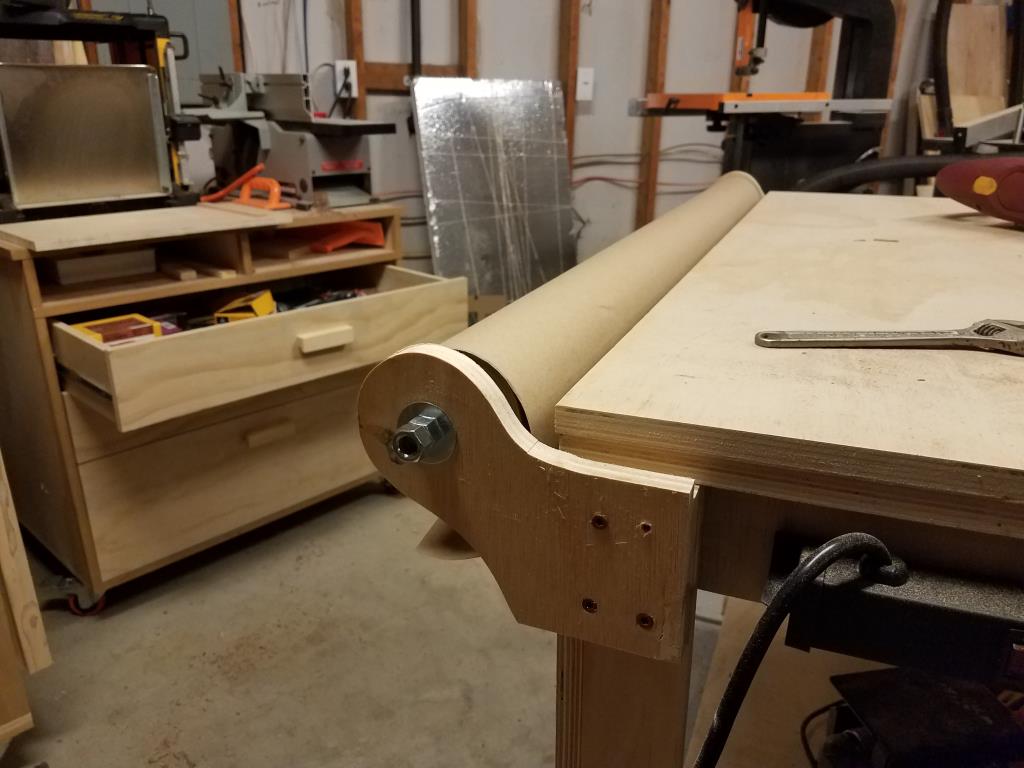
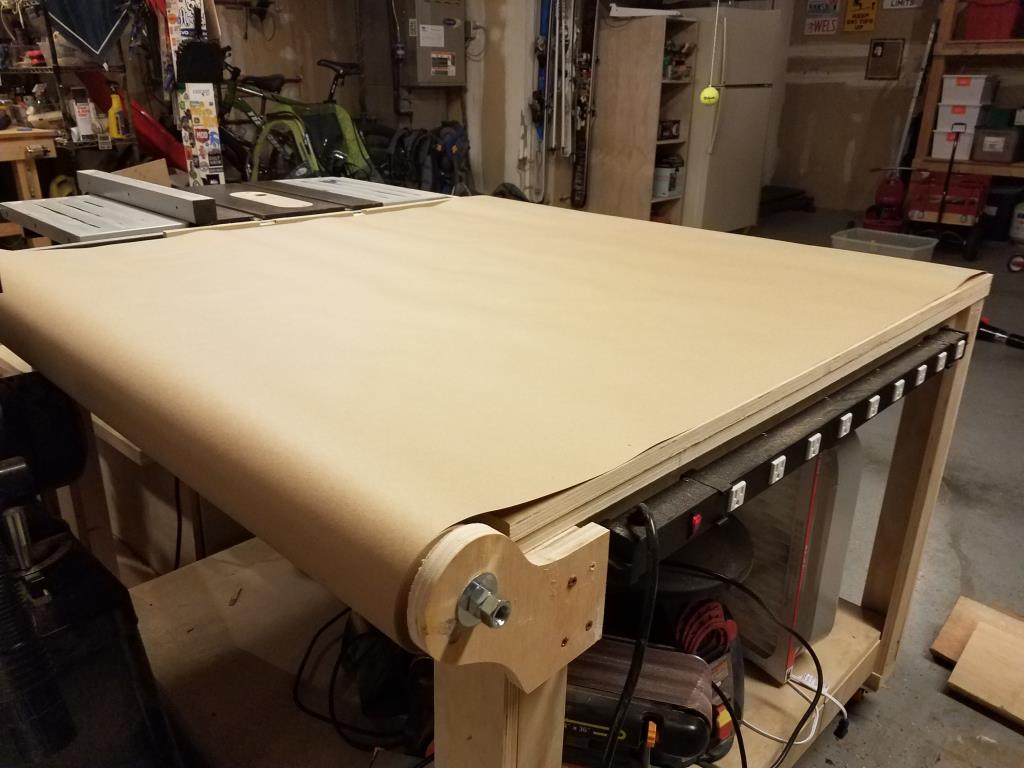
The only additional thing I have in mind for it right now is a dispenser for a big roll of brown paper. It would go right along one of the side rails and easily pull across the table. I don’t need to keep the table pristine, but sometimes it’s nice to have easy cleanup.
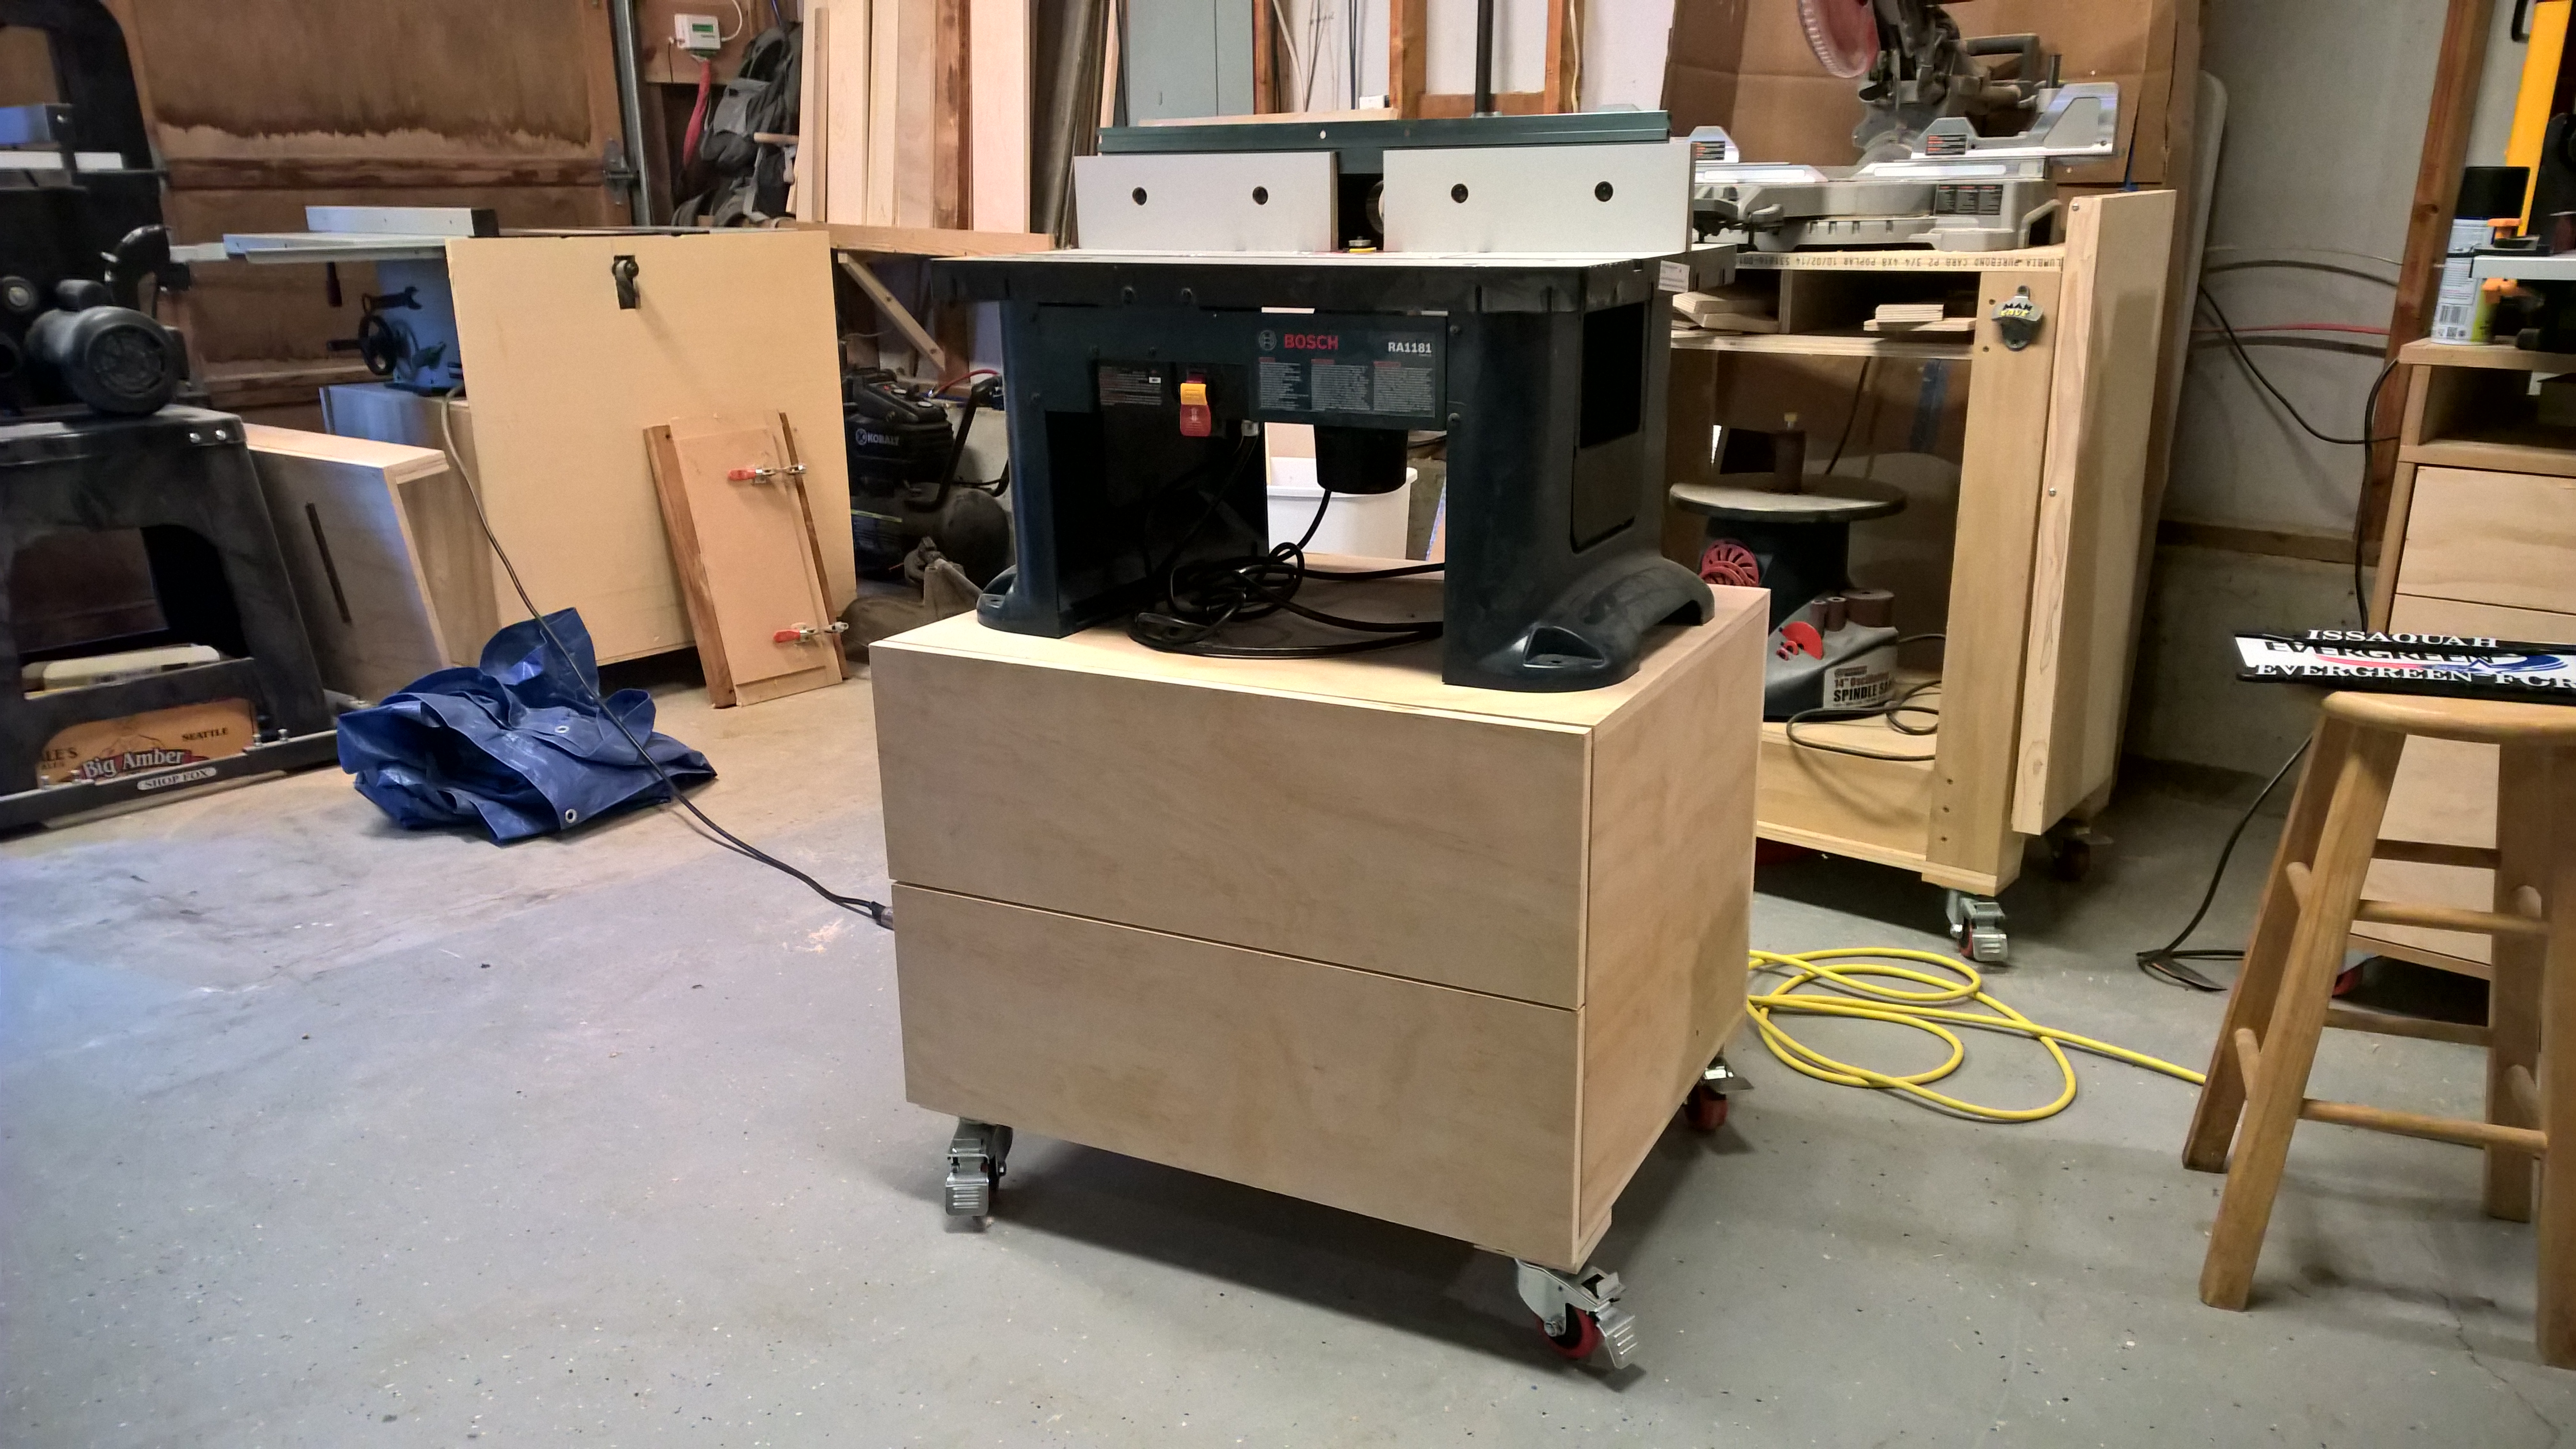
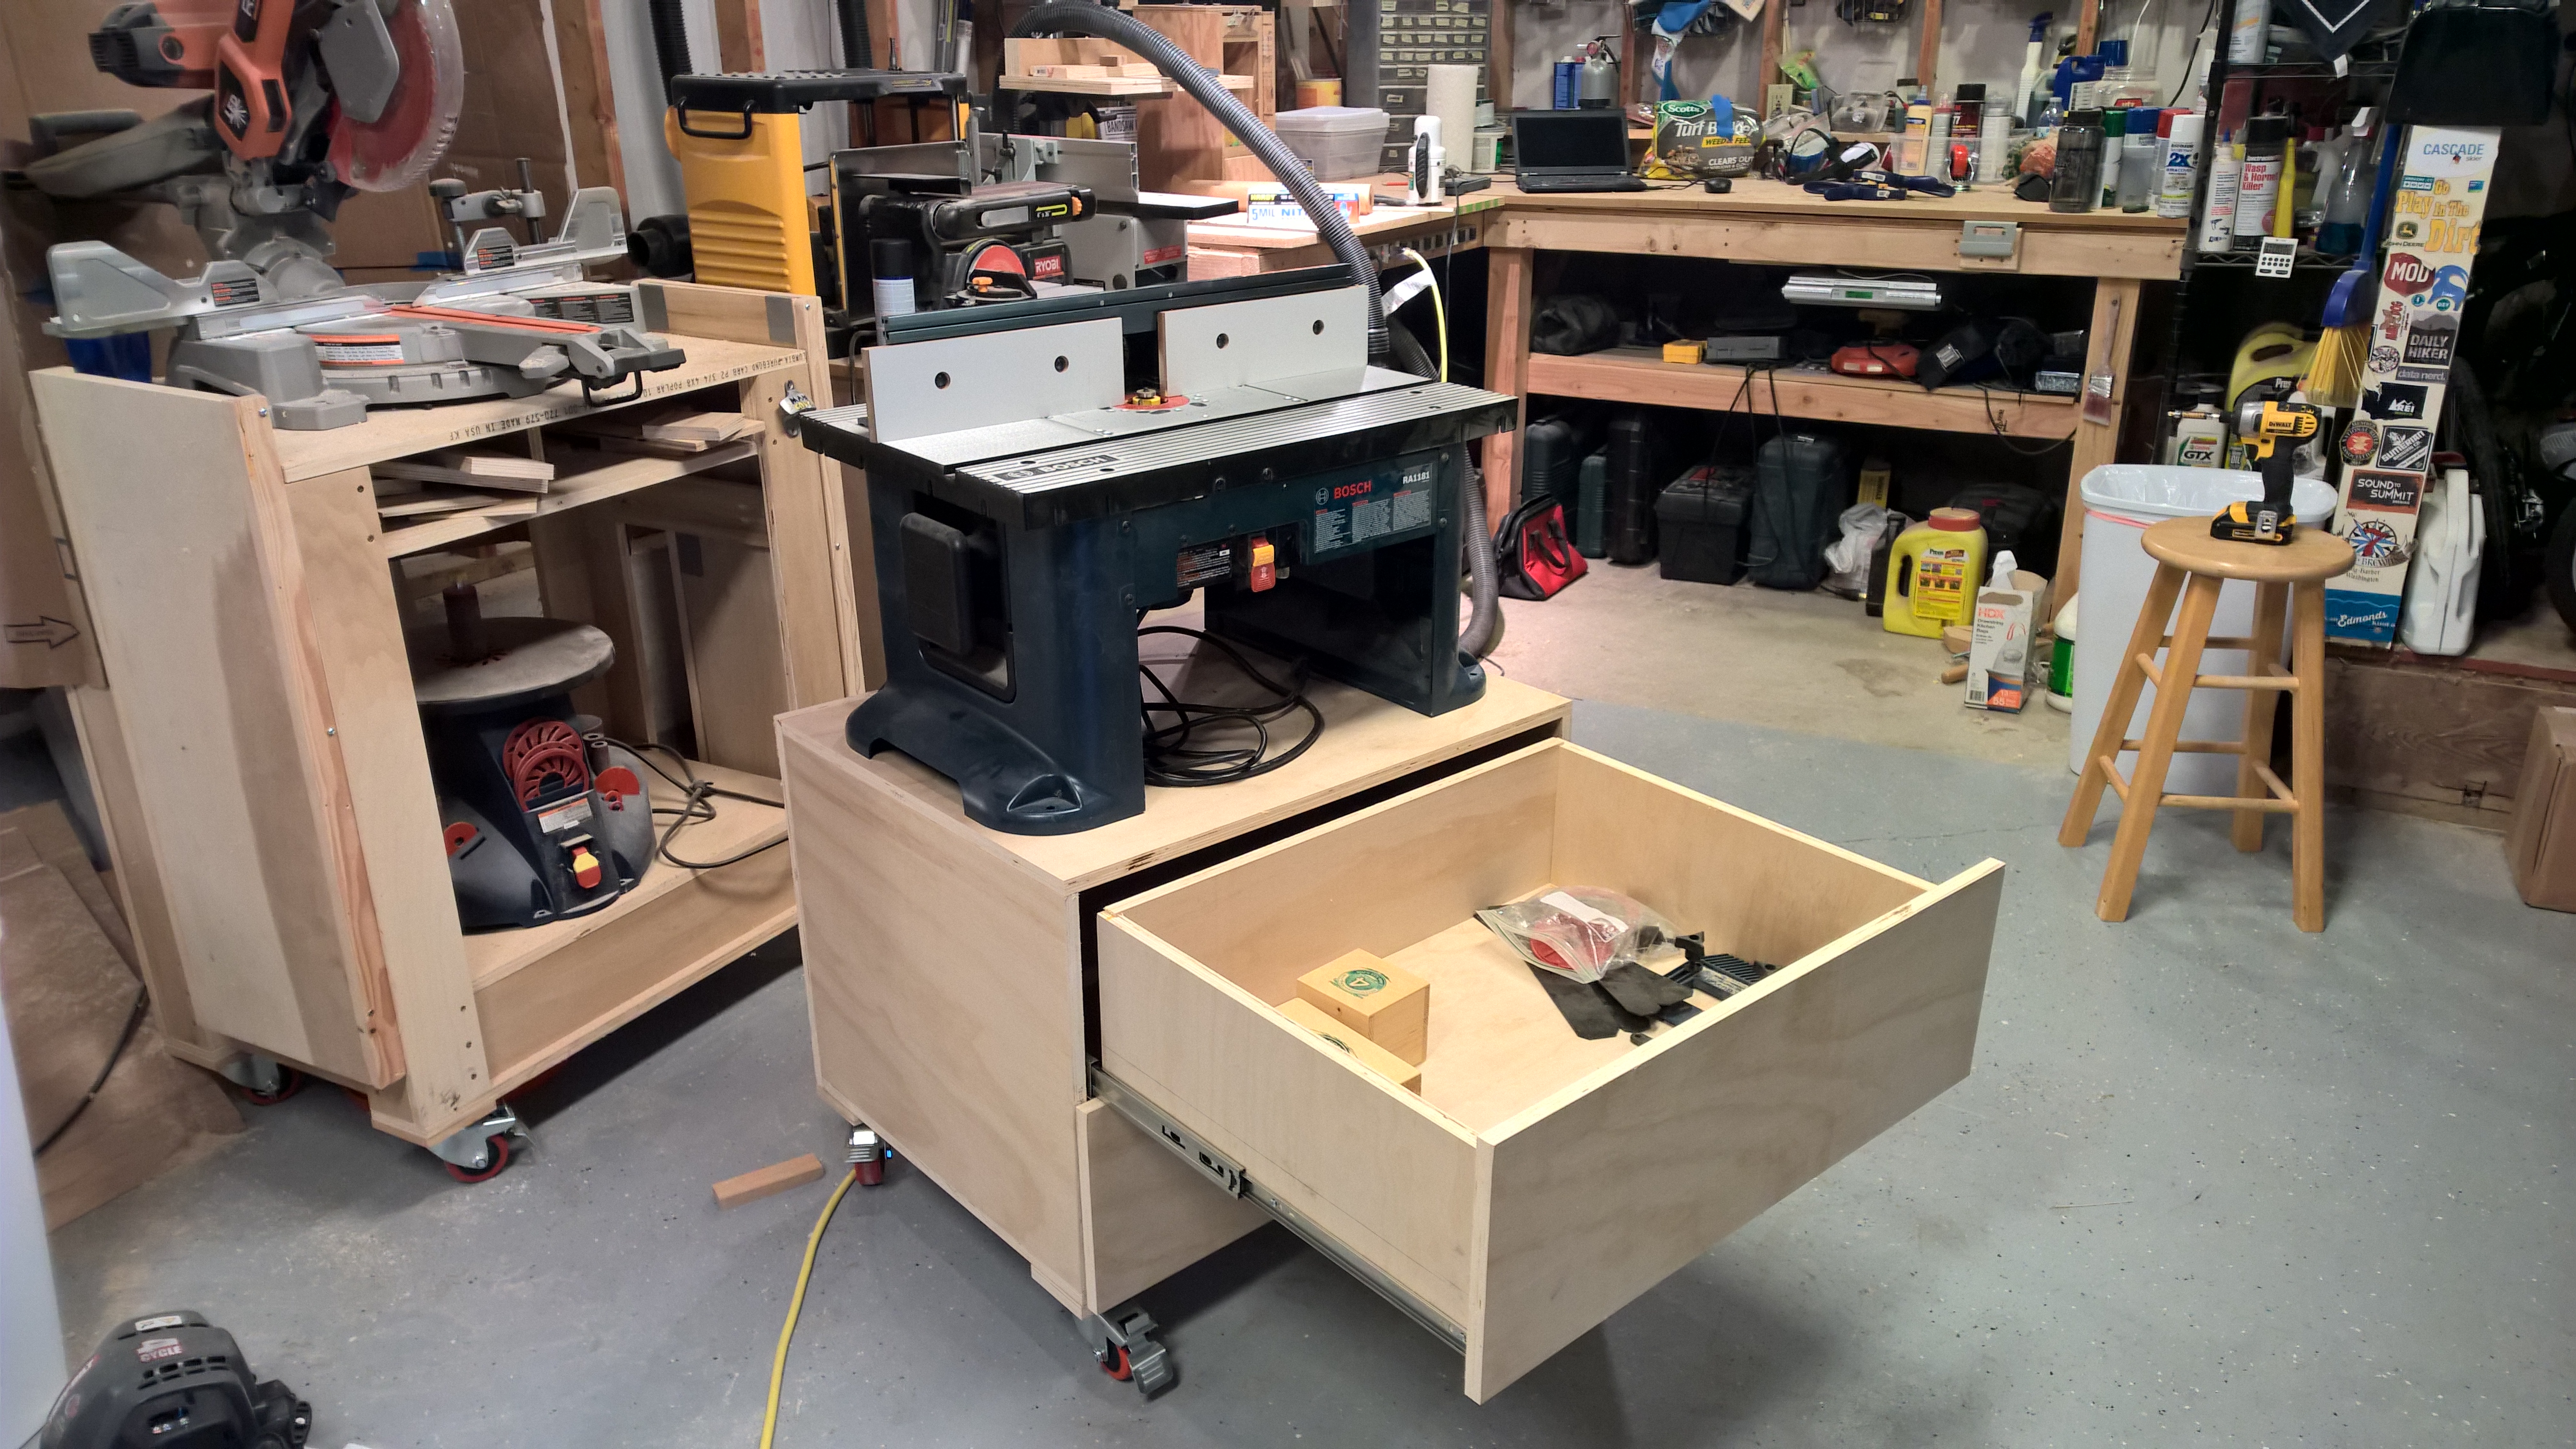
It’s pretty big (4×4) partially because that was a convenient size to use up the plywood, but also because I’m hoping to buy a CNC machine next year. The one I have my eye on is about 1 meter by 1 meter. I think I’ll be able to fit it on the bottom shelf of this table and pull it out when I use it (or just use it down there if I don’t have a bunch of monkeying around to do.)
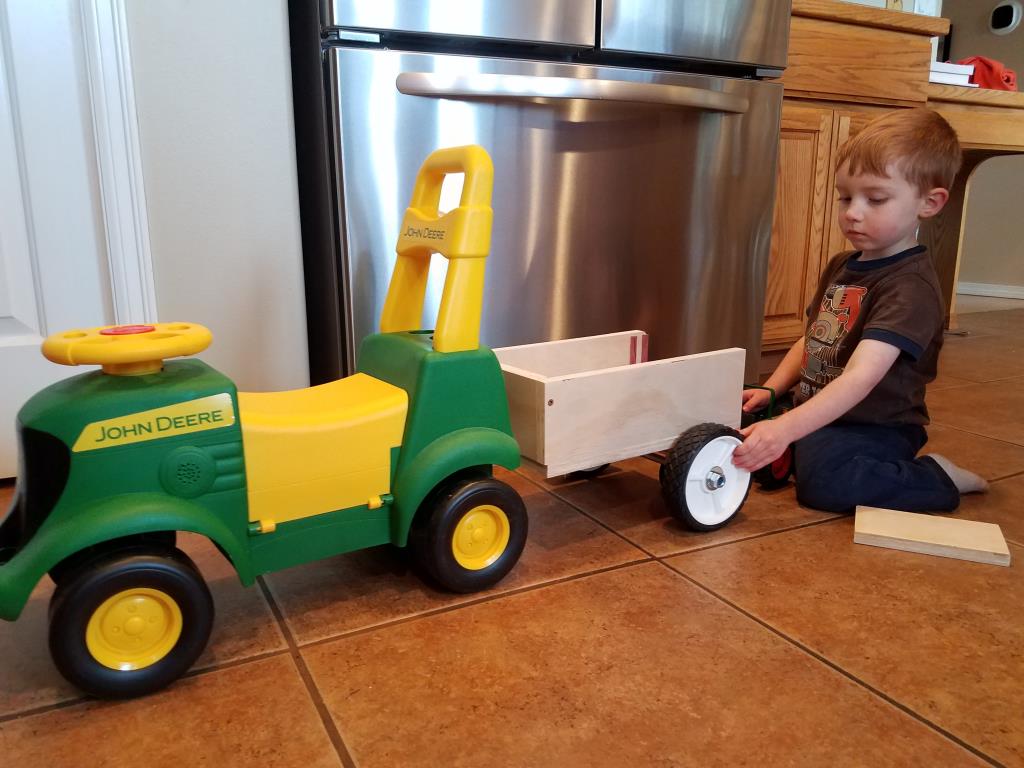
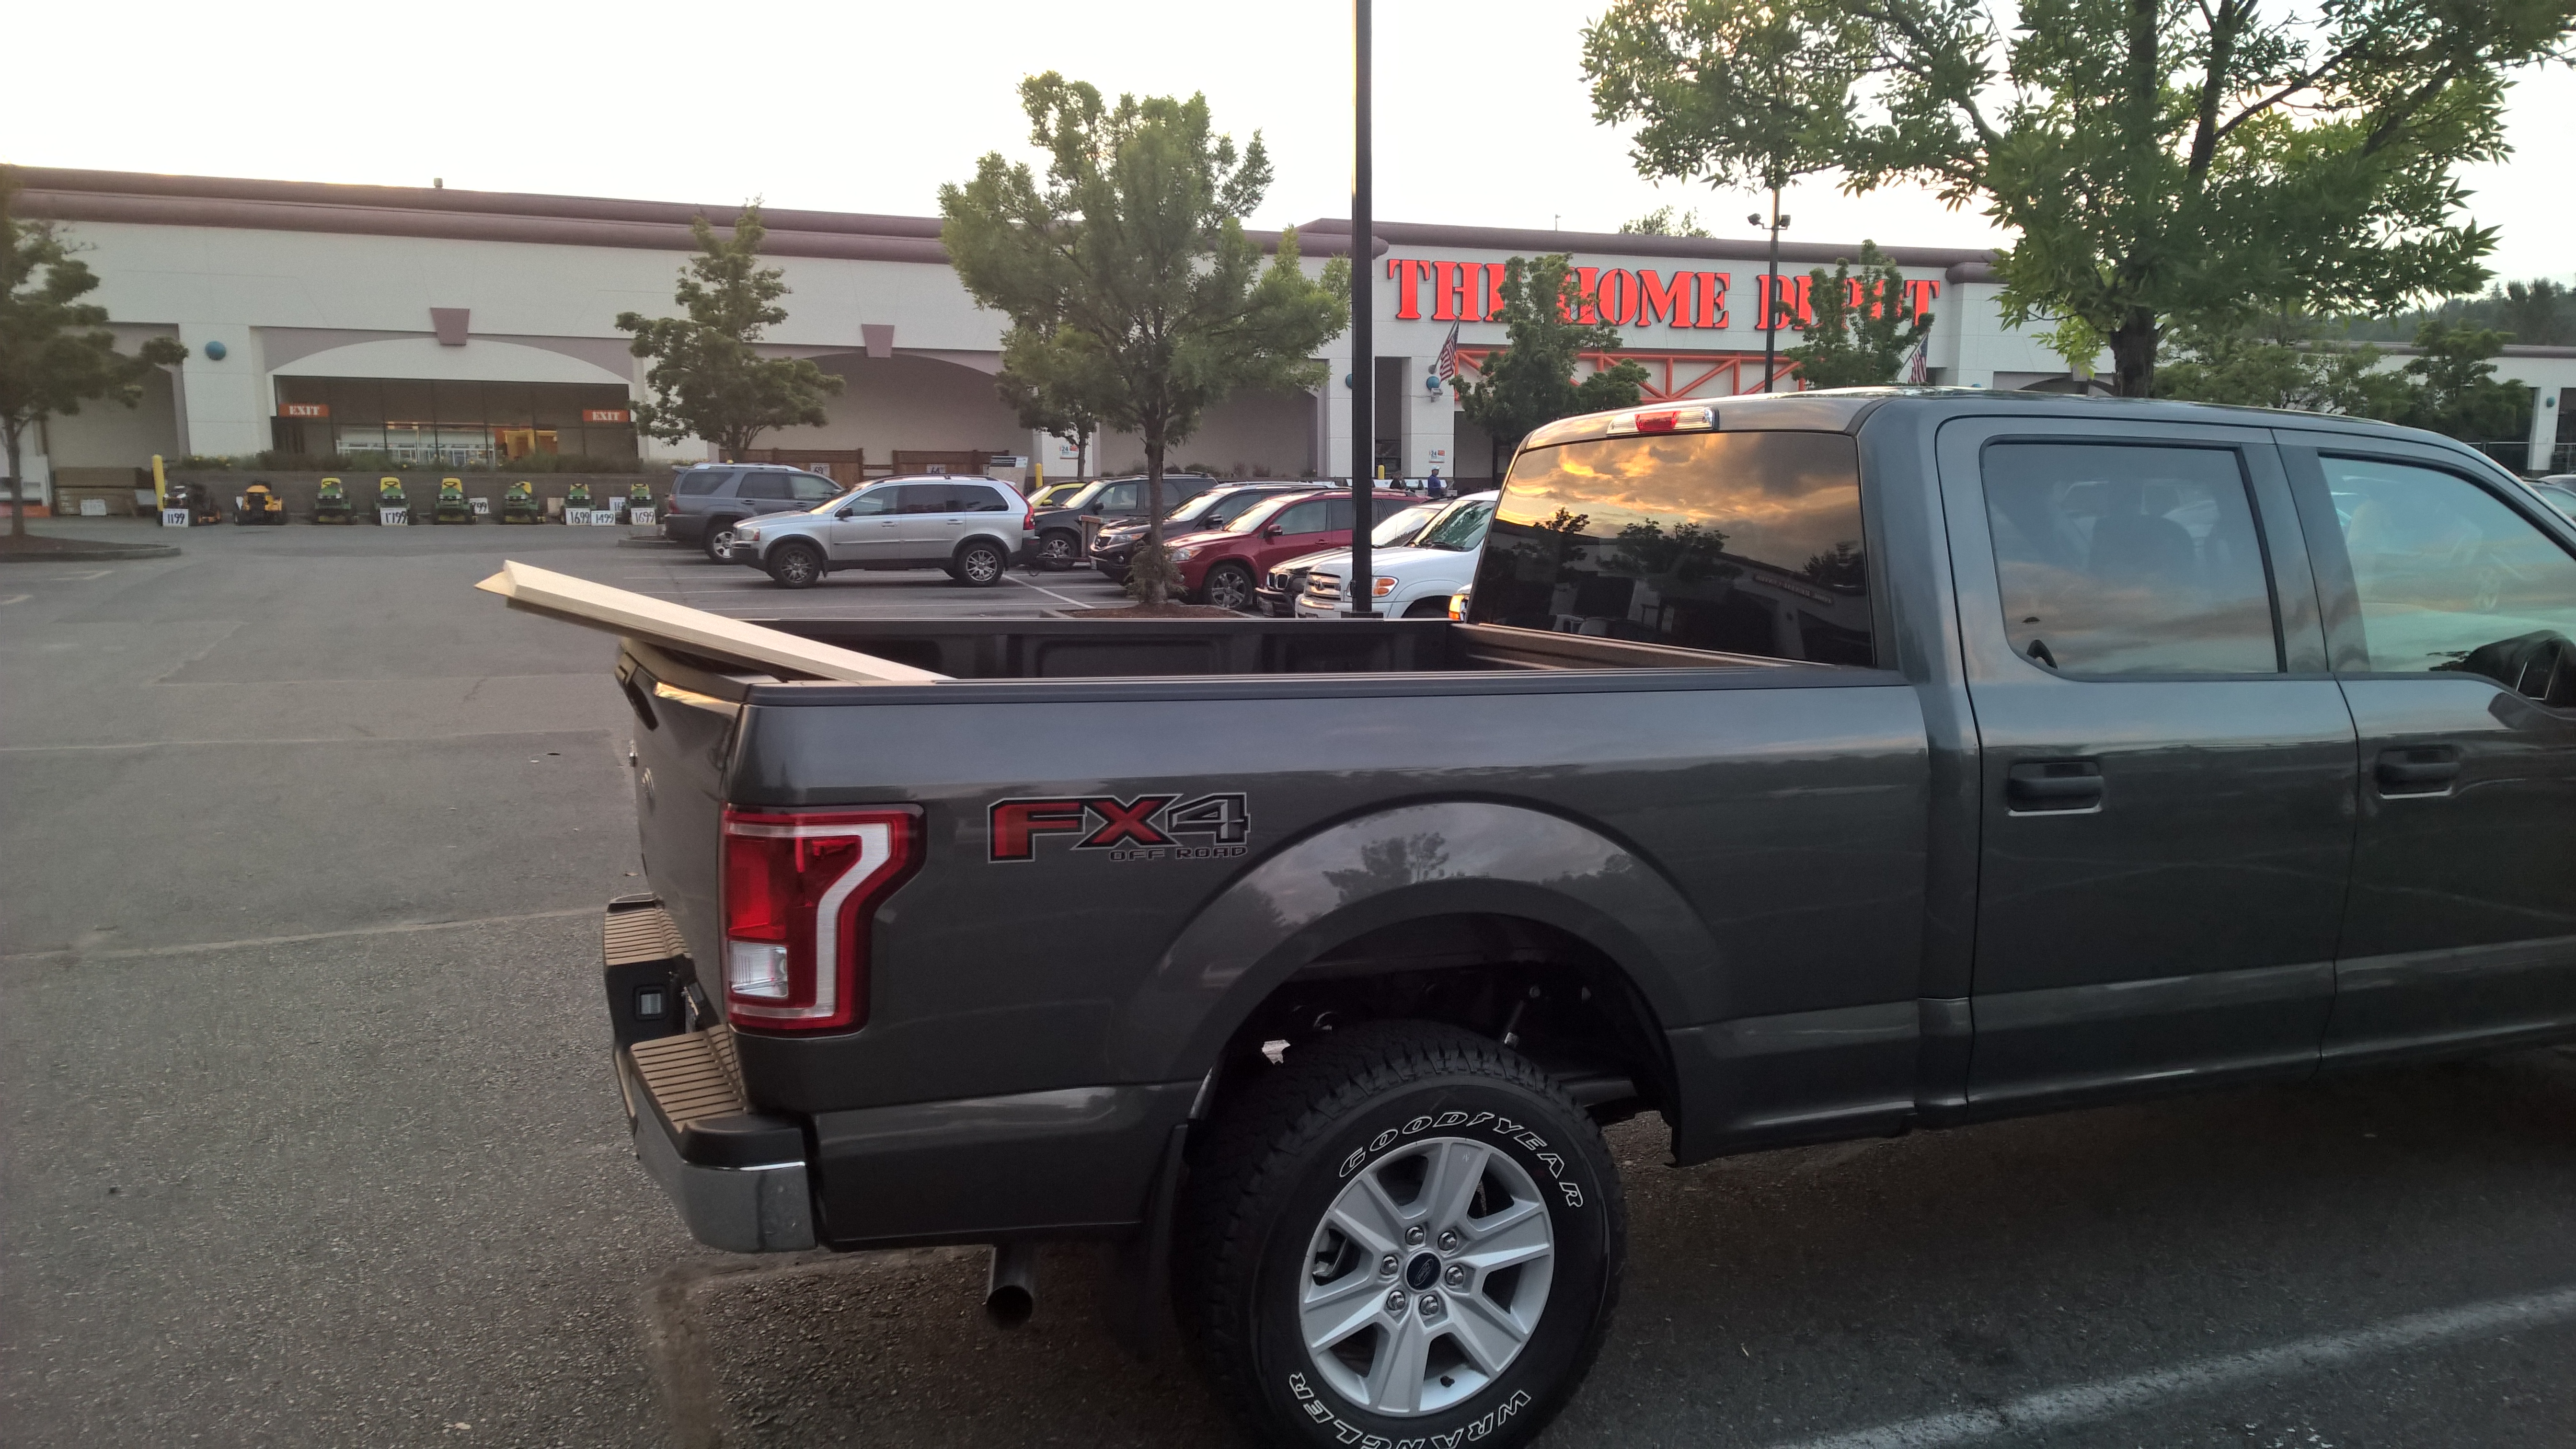
I’ve really been pounding out these bigger projects. They were queued up waiting for me to get a truck so that it was easier to buy plywood. I’ve just about burned through that list and now it’s time to get to some smaller projects again.


