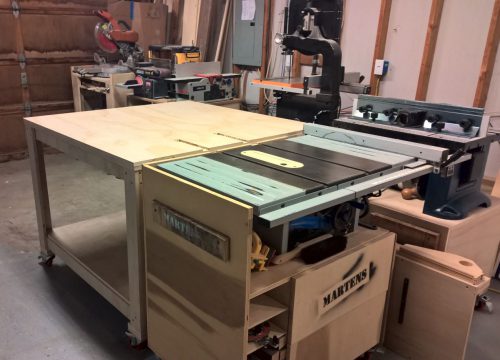
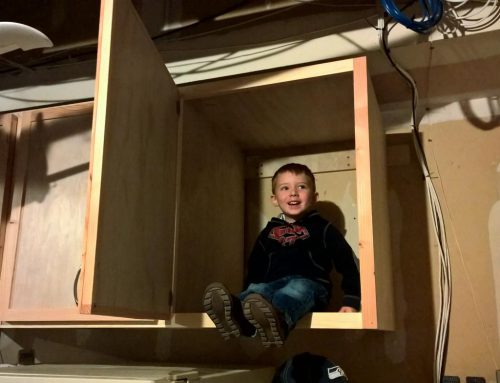
I bought a router table a while back but I’ve never had a good place to use it. I kept it along the wall in the garage and when I wanted to use it, I had to drag it out and either use it on the floor or put it on a folding table. It was worth it for big projects but for small things I often skipped it. Now that I have more space in the shop area, I decided to build a cart to give the router a more permanent home and give me some additional storage space. It’s just a simple cabinet on wheels with two drawers but I’m excited to have it completed, and it was wonderful to just drive to Home Depot and throw a couple sheets of plywood in the truck!
Redmond Derby Days
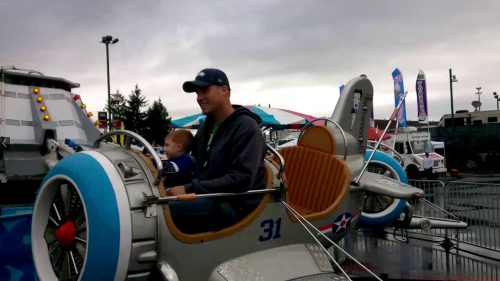
The city of Redmond puts on a parade/carnival called Derby Days in July every year. Tyla and Elijah have gone in the past but this was my first year. We went there mainly for the parade and Elijah loved it. In true Redmond style, it was full of politicians and special interest groups, but that all went over Elijah’s head and he had fun watching everything go by. His favorite were the fire trucks at the beginning and the street sweeper at the end. A local Mexican restaurant, Ixtapa, had a fantastic showing with lots of dancers, a mariachi band and 20 horses.
After the parade we walked past Ooba’s Mexican restaurant. They have an outdoor restaurant and Elijah said “That looks delicious!” It was almost lunch time and Tyla and I love that place too so we stopped in. Elijah ate more food than I think I’ve ever seen him eat in one sitting. It was great to see because he was very sick for almost a week before that. He’s obviously rebuilding a lot of the mass that he lost.
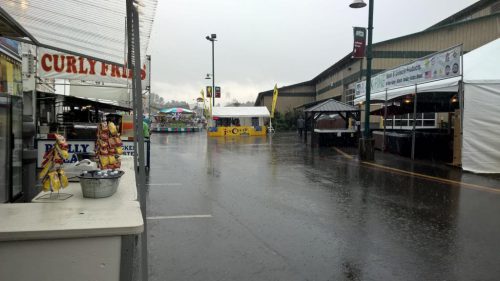
We headed back to the car after the parade without checking out too much of the carnival, but it was a nice morning and we avoided the rain that came later in the day.
The LEGO Movie
I finally got around to watching The LEGO Movie. It’s… awesome! Everything is awesome! The cast reads like a list of my favorite actors: Will Arnett, Alison Brie, Charlie Day, Will Ferrell, Will Forte, Morgan Freeman, and Nick Offerman and Chris Pratt. The kid in me loved the story and the geek in me loved the awesome computer graphics.
Long time followers of my nerd adventures may remember that I’ve made a few movies of my own. I finally uploaded them to YouTube for your amusement.
Up first is a stop motion video made with cousins Tim, Mark and Ryan. It was probably during Christmas and I’d guess it was around 1987 or 88. We did it in Tim’s basement with his VHS camcorder. There was a feature that would record a few frames with the press of a button. When we had the idea, I remember talking about who was going to build each piece. Before Mark went back to his house to build everything, we typed in a bunch of reminders on his awesome Casio calculator watch. The video took forever and we had a “script” change at the end. As a Lego man was moving across the crosswalk, he fell down perfectly in the middle of one of the recording clips. We went with it (what else can you do?) and turned it into a medical emergency. It’s a riveting story. I sped up the video below so that you can get your boredom in a shorter amount of time.
I thought this project was incredibly cool so a couple years later, I decided to try it again on my own. I borrowed our neighbor’s VHS-C camcorder (so “tiny”!) and set up a table in our basement. The city I built was much simpler than the first one and the story was non-existant.
And last, but certainly not least, I fell down a rabbit hole in college. My Junior and Senior year and then part of the year after graduation were spent doing a Lego movie on the computer. This was about 2000-2002 so there were none of the fancy Lego CAD programs available. Instead, I painstakingly built up a library of Lego pieces in a program called POVRay. It was a free tool that did raytracing but the modeling was all done in text. So to build a piece, I’d start with a rectangle, add some height and draw the nubs on top. I even had versions of the pieces with the word LEGO writen on top of each nub. Something like a Lego person is a huge amount of code. I had posted it to the web a while back and found it on archive.org. This link shows you what it takes to draw a single Lego character. Before I got too deep into the project, I built a short little sample video based on the old Budweiser Wazabi commercial.
The pieces were incredibly detailed and it literally took years to build it all. I also wrote a bunch of crazy math functions to animate the camera movement through the virtual world and also to animate things like walking characters. Rememember that since it is all text based input, “walking” means manually adjusting the rotation of various geometric shapes while translating the whole object forward. It was crazy complicated, but obviously I really enjoyed it for whatever reason. It was kind of relaxing to sit down for a while every night and “build” more pieces from scratch and at a time when I had very little money, it was fun to have limitless amounts of Legos to play with.
After spending eons on the graphics, I put about 30 seconds of thought into the story and here’s the result:
It’s not too far-fetched to say that this project got me my job at Microsoft. It took about 11 minutes to render a single frame of the movie (on my P2 350Mhz computer) and there were 2538 frames. That comes out to about 20 days of non-stop computing power. But oh yeah, don’t forget that I screw up a lot so I had to redo a bunch of it. To get it all done more quickly and to enter a programming contest at Purdue, I wrote a distributed rendering program. POVRay could be controlled via the command line so you would install POVRay and my client app on your computer. A central server would hand out individual frames for all the clients to render and then the client would send back the final image. (Archive.org has a copy of the design document for this project.) It actually worked and saved me a bunch of time. Not only that, I won the programming contest which netted me an original XBox and an HP Jornada PocketPC. But better yet, the guy who ran that comptetition went on to work at Microsoft. When I was looking for a job, JimM helped me reconnect with him and I ended up working in his team for the next six years!
So yes, this Lego project was ridiculously complex and within a few months of me releasing that video, there were bigger and better Lego rendering tools available. But I do think that finding fun projects like this area great way to stretch your abilities and feed your passion. This single project helped me in a lot of interviews when I was exiting college and it taught me a lot about programming.
F150 Decal Removal
My truck came with big “FX4” stickers on the panels behind the rear tires. They signify that my truck is four wheel drive and has the offroad package. They don’t look bad, but I really like the look of a clean truck, so I set about removing them.
I had some experience with this type of thing before. When we bought the Escape, Ford of Kirkland put their stupid little star decal on the back. That really frustrated me and was actually one of the reasons I didn’t even call them when I was looking for somebody to sell me a truck. Don’t put your stupid $0.50 advertising sticker on my big purchase! Anyway, the first thing I did when I brought it home was use a hair dryer to heat up that sticker and then I carefully removed it. A little Goo Gone cleaned up the remaining residue.
So having that knowledge in hand and knowing that lots of other people have successfully removed the decals from their trucks, I gave it a shot. I used a heat gun on low temperature to just raise the temp a little and then picked at the decal with my fingernail. It peeled right off. I saw plenty of people online say that the heat gun isn’t necessary if the decal is pretty new. I put some Goo Gone over the area and there was no sign it had ever been there.
I also removed the EcoBoost badges from under the side mirrors. That was a little trickier because they had some bulk to them. I used a piece of floss in a sawing motion to loosen it up and then the badges fell off. They left behind a sticky pad which peeled off in one piece. Again, Goo Gone helped clean it up completely and voila. Done!
The other badges on the truck have holes through the body so if I can’t remove them without a lot of extra work.
Below is a photo of what the truck looks like now, and here is a link to a photo of it before in case you need a reminder.
Yes We Can
Two of Elijah’s favorite TV shows are Thomas the Train and Bob the Builder. As we were watching Bob the Builder one night, I had an idea for a video mashup…
Garage Changes
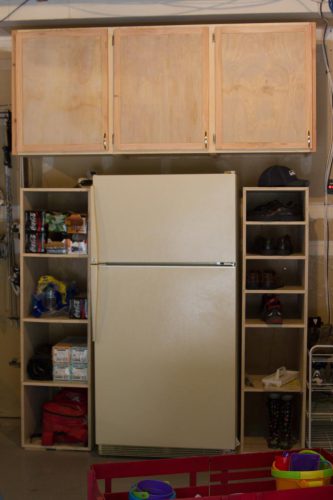
One side effect of buying the truck is that we now have more room in the garage. The truck doesn’t even come close to fitting in the garage (too wide, too long and maybe too tall.) I quickly took advantage of this to get more storage room and more shop room. Here’s what it used to look like when I had one bay combined for storage, toys and the shop.
The first step was moving the main storage shelves across to the other wall. It was pretty easy except I had to re-cut the bottoms of the posts because the floor slopes out to the garage doors and I was effectively reversing the shelves. Those shelves were one of the first projects that I did in the house. I built them using little more than a circular saw and a drill. You can get a long way with those two tools!
That gave me about 2 or 3 more feet along the wall in the third bay. I was able to convert that area into a pure shop area. All toys and storage happen on the other side of the garage. It will take a while to figure out how I want to arrange everything, but I think I’ll have the table saw near the garage door. That will allow me to easily open up the garage door and feed in extra long boards as needed. The bandsaw fits nicely to the right of the table saw. I can overlap/combine the “dead” areas of both tools.
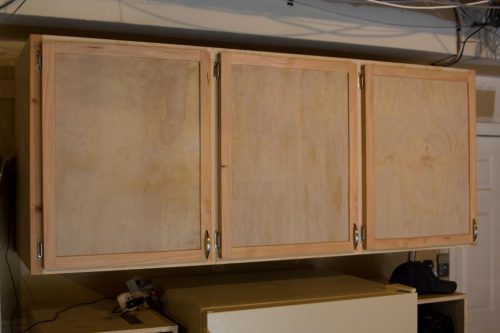
The next thing I’m going to build is a small cabinet for my router table and then I’m going to build a combination assembly/outfeed table. I’m thinking it will be about 4 feet square. It will be a nice place to work on projects and will also give me a nice place to slide wood onto after finishing cuts on the table saw. After that I will probably fill up the blank wall with cabinets.
It’s so exciting to have an area I can really devote to a shop instead of stepping over and around boxes and toys! Below are photos of the current state. It will look a lot nicer in the near future.
Church Shirts
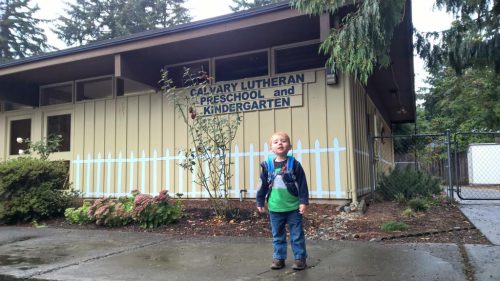
I’ve been at my current church for over 10 years and for most of those 10 years I’ve heard people talk about how nice it would be to have custom shirts. The preschool and kindergarten kids could wear them on field trips, volunteers could wear them during events, and we could use them as jerseys at the softball tournament.
This year it finally happened. I ordered from a local company called Image Source. Beth came up with the idea for the design and I got it all cleaned up for the printers. It’s loosely based on our “official” church logo.
Payload
How much weight can that truck haul? How much can it tow? I had very little idea how to really answer those questions before I started researching my truck purchase. I figured there was a web page somewhere that you could look it up and figure it out. And that’s sort of correct, but that web page is huge and complicated. Plus it varies by vehicle depending on the options that you chose. So how do you figure it out?
All of the info you need is printed on the inside door frame of the driver’s door. The first sticker of interest is white with black lettering. The key numbers are:
- GVWR (gross vehicle weight rating): No matter what you load into your truck, it should never weigh more than this.
- GAWR (gross axle weight rating): There is one number for the front axle and one for the rear. This just means that you can’t take that full GVWR and put it all on the back of your truck. You need to have the weight distributed so that the front and rear axles carry loads they can handle.
The second sticker is white with yellow, red and black. The main information there is the correct tire pressures but it also tells you “The combined weight of occupants and cargo should never exceed X.”
The one important number that I can’t find anywhere on the stickers is GCWR (gross combination weight rating.) This the maximum weight of the truck and the trailer with everything loaded into it. Along with the payload rating, it helps you determine how heavy your trailer can be. All I have for that is the spec sheet published by Ford.
The images in this post are from my truck and you can see that my payload is 2564 lbs and that number is the reason why I had to wait so long to get my truck. If you don’t get the heavy duty payload package on the F150, you’re probably going to have something like 1500-1900 pounds of payload capacity.
Those numbers might sound really high but they get eaten up very quickly. For example, let’s say the driver is 200 pounds and there are 300 pounds of other humans in the vehicle. That’s 500 pounds gone from your payload. Oh and you got a spray in bedliner? That’s about another 80 pounds. Then add up all the luggage and gear that you packed for your trip and include that. If you’re towing a trailer, the tongue weight of the trailer comes out of your payload allotment too. If you take the calculate the total weight of the trailer (including all the stuff you have in it too), about 10% of that will be carried by your truck. If you want to be extra careful, load your vehicle up with all your gear, hitch up your trailer, and get it weighed.
Now obviously your vehicle isn’t going to fall apart if you exceed the payload capacity, but it’s probably a good idea to know what the stickers say and then know how far you’re exceeding it. Going 100 pounds over is almost certainly fine. Going 2000 pounds over is probably a recipe for disaster.
So in the end, my truck can handle 2500 pounds and can pull 11,400 pounds. That should be plenty for the commute back and forth to my desk at work…
Best Of YouTube
It’s time for another round of my favorite YouTube content from the past couple weeks. First up is a video from Mike Rowe explaining why you shouldn’t follow your dreams.
Next up is a very niche video that hit me perefctly. Grizzly sells a kit for my bandsaw that increases the capacity of the saw. It’s something I’ve thought about quite a few times already and it was awesome to see how easy it is to install.
April Wilkerson recently built a new base for her mom’s windmill. As part of the project, she also removed a bunch of the rust from the windmill. I never knew that you could use vinegar to remove rust!
Plasti Dip Badges
Tim turned me on to Plasti Dip. It’s kind of like a spray on rubber coating. I’ve toyed around with it a bit in the past, but I really liked what he did on his truck by covering the emblems with it. So I decided to copy him.
One of the great parts about Plasti Dip is that you can just peel it off whenever you decide you don’t want it anymore so there’s not a lot of concern with applying it incorrectly. The consensus on YouTube seems to be that you mask off the area around the emblem but leave a buffer around the emblem. You spray four or five coats onto the unmasked area and then carefully peel off everything but the emblem. Here’s a link to one of the videos that I found most helpful.
I did excatly that and it worked remarkably well. There were no problems geting it to break right at the ege of the emblem. I love the way it turned out and now I want to do the rest of the badges on the truck. The two F150 emblems by the side mirrors should be similar but I’m still deciding about the Ford emblems. I think it would look neat to only Plasti Dip the blue part of the emblem but that’s a bit tricky.