After the success of the first baby gate, it was time to start the second one. Construction was almost identical to the first except for two improvements. First, I cut all the frame pieces just a bit too long. After everything was glued together, I used the jigsaw to trim them flush and then sanded. That fixed a problem I had the first time where some of the boards ended up being ~1/8” too short after it was glued up and I had to do a lot of sanding to get things to sort of look right. The second process improvement was really sanding down the ends of the dowel rods so they sat freely in the holes. This made it easier to glue the whole thing together without getting lots of forces trying to twist the gate. Getting 17 rods to line up without that sanding work would have been nearly impossible.
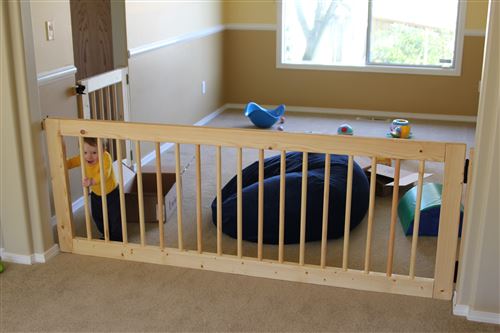
I’m happy with the way this second gate turned out. We decided to mount this one flush with the carpet for added stability and to reduce the strain on the mounting points. It drags on the carpet when you open and close but I think it’s a net win. The only downside is that it looks slightly different from the first gate which was mounted off the ground but oh well.
I didn’t plan this, but when you open both gates, they come together PERFECTLY with about 1/4” between them. We could, in theory, add another latch and have the two doors connect together to wall off a smaller part of the room and leave the walkway free. I don’t think we’ll do that, at least at first, because it’s not very stable.
The final total for both gates was just over $100 which is about 50-70% of what we would have spent to buy pre-made gates. I like the look of these and it was a fun project so I’m happy we did it this way.