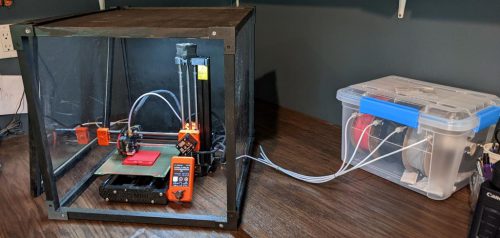
Some people build elaborate 3D printer enclosures to do things like control temperature during prints. I haven’t done anything that complicated yet, but I do like keeping dust and cat hair off the printer. So when it’s not in use, I have been setting a cardboard box over the top of it. It works, but it looks ugly.
The other problem I needed to solve is that filament is hydroscopic. If it sucks up too much moisture from the air, it can cause print problems. I’ve been storing the filament rolls in Ziploc bags with desiccant packs in them. Again, this works fine, but it looks messy and when I want to print, I have to pull the roll out of the bag and get it set into the rollers so it will feed into the printer, etc.
I set out to make an enclosure and dry box that would solve these problems. I’m not sure I’m there yet, but I’m at least at a stopping point for now.
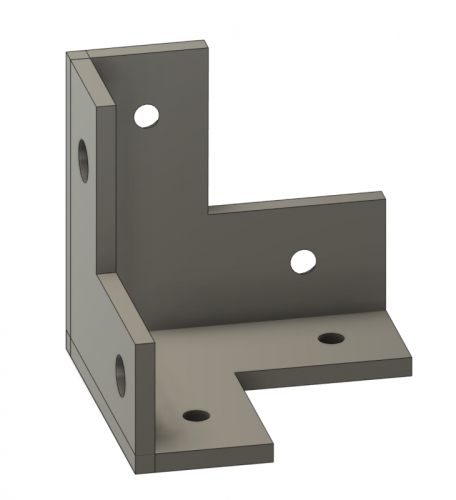
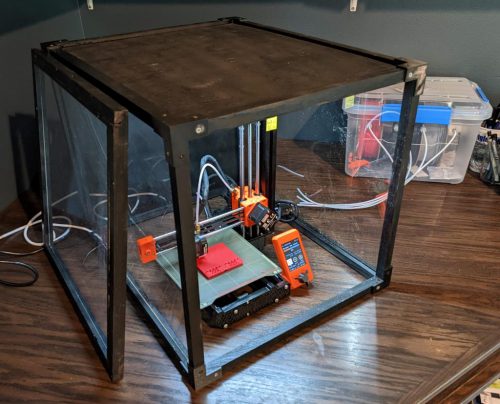
For the enclosure, I decided to go with a minimalistic design. I just wanted to have sticks making a cube and then fill in the panels with either plywood or plexiglass. I modeled up corner brackets in Fusion360 and 3D printed them.

Acrylic seemed a bit expensive, and I thought I could save myself some money by purchasing cheap poster frames. That choice ended up making this a very frustrating project. The plastic frames technically did work but they were extremely thin and difficult to work with. They got scratched up and cracked during the project.
I further complicated the box by making it the wrong size the first time. I forgot how much the bed of the printer slides back and forth so I had to take it apart, cut some of my extra plastic, and try again.
The door was the last piece of the puzzle and by that point, I was tired of the project so I made a frame to hold a plastic sheet and then used rare earth magnets so that it would stick to the face of the enclosure but be easily removable.
Next up was the dry box for the filament. That part went much smoother because Becky Stern has an excellent Instructable article. I 3D printed my own nuts and bolts (with a hole down the middle for filament to feed through) and also printed hangers for the PVC pipe that the filament rolls sit on.
After what seemed like forever, I attached a battery powered LED light to the roof of the enclosure and called it good for now. Maybe this will last me for years, but I could also see getting frustrated with it and wanted to redo it. The basic design is ok but I do want to change the plastic panels, the way the door works, and give it a better paint job. I do really like that I can just leave the filament in the machine instead of unloading it and storing it away every time though.


