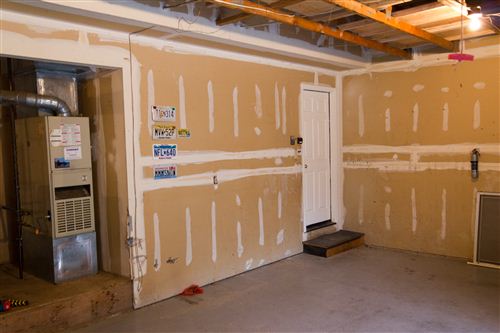
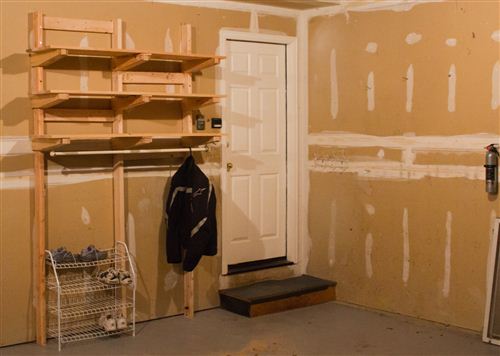
After the success of the shelves and the workbench, I decided to build some shelves and a coat rack by the door. For those of you keeping track at home, this is day four of the garage project.
Instead of designing them myself, I used some plans that I found online. I’ll spare you the details since you can read the plans, but here are before and after shots.


While the plans look nice, I can’t recommend that you build these shelves. They took FOREVER and it was very difficult to mount them to a finished wall. I had to be super careful to make sure the lag bolts went into the studs behind the wall. If I missed, the shelves would end up on top of Tyla’s car.
The horizontal 2x4s look goofy. I added them because the center vertical 2×4 doesn’t tie into any wall studs. It’s there for vertical support only. The horizontal 2x4s are screwed into it and then screwed into the wall studs. Also, that was about the only way I could hold the shelves up and screw them in myself. If I had it to do over, I think I would place 2x4s horizontally across the wall and then build shelves onto those. But I guess once I have some boxes on the shelves, I won’t see that anyway.
The coat rack is made from a bathroom shower rod and some eye hooks. We have coat closets inside, but this will be a good spot to hang motorcycle gear and wet clothes.
I think this will be the end of the garage updates for a while.
[UPDATE] Since I wrote this and took the photo, I have removed the bottom shelf. Our garage door openers don’t have working lights (they’re OLD!) so a motion detector by the door is our only hope of getting some light when we drive in and step out of the car. The bottom shelf blocked the motion detector’s sensing range. I’m not very proud of these shelves. They’re functional but I know I can do better. You might hear more about this some day.
