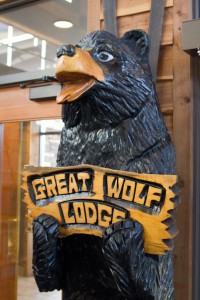
 Great Wolf Lodge is an indoor water park a little less than two hours south of our house. It’s a national chain so if this post sounds interesting to you, check their site to see where the closest one is to you. Tyla and I have always thought it looked interesting as we drove by, but a quick check of the website proves that you’ll be a creeper if you show up without kids. So we basically had Elijah as an excuse to go to the water park.
Our trip was Monday through Wednesday because we found a deal for 40% off. Your waterpark pass starts at 1pm on the day of arrival and ends at 9pm on the day of your departure. You could get a LOT of waterpark time for just a one night stay. Checkout time is 11am but they have lockers and restrooms where you can easily shower and change even if you don’t have a room anymore.
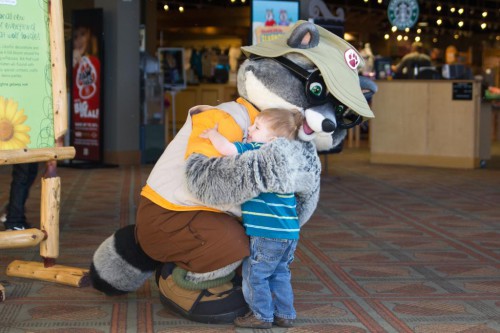
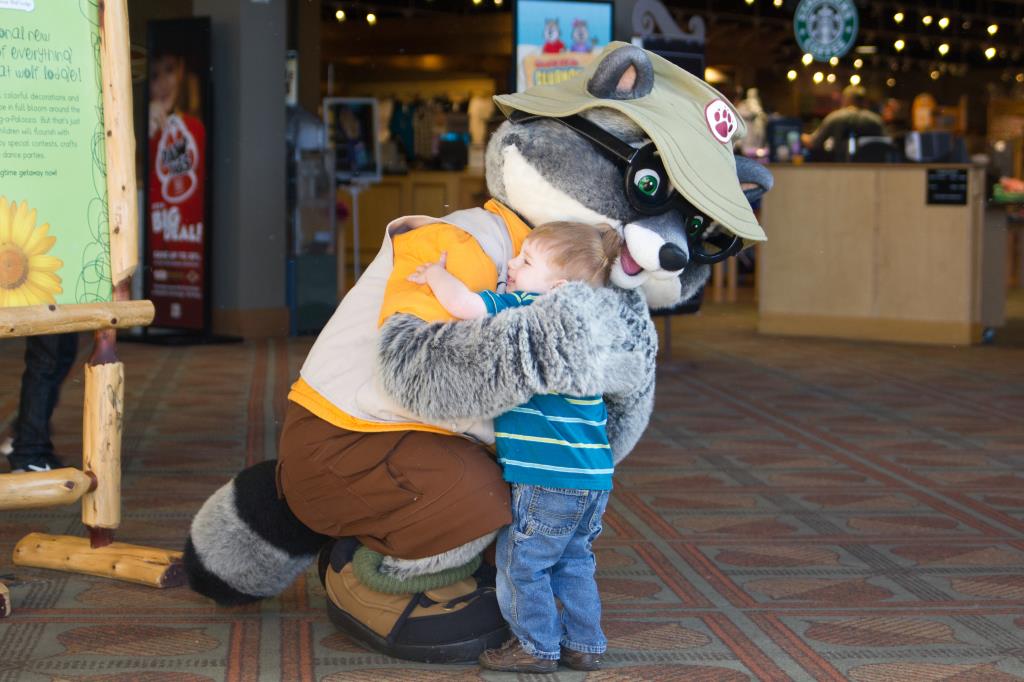
We arrived pretty late on Monday night so we skipped the water park and took Elijah down to story time. They have a big animatronic setup where they tell some story about blah blah blah Mother Nature blah blah. Elijah’s favorite part of every story time was at the end when one of the Great Wolf Lodge wolf characters would come out to read a story.
The rooms are HUGE. I don’t know if they are all like this, but ours was near the conference center on the second floor just down from the water park entrance. The ceilings were probably 11-12 feet high and there was more square footage than most other hotel rooms that I’ve been in. It’s nothing super fancy but it’s nice and there’s a pretty big mini fridge there to keep your food cool.
If you’re looking to save money, the fridge is a key part of it. Everything there costs money except the room and waterpark. We had to walk past four money spending opportunities in the ~100 steps from our room to the water park entrance. If your kids don’t know the meaning of the word “no”, prepare for a big bill. Thankfully, ours was happy playing in the arcade without realizing that he wasn’t acutally playing anything.
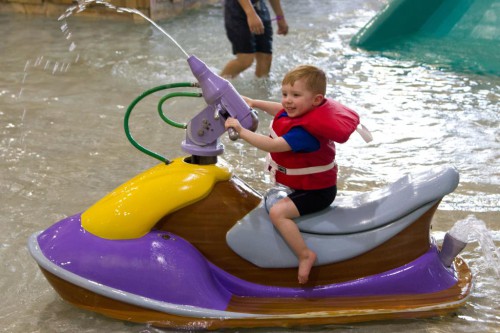
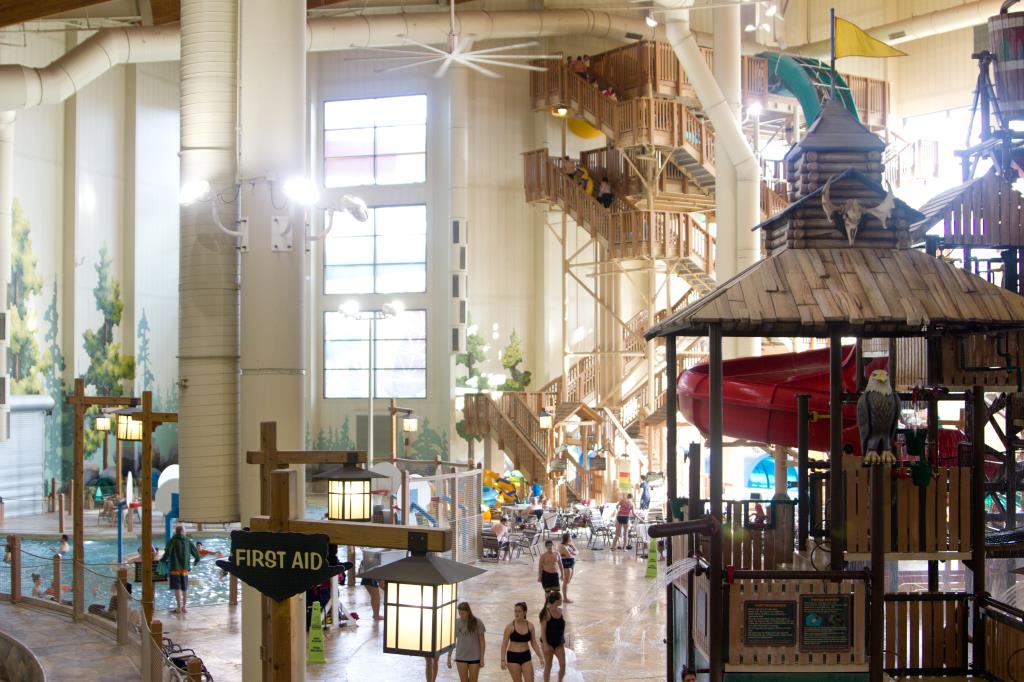
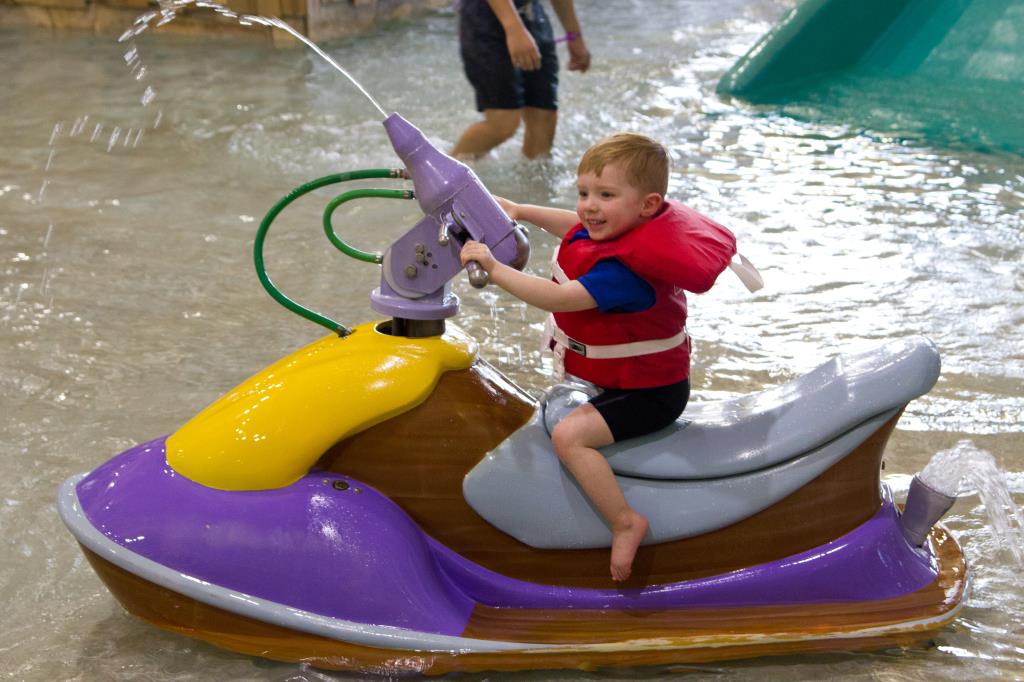
The waterpark is impressive. There’s a large wave pool, a swimming area with basketball hoops, a big “fort” with a 1000 gallon bucket that dumps every few minutes and two waterslides, a large toddler play area with two tiny slides and then four “big kid” slides. It’s a big place, but I was actually surprised that it wasn’t bigger. The Lynnwood Aquatic Center is somewhat similar and isn’t that much smaller than Great Wolf Lodge. That being said, it was plenty big for a toddler. Tyla and I had fun on the various slides while we took turns watching Elijah.
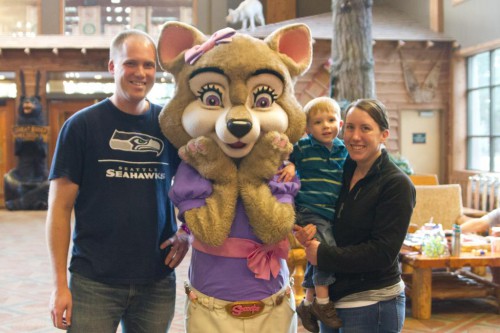
There are tons of activities for kids (all of which you pay for.) The coolest one is probably MagiQuest. Participants get a magic wand and then walk around the lodge pointing at stuff on the walls and on pedestals. The art/animals/pedestals react to the wand helping guide the player along a quest for points and prizes. I’m excited to give that a try when Elijah is old enough to understand it. Other activities include a spa for adults, a spa for kids, arcade, and mini golf. There’s a breakfast buffet ($15/adult, $7/child) and burger/steak/chicken dinner place that looked to be about $20/person unless you ordered the steak. Our general practice on vacations is to pack our own breakfast and lunch for the room and then eat out for dinner. We chose a Mexican place in nearby Centralia, but unfortunately it was closed so we just chose a random place that was close by.
Will we go back? Yep! It was fun and I could see it being a great vacation once Elijah is old enough to run around on his own. Everyone gets their own waterproof bracelet that acts as your door key and credit card during your stay. It’s super convenient because you never have to worry about taking anything with you to the waterpark. Elijah could just run around and do whatever he wanted while we relaxed. It would be especially great if he brought a friend or two with him. We’d definitely look for another deal though. Full price is about $200/night plus about $35/night in taxes and fees. I’m glad we gave it a shot! Thanks to Tyla for doing most of the planning on this one!


 If you went to our church’s web page in the past, you probably shook your head and chuckled about the ancient design. It looked like something from the 90s… probably because it was.


Accountability
Tyla and I have both been trying unsuccessfully to shed a few pounds so I geeked it up and used the accountability concept. Our digital scale logs our weight every morning. I grab that data and put it in my own database. Then I made a very quick little website that shows how much combined weight we have lost since the date we agreed to do this. It intentionally does not show how much each person has contributed. We set a shared goal and now we’re both working toward it.
We’ll see how well this works in the long run, but so far it’s adding some fun to the boring task of watching what we eat.