
 The Seahawks game was … interesting. Russell Wilson ended the game 10 for 20 with 72 yards, 0 TD and 1 INT for a passer rating of 38.9. And it’s not like they had that much better luck rushing the ball. Thankfully the defense looked as good as they did a few years ago with multiple critical stops and takeaways. The Seahawks have charged to 8-5 so unless something goes drastically wrong in the next 3 games, they’ll blow past my curmudgeon 8-8 prediction for the season. Who knows, maybe they’ll even win their wildcard playoff game but I don’t think they’ll go much beyond that.
This was another mostly unimportant week in our league as we positioned ourselves for the playoffs. The top four teams played the bottom four teams and two of those were upsets with Tim and Dad knocking off Tyler and Andy. My win, couple with Tyler’s loss meant that it came down to a tiebreaker to decide third seed and I scored 35.05 more than Tyler to beat him by about 8 points in the final total season score. That all means that next week we’ll have Logan playing Tyler and I’ll play Andy. Looking at the entire season, if Logan played Tyler every week, Logan would have won 9 of 14 weeks. If I played Andy every week, I too would have won 9 of 14 weeks. We’ll see how week 1 of the playoffs actually plays out. Our scores have been wild enough that anything could happen.
Let’s so who the power rankings think has the best chance:
1. Logan (Goat Roapers)
2. Ben (Kool Aid Kid)
3. Tyler (Krazy Kanuck)
4. Tim (Beer-me) +2
On to the weekly records:
| This Week | This Season | All Time | |
| Highest Team Score | Tim had 158.61 | Tyler had 191.89 (Week 8) | Tim 200.51 (2015) |
| Lowest Team Score | Tyler had 88.99 | Tim had 72.47 (Week 10) | Andy had 41.29 (2015) |
| Biggest Blowout | Tim beat Tyler by 69.62 | Tyler beat Dad by 90.22 (Week 8) | Luke beat Andy by 113.02 (2010) |
| Closest Win | Dad beat Andy by 11.13 | Tyler beat Nick by 0.01 (Week 12) | Tyler beat Nick by 0.01 (2018) |
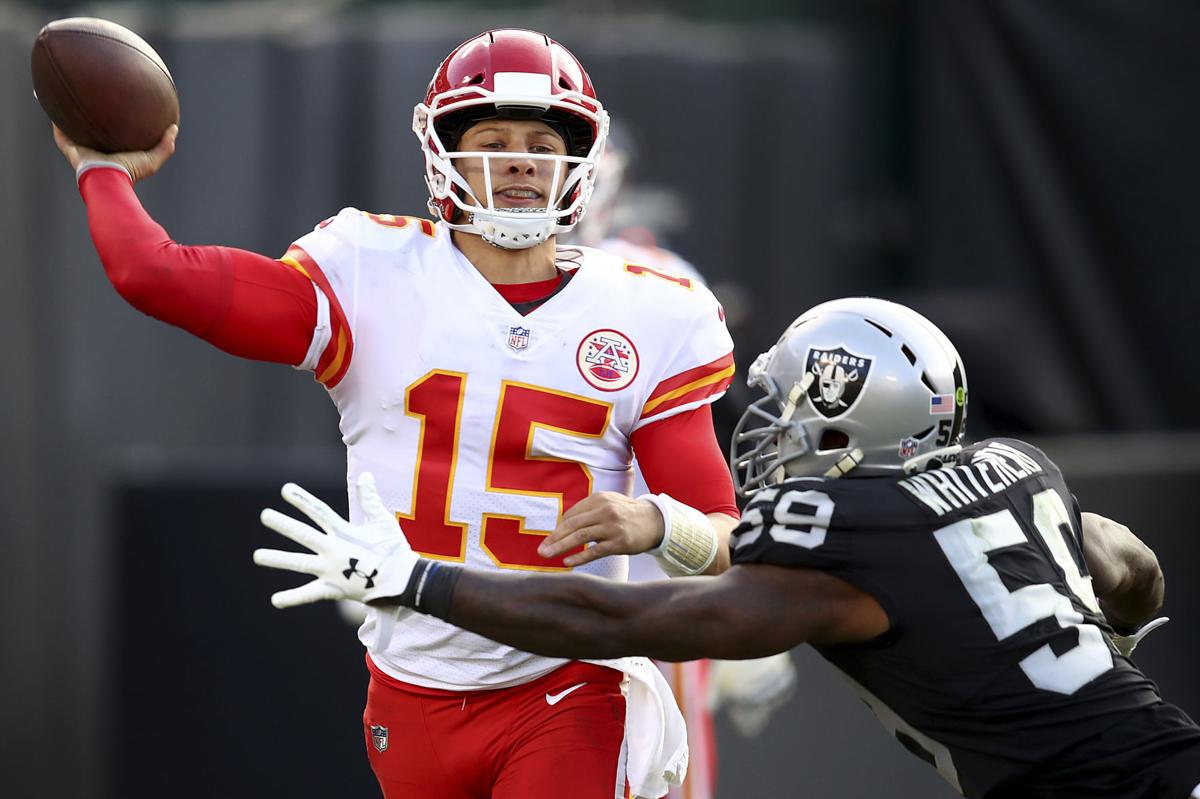
| Highest Scoring Player | Derrick Henry had 47.80 as a free agent | Mitchell Trubisky had 55.46 as a free agent (Week 4) | Drew Brees had 60.54 on Tim’s bench (2015) |
| Longest Active Winning Streak | Dad has a 2 game winning streak | Andy, Logan and Tyler had 5 game winning streaks. | Micah (2011) and Ben (2015) had 8 game winning streaks |
| Longest Active Losing Streak | Luke has a 2 game losing streak | Tim has a 6 game losing streak (Week 13) | Kyle had a 14 game losing streak (2011) |


Black Friday
I believe it was my junior year of college (Nov 2000) when I decided I wanted to buy a sound system, DVD player and TV for our dorm room. All of it was pretty entry level stuff but it was going to be a major upgrade! I went shopping at Best Buy and figured out what I wanted. The sales guy hinted that there were going to be some big sales on Black Friday so I decided I’d wait and save some money.
Dad kindly waited with me that morning. I don’t remember the specifics but I think we got there around 5am and it was below 20 degrees. We were about 10th or so in line and we waited for hours for the store to open. As the doors open, everyone mobbed the doors and pushed their way in so we probably weren’t the 10th people to get in. Dad and I had a plan so we went directly for the stuff we wanted, grabbed it and reconvened. That maybe took 60 seconds, but the store was already completely full. It took forever (half an hour?) to make it back to the cash registers.
As the cashier rang up my total, I happily said, “How much did I save?” … “Save? Nothing. None of this was on sale.”
Yep, we waited in the freezing cold for hours to save… nothing. The TV and DVD player are long gone, but that sound system has traveled all over the country with me and is currently in our theater room (complete with birdseed and a mouse carcass inside the subwoofer but that’s a story for another day.) I think about that Black Friday regularly when I flip on the sound system. Thank you, Dad, for suffering through that with me and not giving me grief.