
Our house was built in 1990, and when we bought it, it still had the original combination microwave/oven unit. They worked fairly well so we just left them alone and marveled at how nice it will be some day to have cool new features like a spinning tray inside the microwave.
The unit slowly degraded over time and the biggest annoyance was that sometimes the microwave would look like it was running, but when you took your food out after 2 or 3 minutes, you found out that it hadn’t actually been heating. It seemed like a problem with the door sensor so we each had our own routines of how to close the door to avoid that problem.
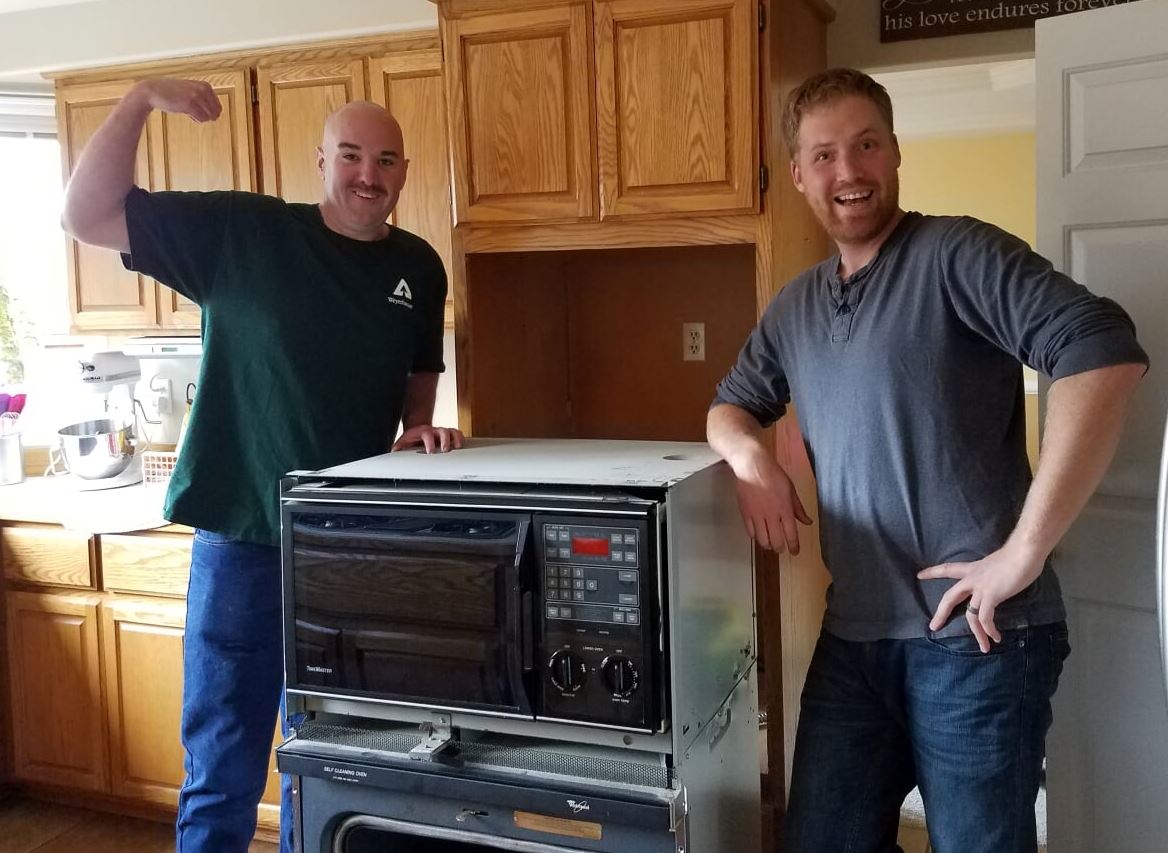
We decided it was finally time to upgrade. Unfortunately there aren’t a ton of options for these combination units. I looked into buying two separate units and trying to work it into the existing cabinet space but I gave up on that* and handed over the credit card to buy a KitchenAid KOCE500ESS. Kudos to the Rick at Judd and Black for another great purchasing experience and what seemed like a fair deal to me.
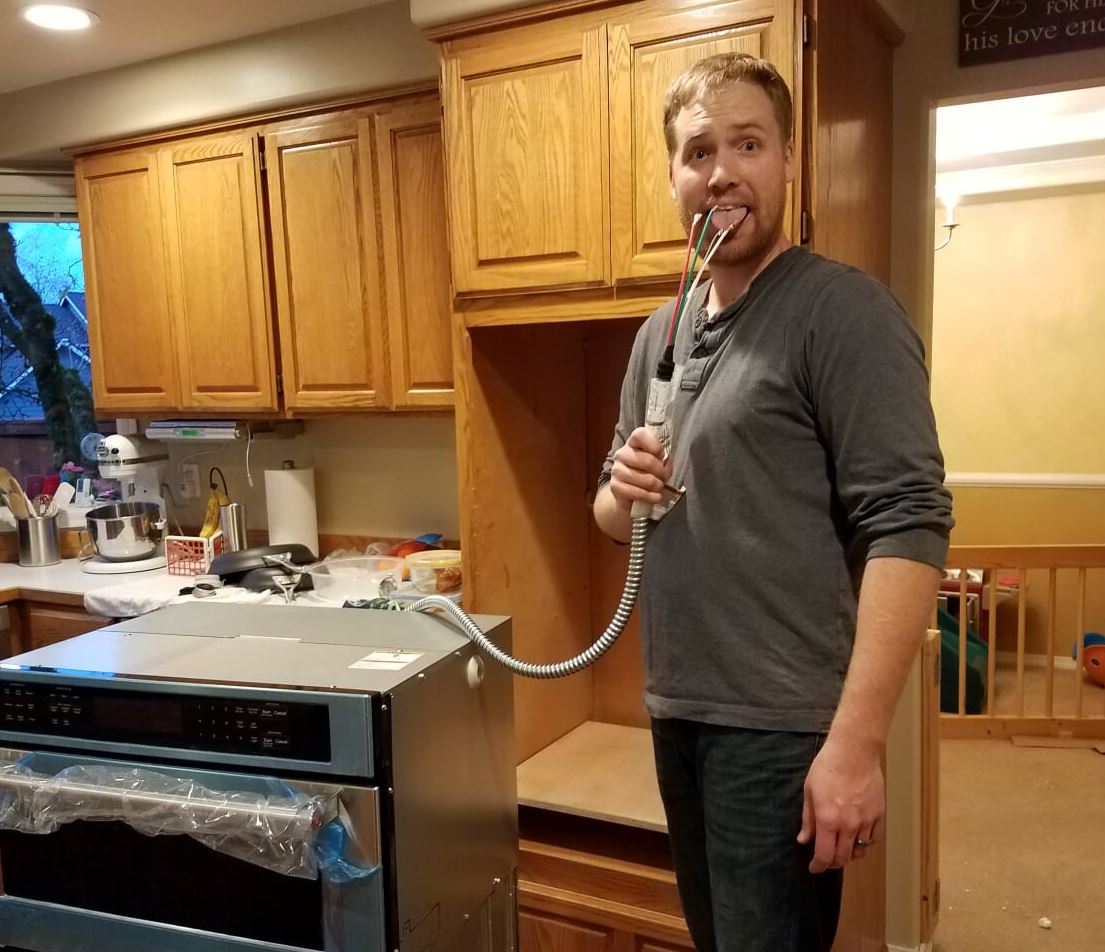
The new unit was a few inches shorter than the old one. That extra space generally is less noticeable at the bottom of the unit than at the top, but that means building a little shelf inside the cabinet space. Since the unit is hardwired into the 220v circuit, Judd and Black have to hire that out to a contractor. Couple that with the shelf building and the install fee was going to be around $250. For that price, I was willing to try it myself and I’m glad I did. And when I say “myself”, I mean with help of some cheap labor from Logan.
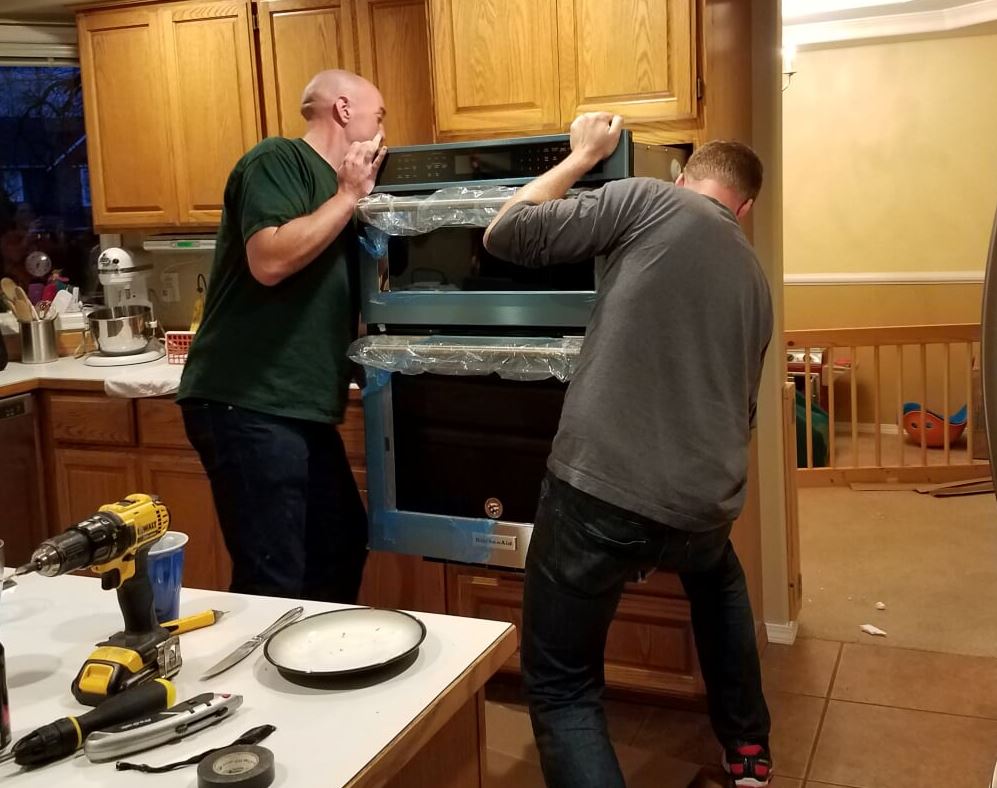
Logan and I wrestled the old unit out of the cabinet and tossed it in the truck. Judd and Black took that one back at no cost and we picked up the new unit. It took us about 2 hours to install it, but that was largely due to my mistakes building the little shelf. It’s an extremely simple build with the tools I had in the garage, but there isn’t a lot of room for error between having a gap above the top of the unit and making the hole too short so that you can’t slide it in.
The actual appliance is really nice. It has three racks in the lower oven, one of which extends fully out for easy access. The top oven is some goofy combination of a microwave, convection over and broiling unit. I don’t understand how it works, but in addition to using it like a regular microwave, you can do some combinations like using the microwave in conjunction with the broiling element to make crispy hot sandwiches or french fries. You can even put most metals in there. It works out pretty well and really speeds things up. For example, if you want to make a frozen pizza, you can bake one perfectly from start to finish in about 8 minutes. Compare that to the 10 minutes of pre-heat time and 10 minutes of cook time with a standard oven.
But in general, it’s just nice to have a microwave that heats every time and an oven that heats evenly even with multiple racks full. Hopefully this unit provides us with a lot of delicious food for many years to come!
* After we removed the old unit, I discovered that there was an extra 110 line coming into that cabinet. One of my hangups with doing separate units was that I’d have to run another line over there to power the microwave. Looks like the home builders already thought of that. If this new unit ever dies, I’ll probably give more thought to buying two separate units because it’s so much cheaper.


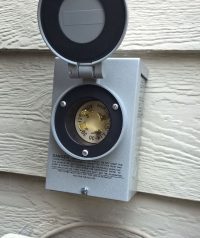 As you may remember, we’ve lost power at our house three times in the last 12 months and we’ve lost it quite a bit in the past two. We have used our new generator for the two latest incidents, and it worked great, but I’m a lazy human. Running an extension cord through the house and feeding it around the house to run various things is annoying. It was time for an upgrade.
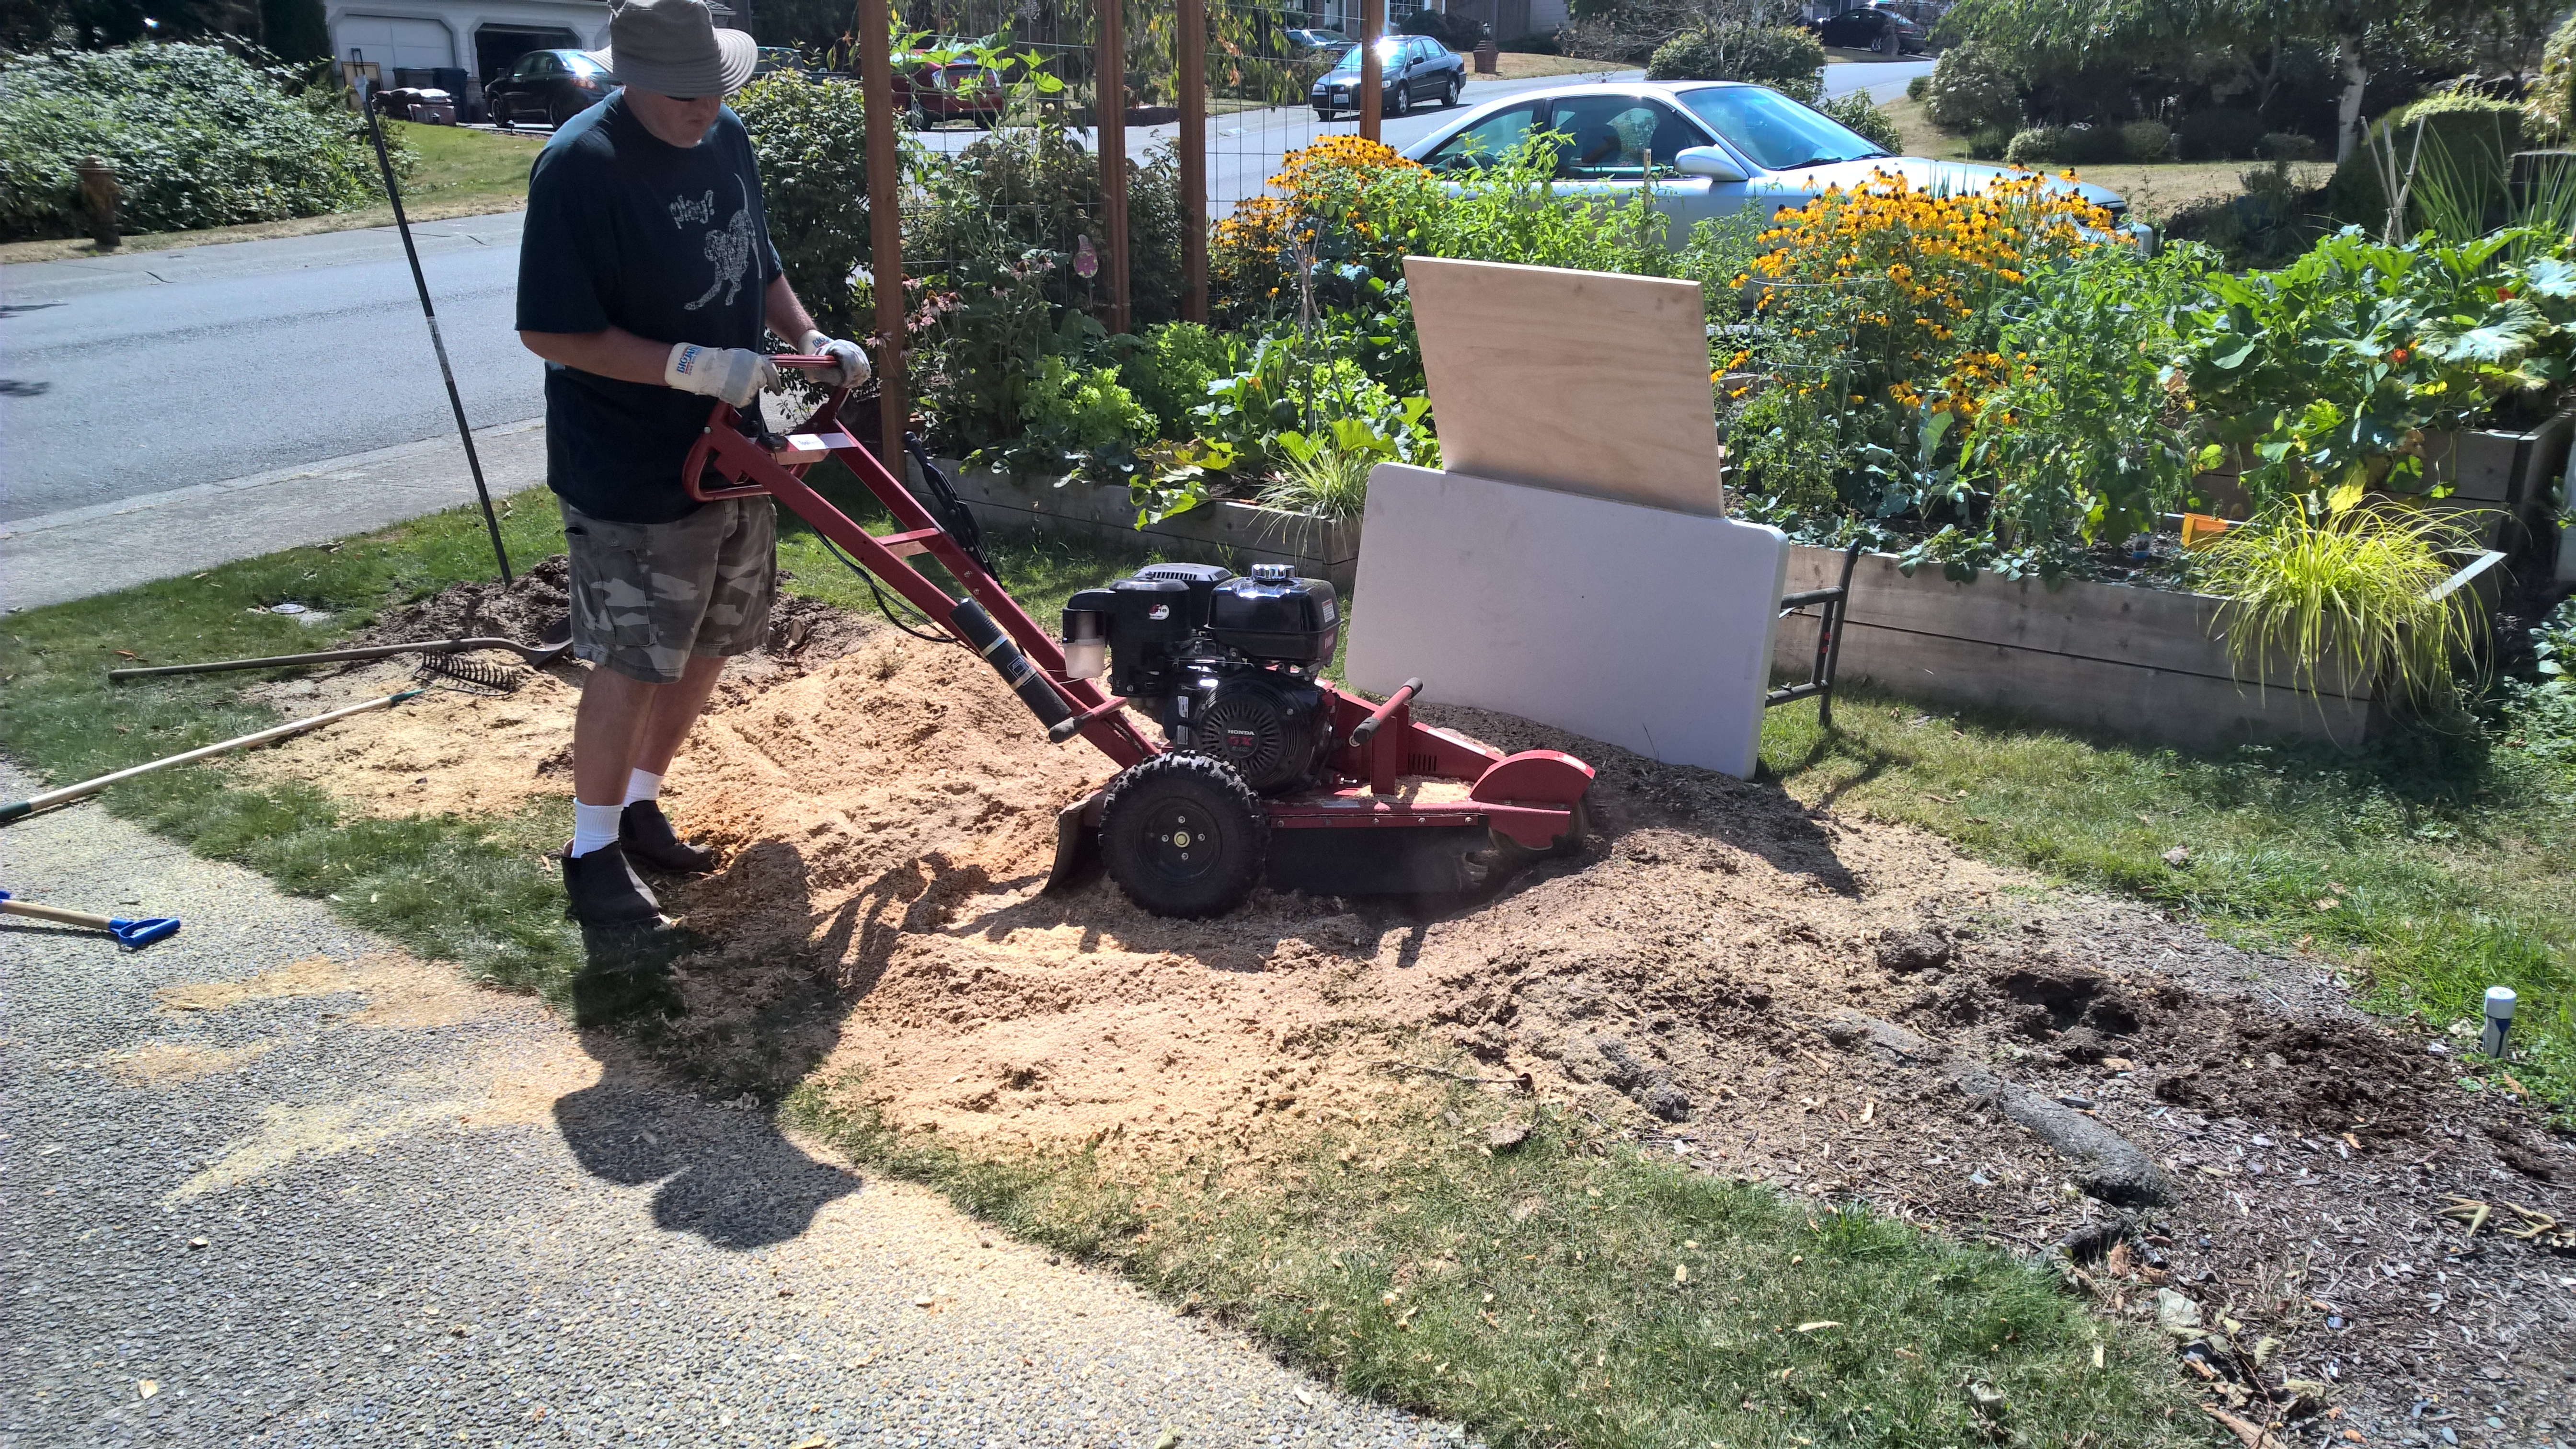
 Last year was very dry and, despite my attempts to give the yard the right amount of water, it still died. This year has been pretty dry as well, but the yard is still green. The difference? I’m using the “Zimmerman Method” this year.
 Last year we stocked up to prepare for a 3-4 day emergency so we’d still have food, water, etc. Those kits rapidly expire so we needed a way to stay on top of it. Today was the First Bi-Annual Survival Sunday. Here’s our current list of activities for these Survival Sundays:
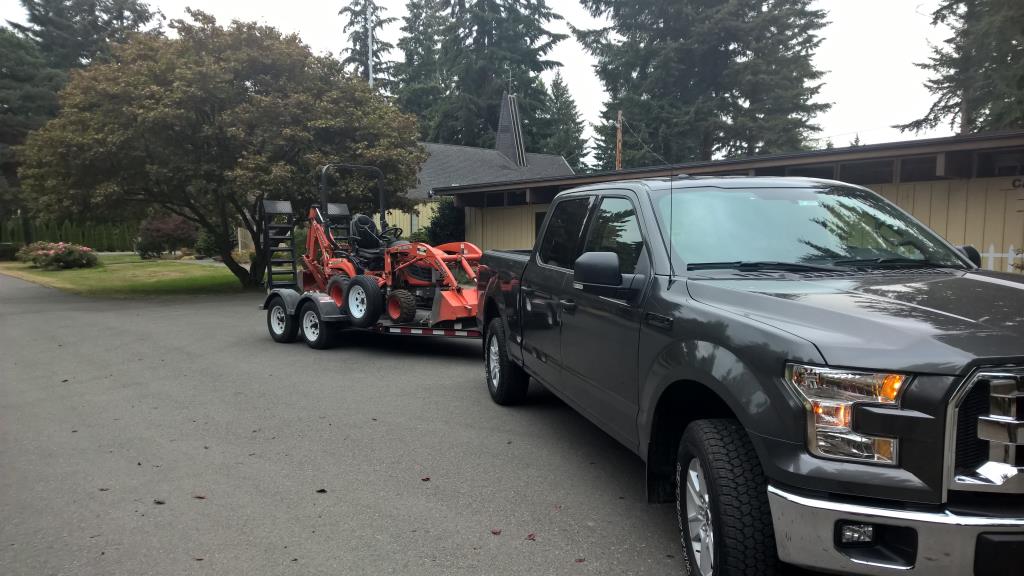


