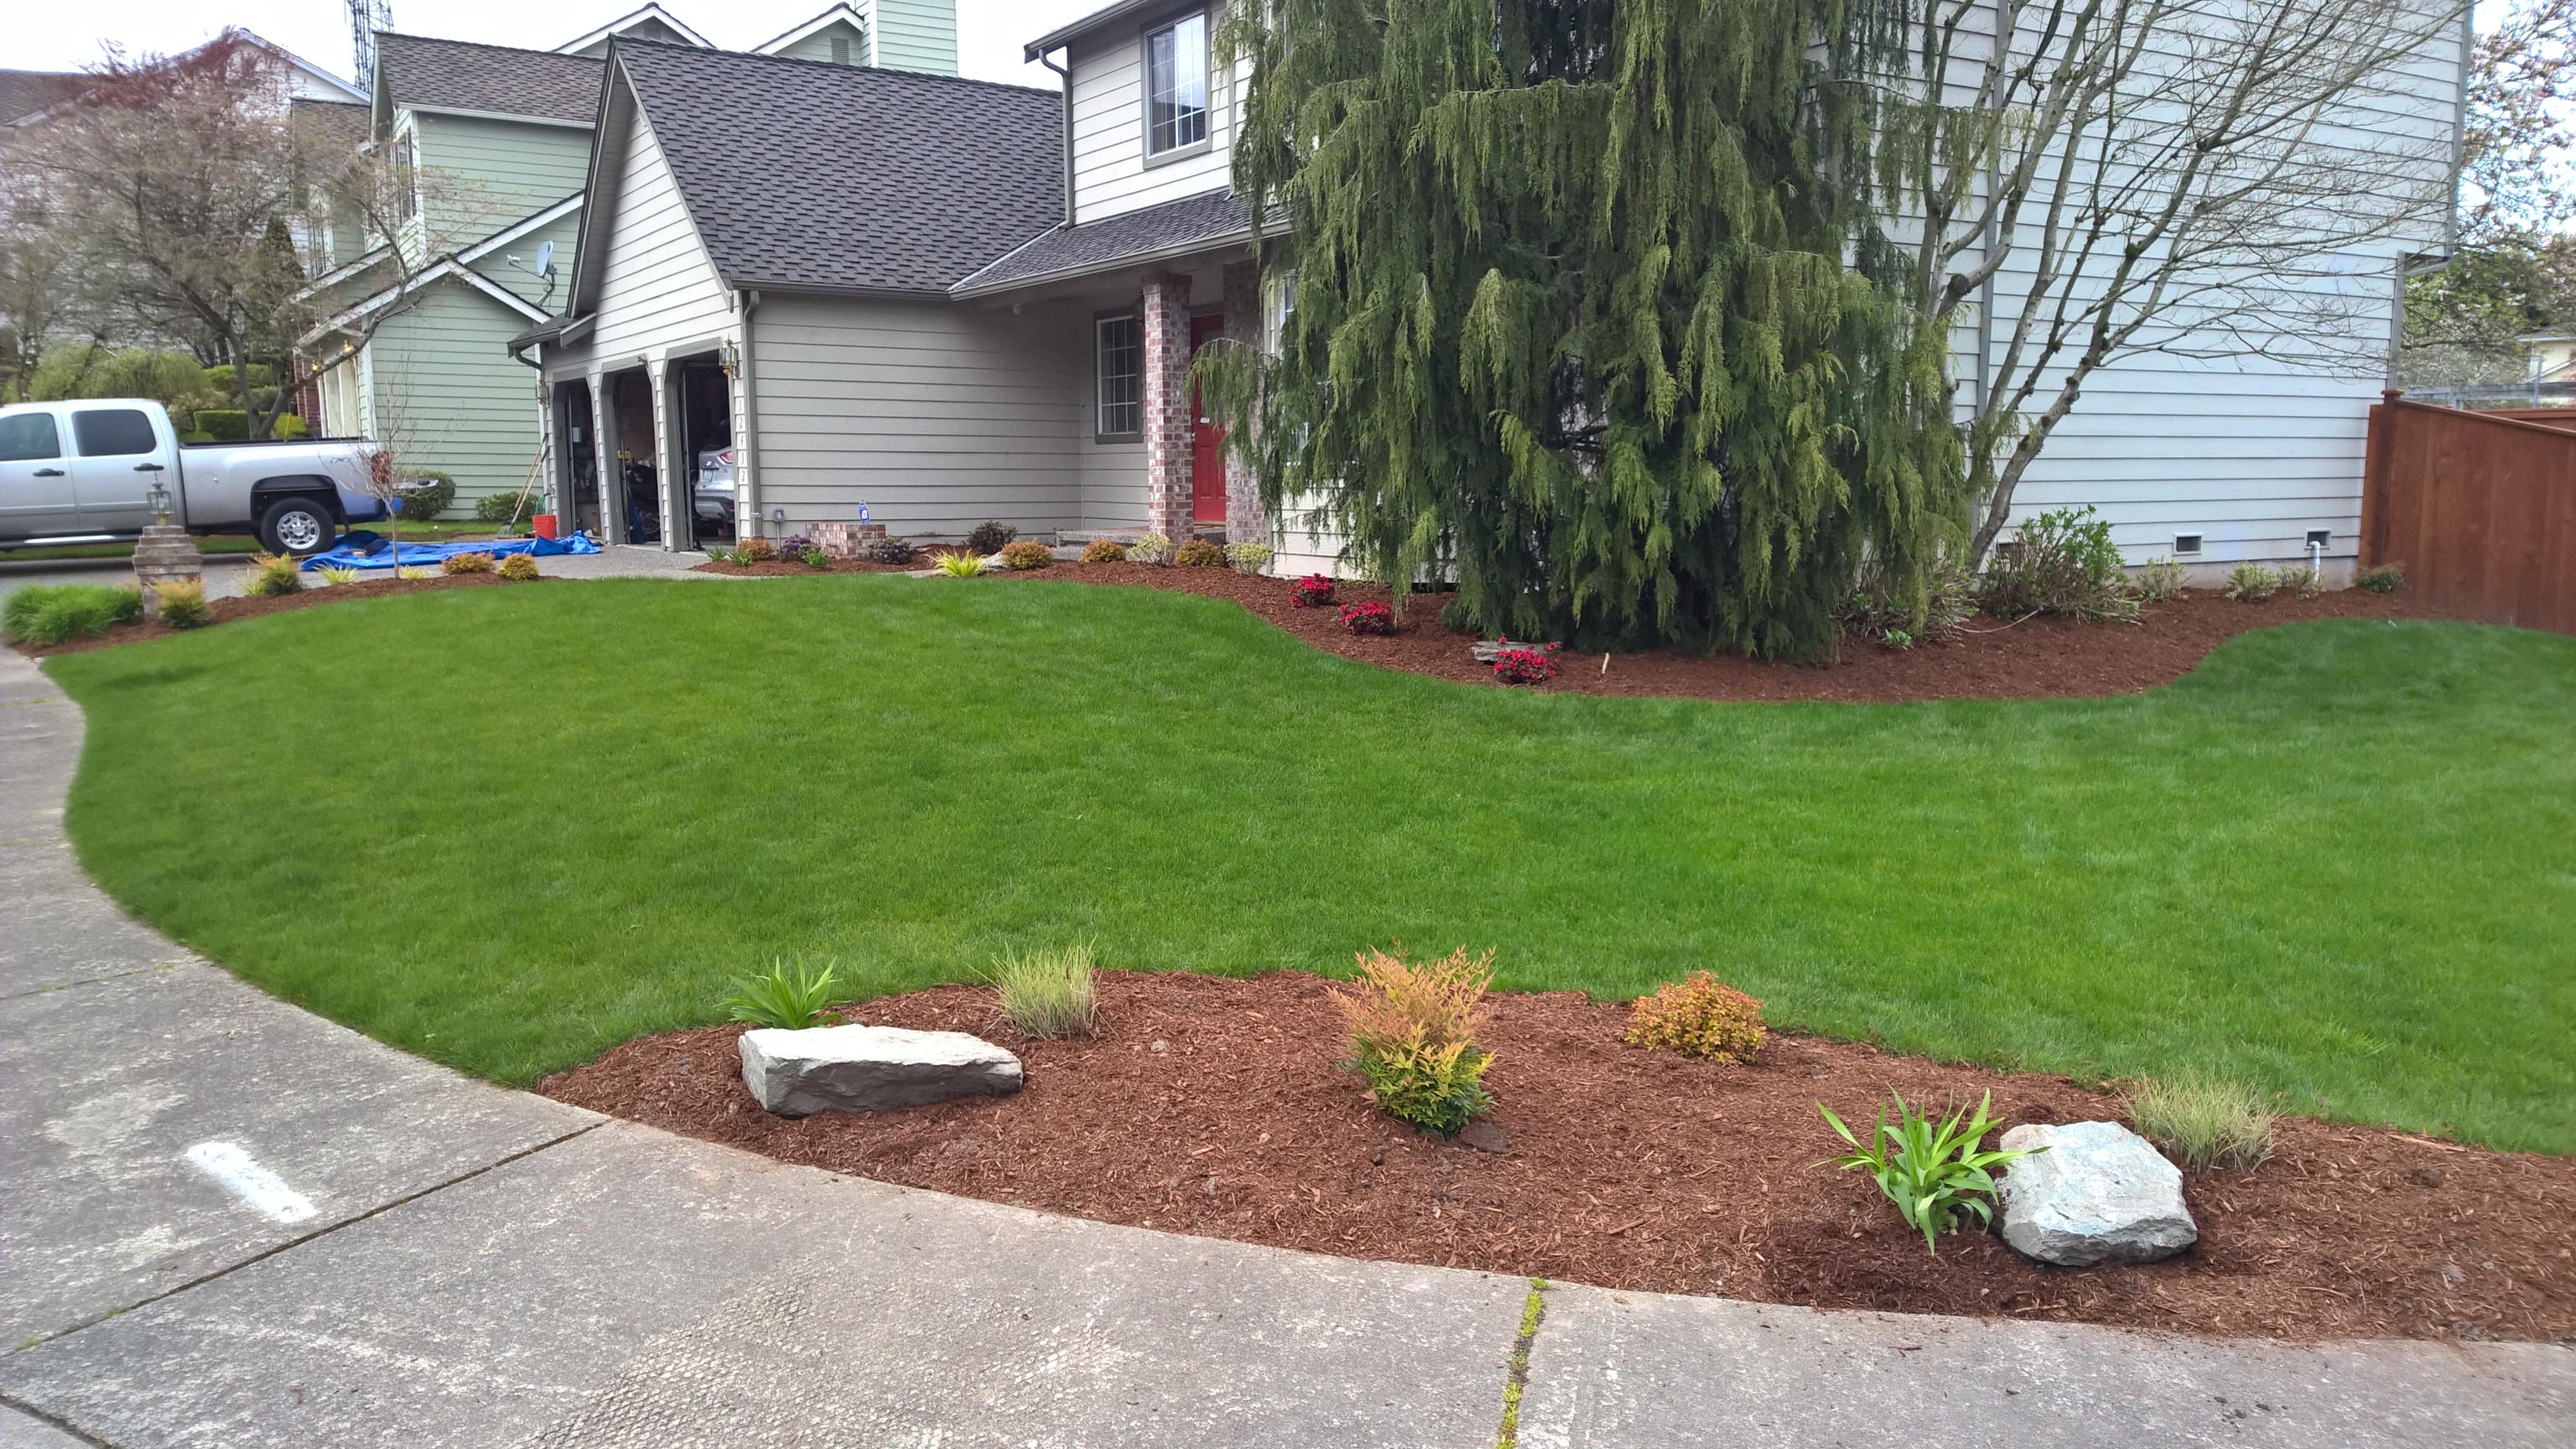
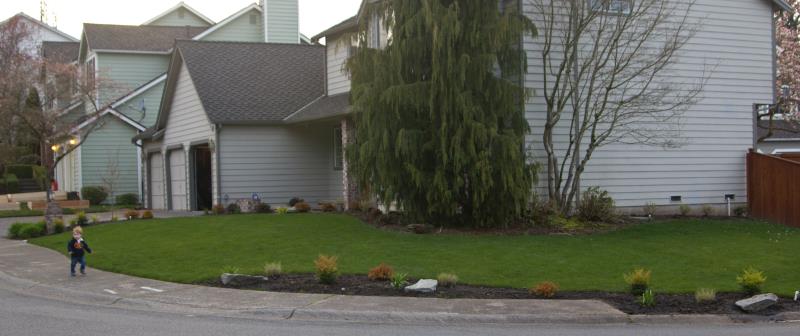
Now that we have our wonderful irrigation system controlled by the computer or my phone, I want to hook it up to everything that needs water! Thankfully, that turned out to be pretty simple. I got it connected to the three window boxes in front of the kitchen and all the way up to the hanging basket outside the front door.
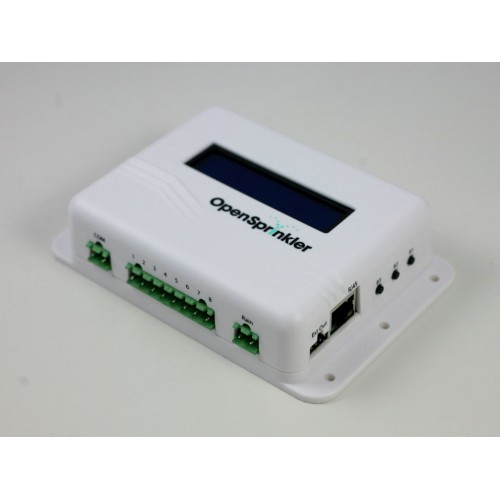
Home Depot has a lot of the stuff I needed, but to avoid buying a lot more than I needed, I ordered from http://www.irrigationdirect.com/. I only found them through a web search, but they let me order very small quantities of very cheap parts (some were just $0.07 each).
Even if you don’t have an irrigation system, this is something you can set up yourself. Look for drip irrigation kits. You can find kits that connect to your hose bib. If you want to get extra fancy, you could use a hose timer, but my faucets are so leaky that these were never a great solution for me.
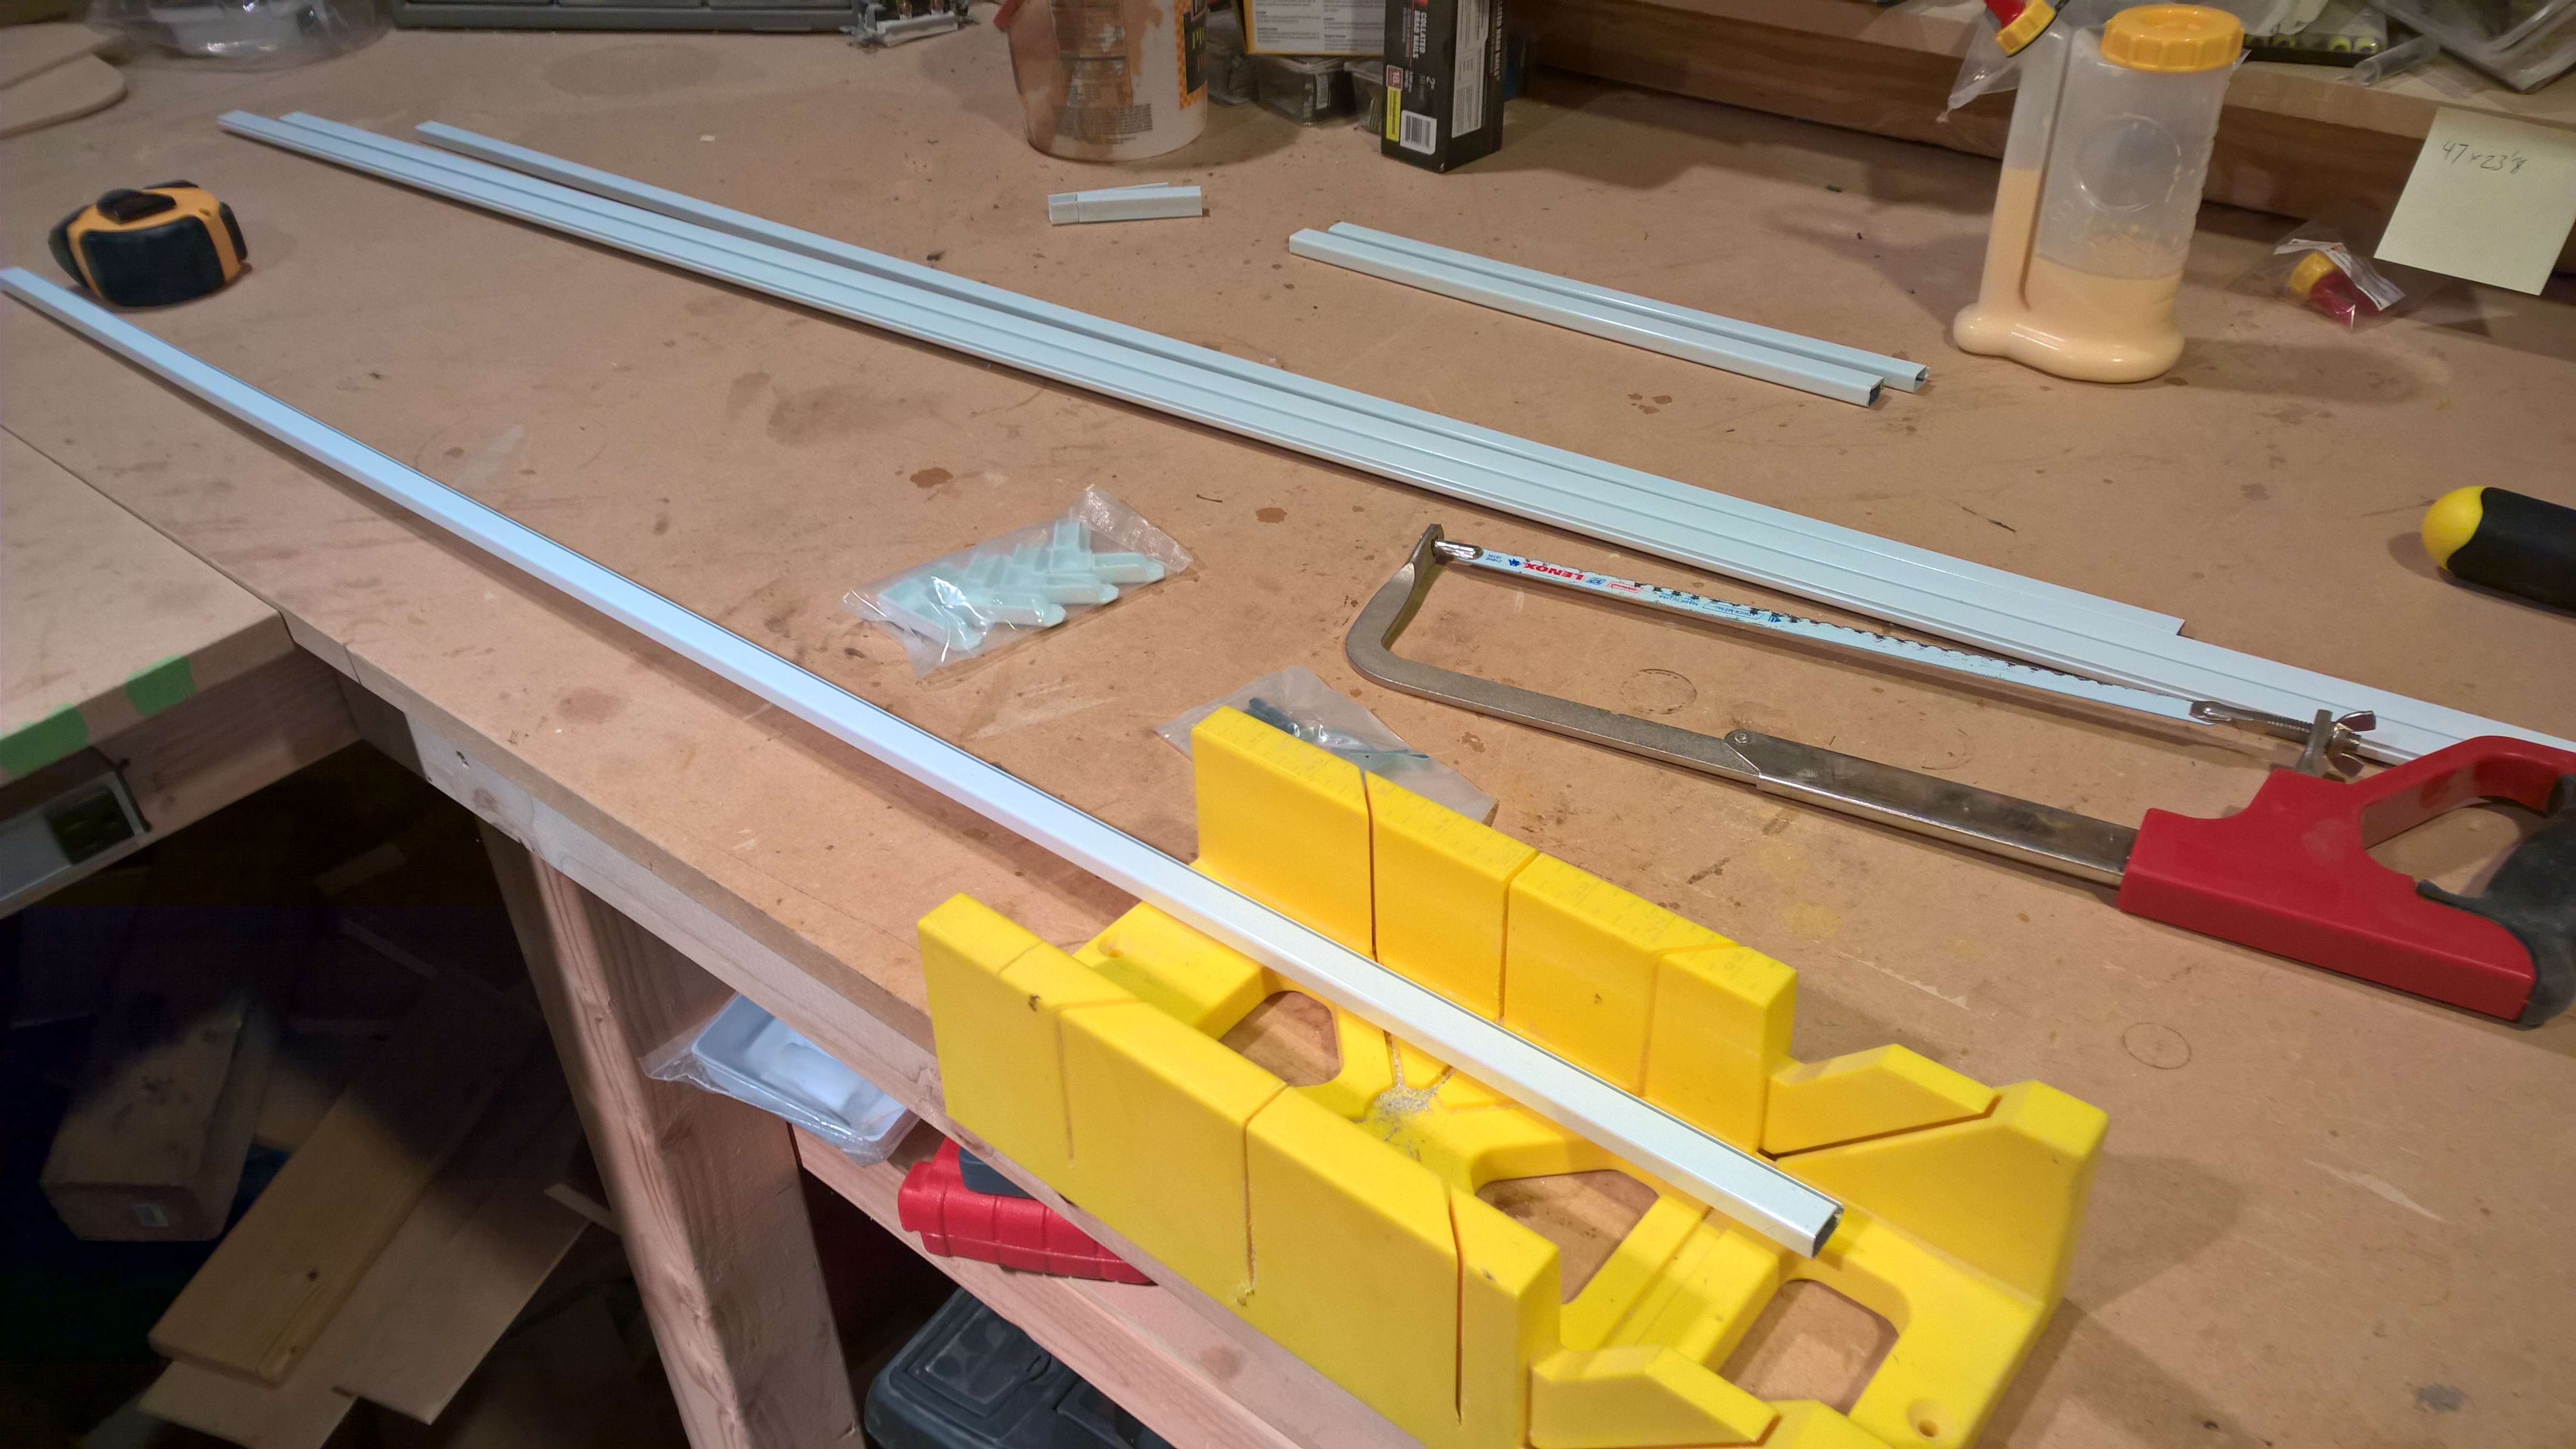
There is nothing complicated about it. You just need to figure out how all the parts go together. You would connect a hose to your hose bib, run it near your planter area, use the adapter to go to a 1/2″ tube and run that along the length of your planter area. Then you poke small holes in the tub and use connectors to connect in 1/4″ tubing. There are a lot of options on how to dispense the water from basic drips to sprays to tubing with emitters every 6 or 12 inches. You can customize exactly where you want the water and how much you want.
Theoretically this setup means I’ll use less water because I will only water exactly the areas that need it, but in reality, I’ve been using it a lot more because it’s so easy to turn it on. Once all my new landscaping and potted plants get established, I should be able to reduce the watering a bit.