
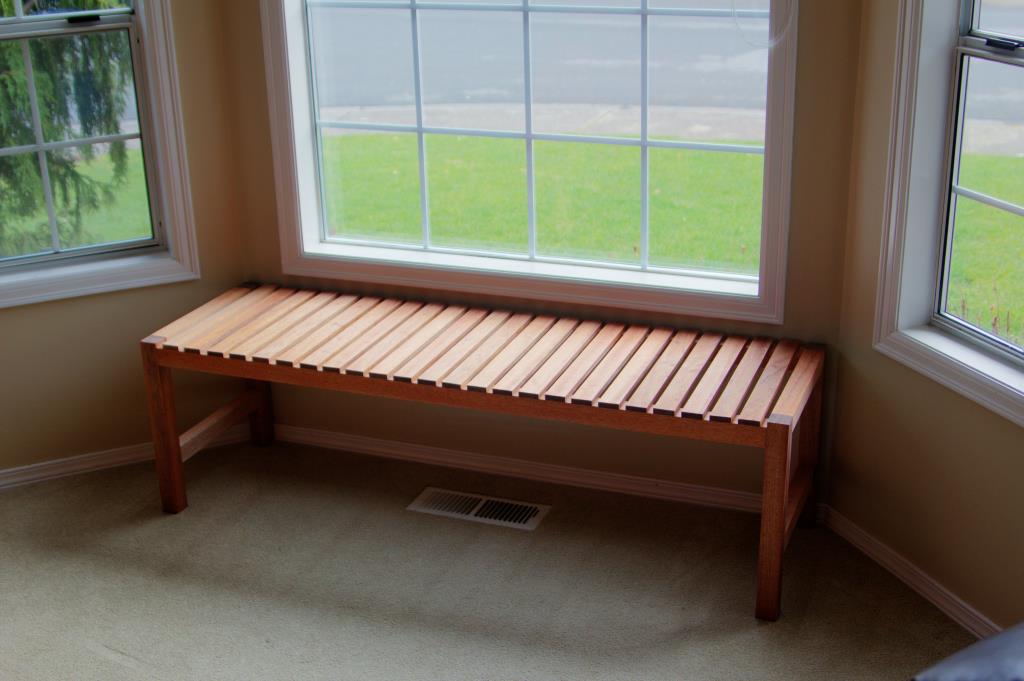
 I got my first table saw about 3 years ago. I liked it because it was a good price and it was fun to use one of Tim’s dad’s tools. Over the years I got it dialed in and built a nicer stand for it, but at it’s core, it was still a contractor saw. You can read about the differences between contractor, hybrid and cabinet saws but the main points are accuracy and power. If you’re out on a job site ripping down plywood, it’s fine if all your cuts are within 1/8″ and you’re just cutting thin boards. And I made a LOT of projects that I’m very proud of using this simple saw. But now I’m itching for something safer and more accurate.
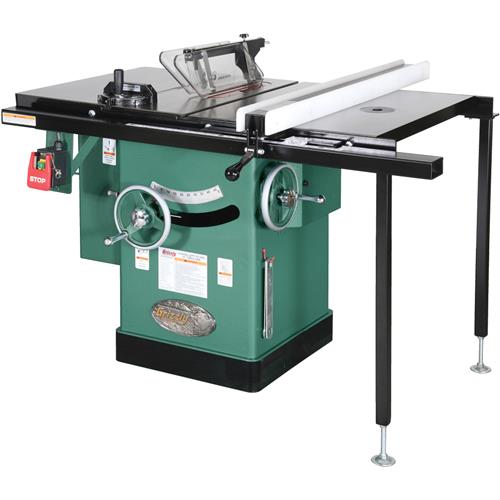
As part of our finances, Tyla and I give ourselves an allowance every month. I saved my pennies for a long time and my original plan was to buy a CNC machine. But around that time, I got cold feet on the CNC purchase and was really feeling like I wanted a better table saw. So I started researching table saws and landed on a Grizzly G1023RLW. Here are the things I like about the saw:
- It’s a 3hp 240v motor. I can’t find reliable numbers for my old saw but I think it’s either 0.75hp or 1hp. I can’t count the times when I’ve been making a cut and the motor has either bogged down or the blade has stopped. That’s horribly unsafe and made me pee my pants every time. It happens more often now that I’ve started working with thicker hardwoods.
- It has a riving knife and a blade guard. These features in addition to the increased power should make the new saw immensely safer. Have you ever seen kickback happen? Scary.
- It’s a full-blown cabinet saw which means I can perfectly align the table top, the blade and the fence to all be exactly square with each other. This not only increases accuracy but it can improve safety too.
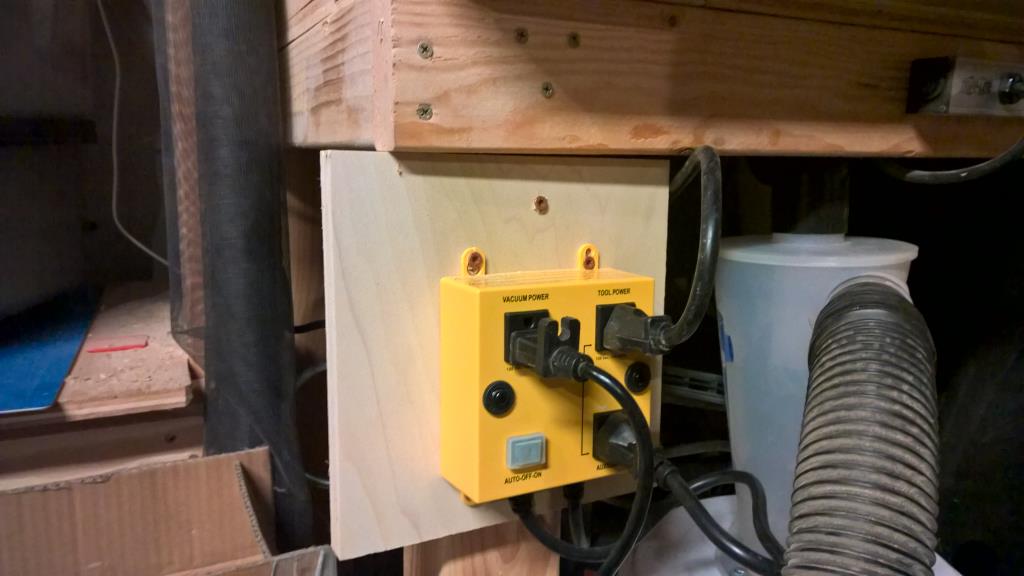
- Theoretically it will offer me better dust collection but I don’t have a system powerful enough to move that much air yet.
- It has a built-in router table. I love the space-saving aspects of it but I’m not sure how it will compare to my dedicated bench-top router table now. I expect actual aligning and cutting aspects to be similar to what I used before but the dust collection will be worse. I’m willing to make that tradeoff to save some space and if I decide not to use it in the future, there’s no big loss other than the small additional cost.
Because this sucker weighs in at 550 pounds, it’s expensive to ship. By the time I pay a freight company with liftgate service (to get it from the truck bed down to street level), it was going to be about $240. Thankfully one of Grizzly’s two showrooms is only 1.5 hours from here. So I’ll be driving up to Bellingham to get it and then I’ll be suckering a couple friends into helping me get it out of my truck and into the garage.
You may have heard about a company called SawStop. They have a patent on technology that instantly stops the blade if it contacts your skin. The demo videos are incredible, and given that table saws are the most common source of shop injuries, it’s a good place to make an investment. I strongly considered buying one, but in the end, I couldn’t justify more than double the price of the Grizzly for a tool that I only use lightly as a hobby. It’s a beautiful saw and if I cut my fingers off I’ll regret this choice, but I’m willing to accept the risk.
In the end, I’m buying an expensive tool that is way more than I need and it’s just for a hobby. This is clearly a luxury purchase. I’m thankful that I can have it and I’m excited to start shortening some boards with it! This could be the last table saw that I ever buy it might also be the most expensive tool that I ever buy.
(And by the way, I’ll be selling my old saw and router table if you’re interested…)


New Media
The latest one is a t-shirt that Bob Claggett from I Like To Make Stuff sent to thank me for my support. Well thank YOU Bob! It’s so much fun to interact with the same people who are providing my evening entertainment, and it feels much more rewarding to support these people than to give money to random Hollywood people.
I’m not saying that everybody should stop watching standard TV/movies and watch YouTube creators, but if you are at all interested in doing some of that, there is a LOT of good stuff to watch. Here are some of my favorites:
If you like a YouTube creator, one of the best things you can do to help them out is clicking that Subscribe button! And most of these people have Patreon accounts too if you want to contribute a buck or two directly to them every month.