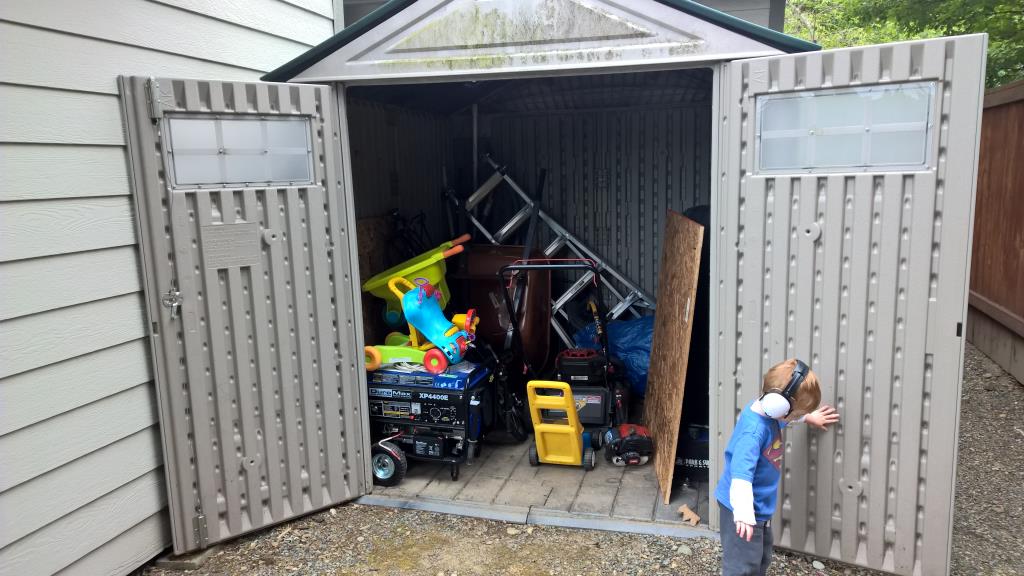
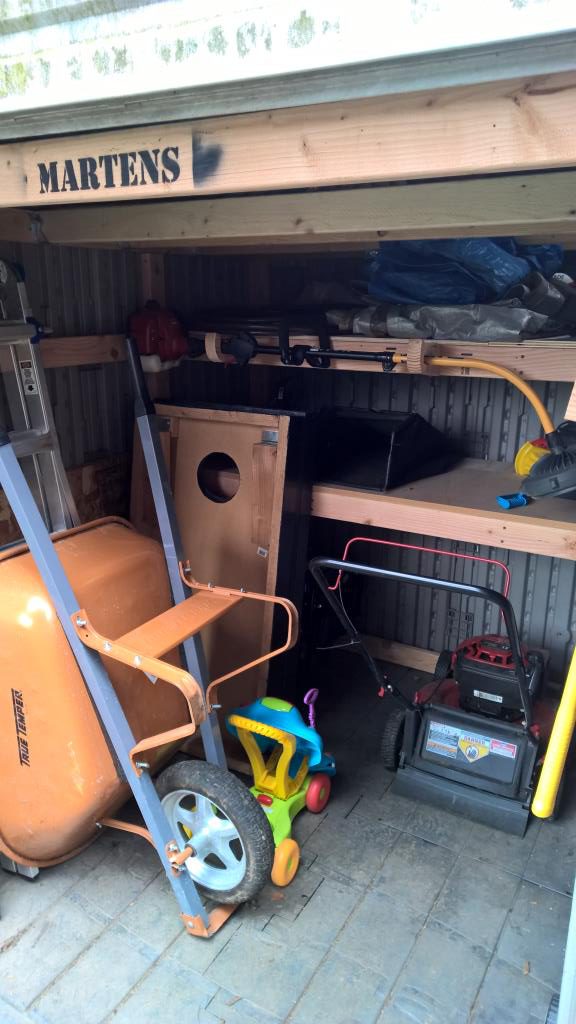
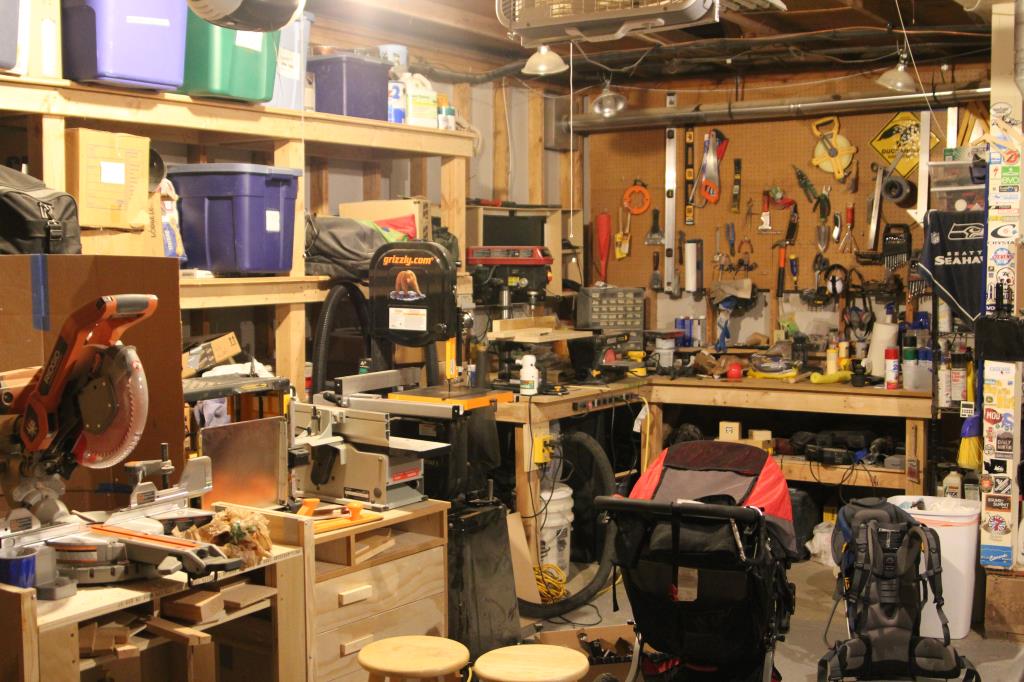
One side effect of buying the truck is that we now have more room in the garage. The truck doesn’t even come close to fitting in the garage (too wide, too long and maybe too tall.) I quickly took advantage of this to get more storage room and more shop room. Here’s what it used to look like when I had one bay combined for storage, toys and the shop.
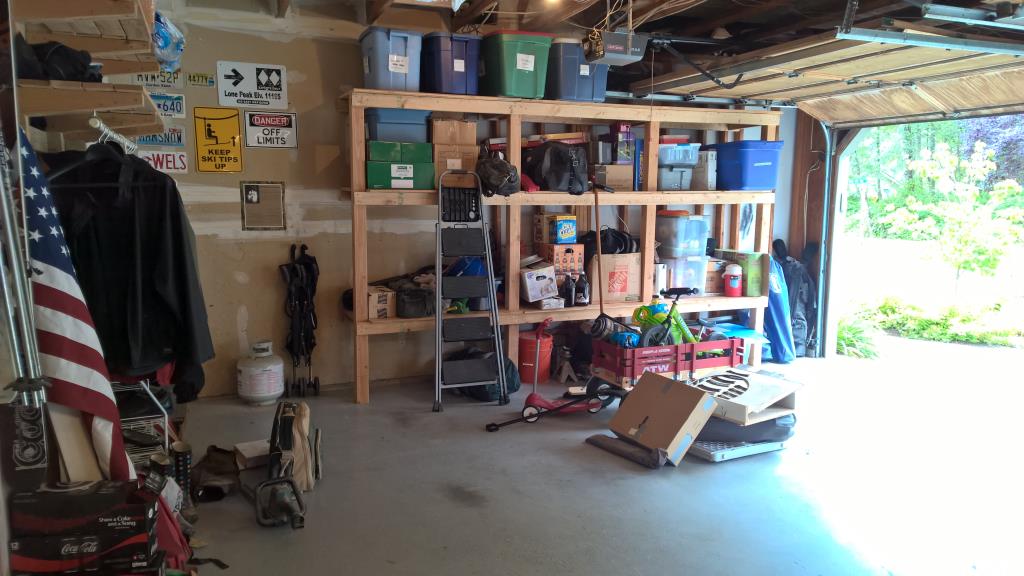
 The first step was moving the main storage shelves across to the other wall. It was pretty easy except I had to re-cut the bottoms of the posts because the floor slopes out to the garage doors and I was effectively reversing the shelves. Those shelves were one of the first projects that I did in the house. I built them using little more than a circular saw and a drill. You can get a long way with those two tools!
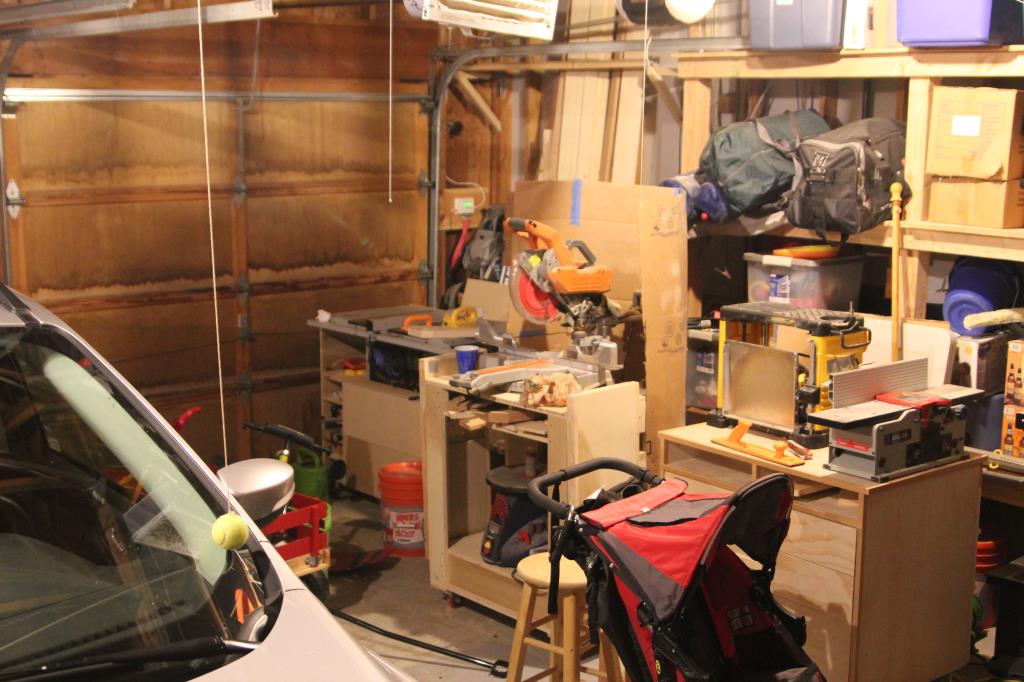
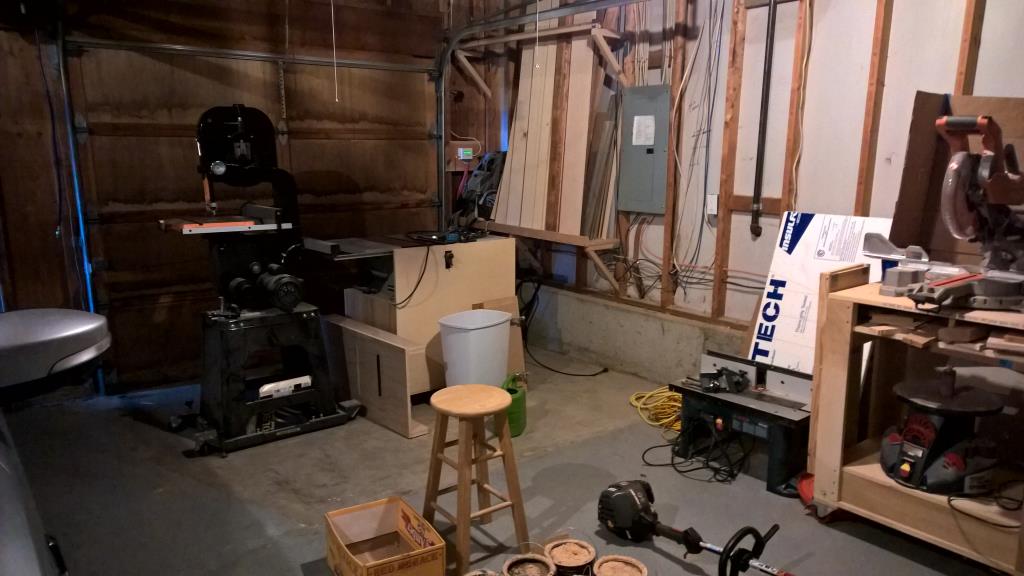
 That gave me about 2 or 3 more feet along the wall in the third bay. I was able to convert that area into a pure shop area. All toys and storage happen on the other side of the garage. It will take a while to figure out how I want to arrange everything, but I think I’ll have the table saw near the garage door. That will allow me to easily open up the garage door and feed in extra long boards as needed. The bandsaw fits nicely to the right of the table saw. I can overlap/combine the “dead” areas of both tools.
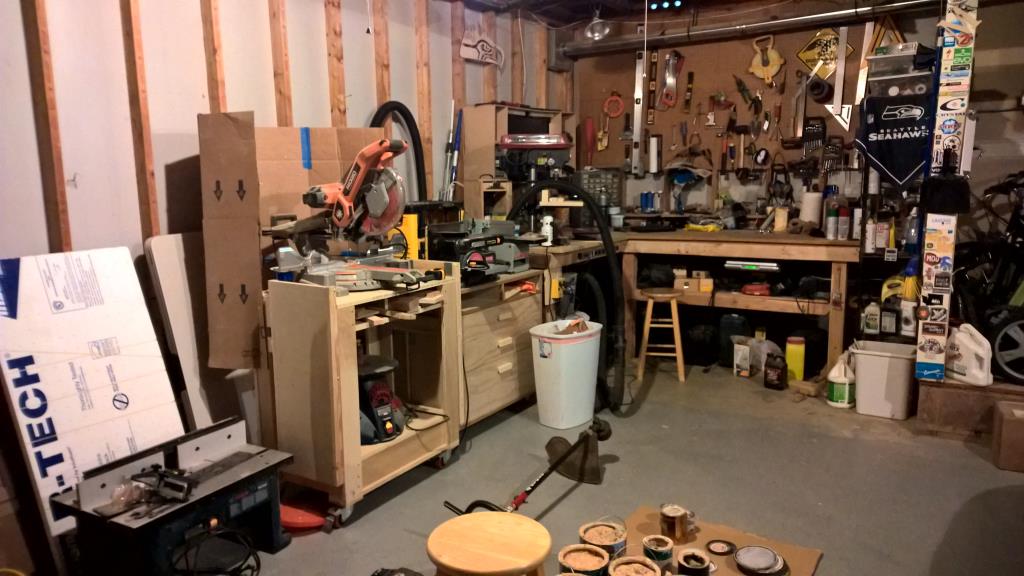
The next thing I’m going to build is a small cabinet for my router table and then I’m going to build a combination assembly/outfeed table. I’m thinking it will be about 4 feet square. It will be a nice place to work on projects and will also give me a nice place to slide wood onto after finishing cuts on the table saw. After that I will probably fill up the blank wall with cabinets.
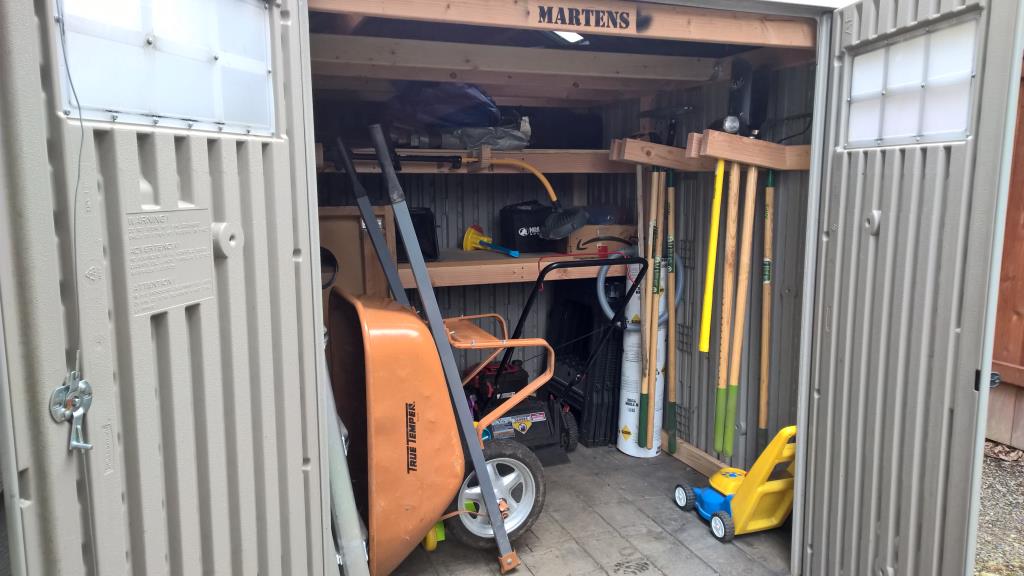
It’s so exciting to have an area I can really devote to a shop instead of stepping over and around boxes and toys! Below are photos of the current state. It will look a lot nicer in the near future.
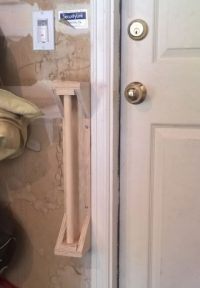 The door to our garage has a spring in the hinge so it closes automatically. That’s generally handy but I’m waiting for it to smash Elijah’s hand. He has to hold onto the door frame to step down. So to help keep all his fingers attached, I pulled out some scrap wood and built a little hand hold for him. It was a one night project using an old broom stick as the round piece to grip and so far it’s working out really well.