
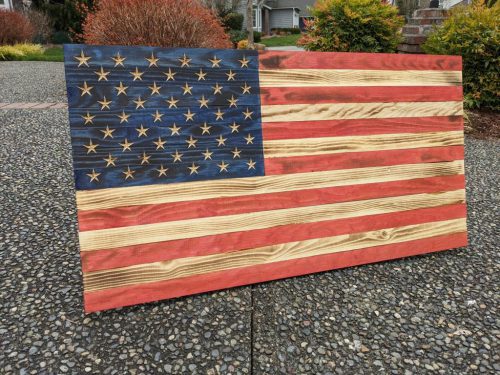
Over the last year or so, I’ve made a handful of wooden flags and after a bit more learning curve than I expected, I think I finally have it mostly figured out. Some stumbling blocks along the way were:
- I did all the math for how wide each strip of wood should be and programmed my CNC accordingly but I forgot to account for the actual size of the union before cutting. It’s never EXACTLY what I had planned so I need to scale that before cutting.
- I finally found a couple stain colors that work well. I settled on Varathane classic water based wood stain tinted to Navy Blue and Scarlet by Home Depot. I just bought a quart of each one and I could probably make at least a hundred flags before running out.
- Staining first and then scorching with a torch has worked well for me. While I felt weird about adding burn marks to a flag, I like the way it looks and it does a nice job of hiding imperfections.
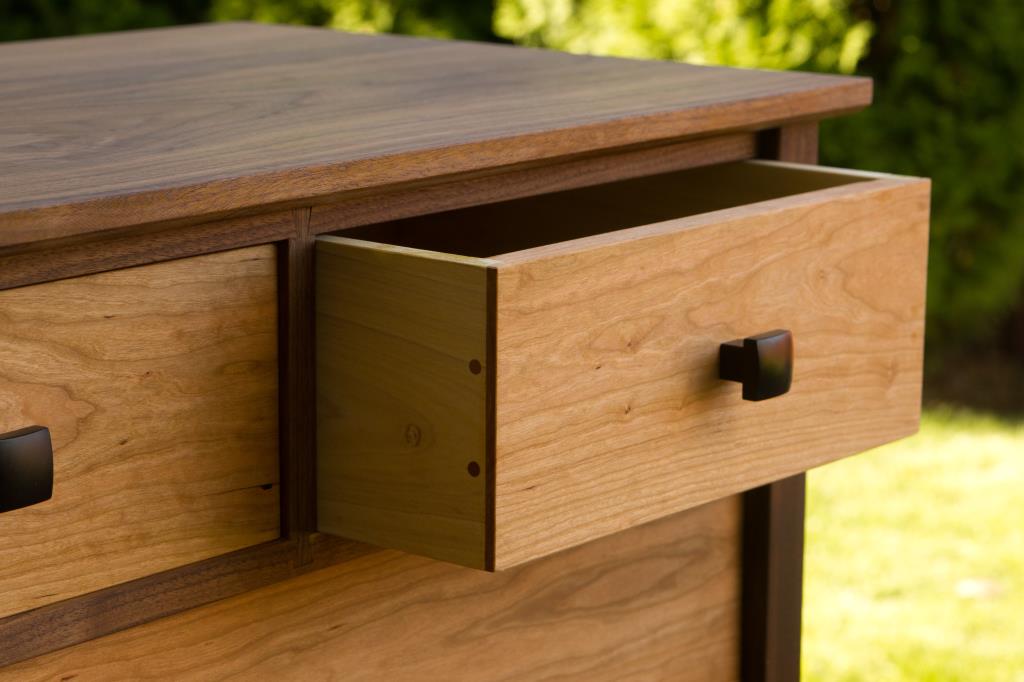
- Gluing up 13 strips of wood makes it easy to bend. Use at least 3 vertical strips on the back to hold the shape. Four is probably better.
- To get a nice clean line between the union and the stripes, I pound in a razor blade. It severs the fibers so the stain won’t bleed across and I can stain right up to both sides of the blade without waiting for anything to dry.
- I generally try to avoid the knots. They really stand out when burning the wood. It’s fine to have one or two but I’m a little bit strategic about where I put them. I do all the math about how many 1×4, 1×6, 1×8, etc boards I would need so I can adjust my plan based on what boards are available. There is a different amount of waste with each size of board though.
I made one of Elijah’s school auction and priced it at $100 since that seems pretty consistent with Etsy prices. They have a “buy it now” feature in the auction where you can overpay by 50% and that happened almost immediately.
It’s a fun project and while I like letting the CNC cut the stars for me, there are plenty of templates for painting them on or you could hand cut them with a router or even a chisel.
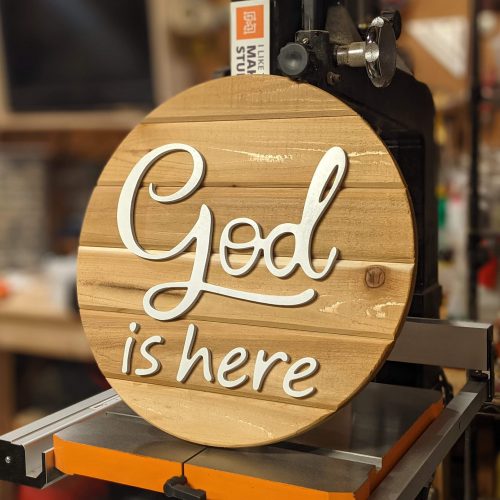
But First, Pray
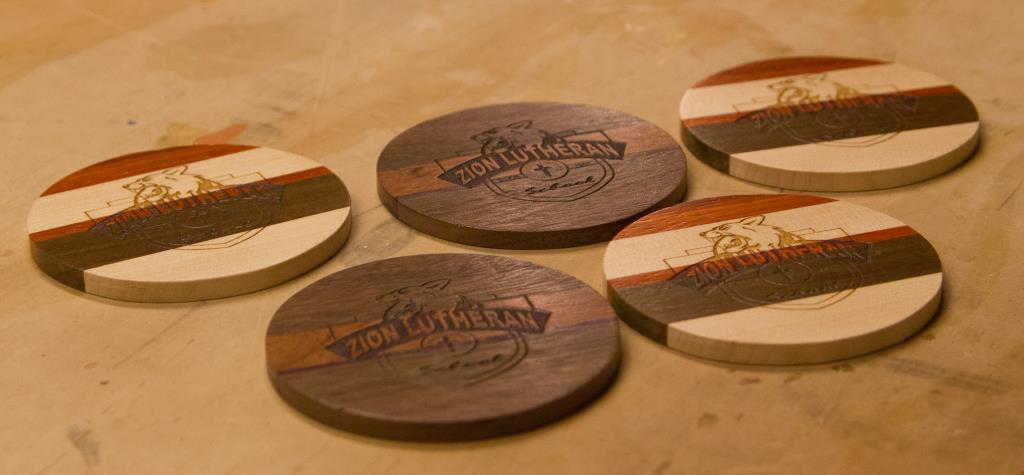
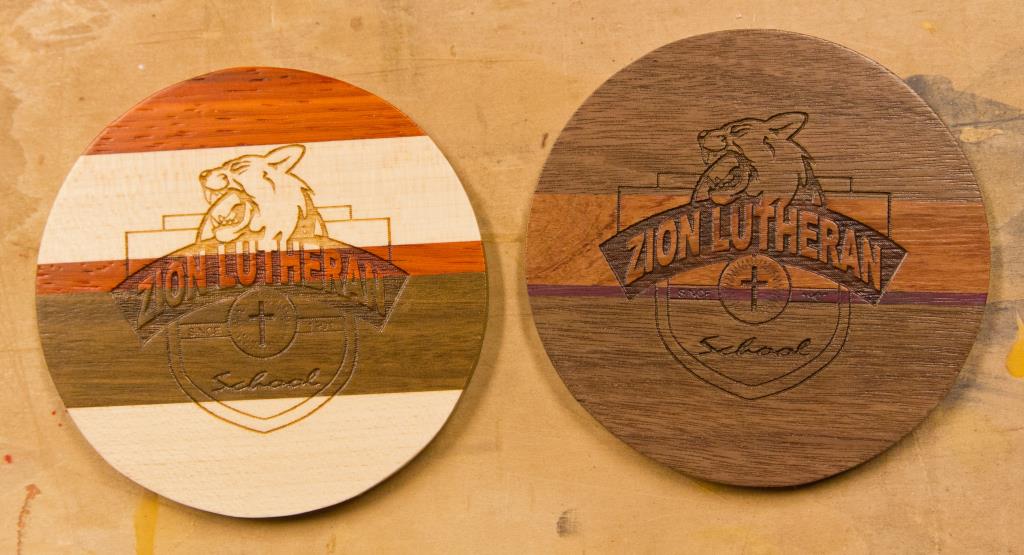
Elijah’s school has a charity auction every year. Last year I made coasters with the school logo on them. This year I thought I’d make a sign since those are so popular. I ended up with a sign that says “but first, pray”.
I didn’t want to just make a painted sign. I wanted the words to stand proud of the surface. A laser cutter would be the right tool for the job, but I don’t have one and our maker space is closed while the pandemic rages. I bought a handful of cheap 1/16″ CNC bits assuming that I would break a few of them in the process.
My first attempt was cutting everything out of MDF. That worked ok for the large “pray” word but the smaller individual letters didn’t hold up. The MDF wasn’t strong enough to hold together at that scale. I then made them out of 1/4″ poplar and they worked fine. I sanded and painted everything, but then I realized that I didn’t have a great way to keep those tiny letters stuck on the wood. I was nervous that one little bump might knock some of them off. After trying a few things, I decided to use my Cricut to make a stencil for the individual letters and then I glued on the bigger word.
I finished it off with a keyhole slot on the back so that it could be mounted easily on a wall. The keyhole bit I have is a 1/4″ shank so normally I put a different collet on the router in my router table, carefully measure and align everything and then pray that it all works. This time I realized that I could just stick the keyhole bit into my CNC and manually drive the machine to get the cut exactly right. It was so much easier!
The end result looks pretty simple but it took a ridiculous amount of time, especially when spread into the tiny amounts of free time that I’ve been able to devote to it. Hopefully it raises a few bucks for the school.