Back in October when I started Elijah’s dresser build, I thought for sure I’d be done in plenty of time to build something fancy for Elijah’s school auction in the spring. Nope. That dresser is the longest project I’ve ever done and I’m not anywhere close to finishing it. So I scaled down my dreams, but I think I still landed with a fun idea.
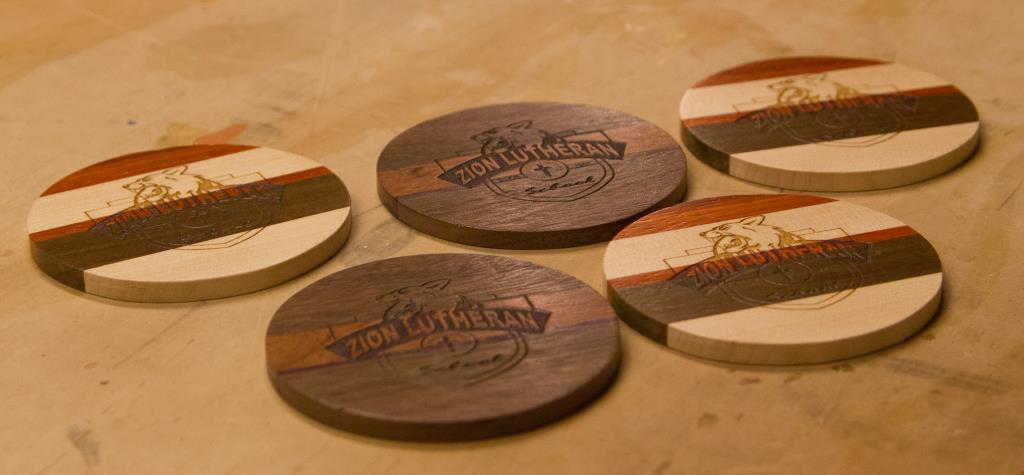
I started by gluing up a bunch of scrap pieces of random types of wood and planing them flat. Then it was off to the CNC to cut out circles. That ended up taking hours longer than I thought it would due to a comedy of errors. In retrospect I should have just cut them by hand, but I eventually ended up with 5 circles. The planned sixth one was ruined twice and it was unsalvageable.
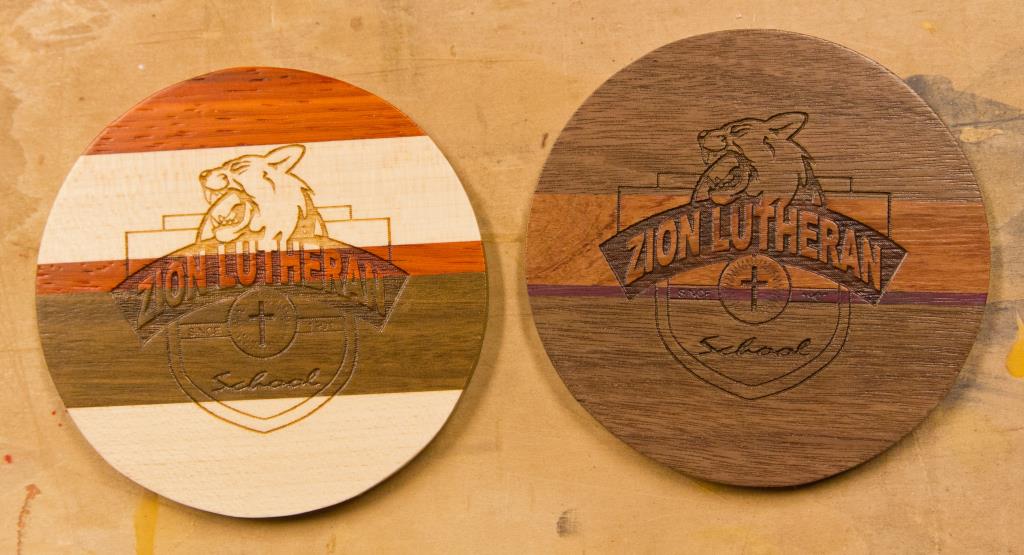
From there I headed to work to use the laser cutter and after carefully aligning the laser with the reference marks that I made on the CNC, I engraved the Zion logo into the coasters. The walnut ones are my favorite and I think it’s especially neat how the “Since 1901” is perfectly lined up with the small strip of purpleheart.
I’ve never been to an auction like this so I don’t know if they typically have lots of small items or bigger ones, so hopefully this fits in ok with the other things that are available. I’m very interested to see a stranger attach a price tag to something that I’ve made.