
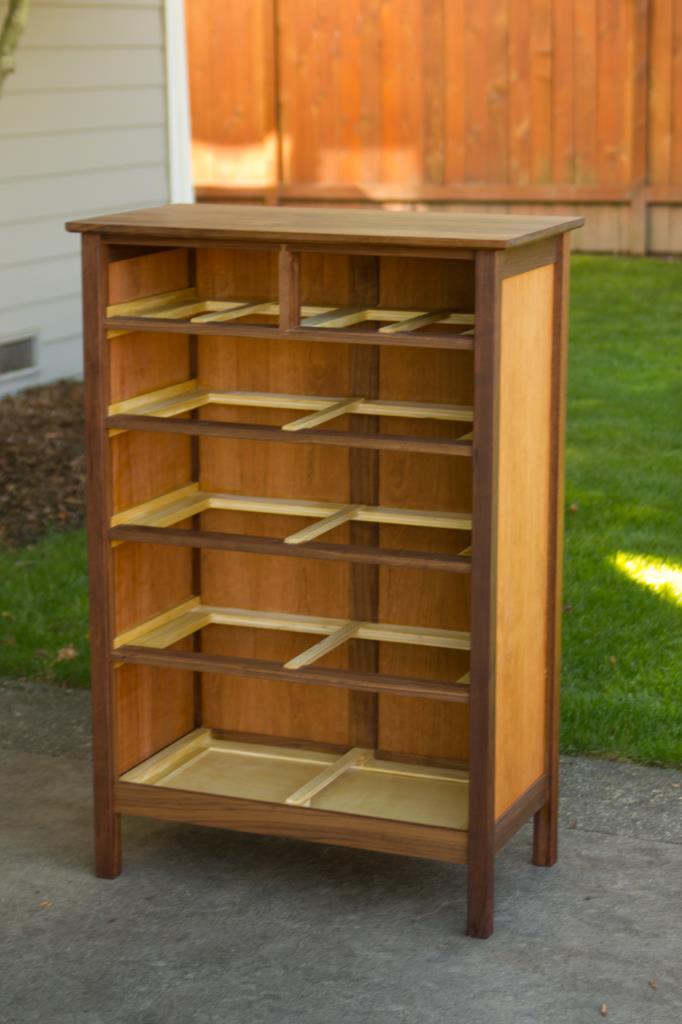
Elijah’s room doesn’t have a lot of storage space and with him having more homework to do in the coming years, a desk felt like a natural project. I looked around at some different ideas and designed something from scratch (though the design is anything but groundbreaking.)
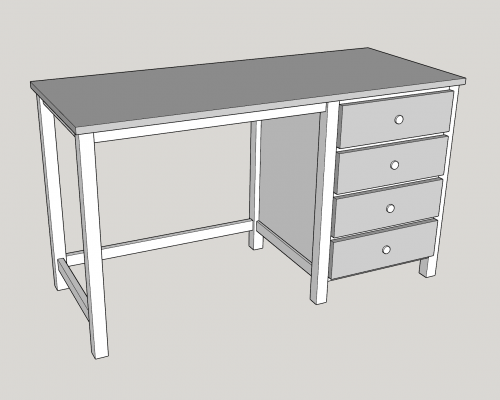
We decided to paint the project so I built the whole thing out of poplar. In each project I try to tackle at least one new skill and there were a few new ones in this project:
- I wanted solid wood for the top so that it’s easier to sand down and repair if it gets some dents or gashes in it. I’ve done a few big panel glueups in the past but I never feel like I’m good at it. It’s a challenge to get everything smooth and flat while avoiding cupping. This one turned out pretty well. I used biscuits to help with the alignment.
- I love pocket hole joints, but they would have been very obvious for many of these joints, so I wanted to do some kind of mortise and tenon joint. I got a Beadlock system from Rockler and had a good time learning how that worked. It’s so much faster than traditional mortise and tenon and cheaper than a Domino. If I was doing this for a living, the Domino would be worth it, but for a weekend warrior like me, Beadlock was perfect.
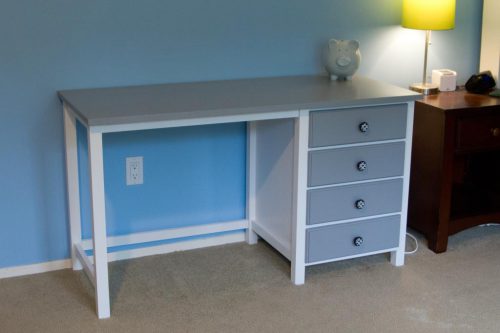
- I sprayed the paint on. I have a Rockler sprayer, but I’m always hesitant to use it. I went for it this time and was extremely happy with the result. I sprayed Sherwin Williams water based acrylic alkyd paint. I had good luck with that same paint on the spraying it worked well too, though I did thin it with some water. I sprayed in the garage with the HomeRight spray tent and it worked really well at keeping overspray from getting all over everything.
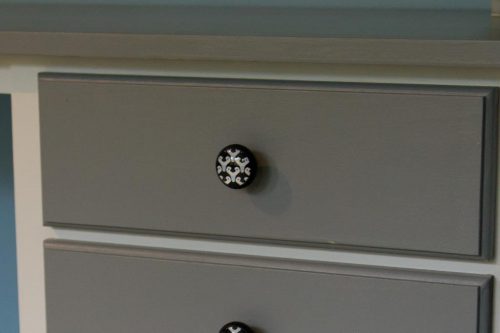
The final step was figuring out the drawer pulls. I looked through various options but ended up finding penguin drawer pulls on Amazon and they looked great when I installed them!
Note that the Amazon links are affiliate links so I get a small kickback if you use them at no extra cost to you.
But First, Pray
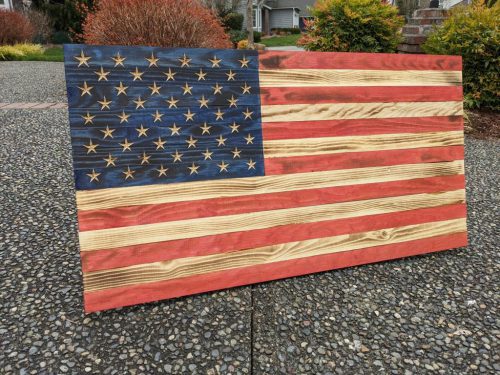
Elijah’s school has a charity auction every year. Last year I made coasters with the school logo on them. This year I thought I’d make a sign since those are so popular. I ended up with a sign that says “but first, pray”.
I didn’t want to just make a painted sign. I wanted the words to stand proud of the surface. A laser cutter would be the right tool for the job, but I don’t have one and our maker space is closed while the pandemic rages. I bought a handful of cheap 1/16″ CNC bits assuming that I would break a few of them in the process.
My first attempt was cutting everything out of MDF. That worked ok for the large “pray” word but the smaller individual letters didn’t hold up. The MDF wasn’t strong enough to hold together at that scale. I then made them out of 1/4″ poplar and they worked fine. I sanded and painted everything, but then I realized that I didn’t have a great way to keep those tiny letters stuck on the wood. I was nervous that one little bump might knock some of them off. After trying a few things, I decided to use my Cricut to make a stencil for the individual letters and then I glued on the bigger word.
I finished it off with a keyhole slot on the back so that it could be mounted easily on a wall. The keyhole bit I have is a 1/4″ shank so normally I put a different collet on the router in my router table, carefully measure and align everything and then pray that it all works. This time I realized that I could just stick the keyhole bit into my CNC and manually drive the machine to get the cut exactly right. It was so much easier!
The end result looks pretty simple but it took a ridiculous amount of time, especially when spread into the tiny amounts of free time that I’ve been able to devote to it. Hopefully it raises a few bucks for the school.