 I’ve played around with classic gaming system emulators in the past. There was the time I bought an old Asteroids machine and stuffed a computer inside, and I also modified an original Xbox to run old Nintendo games. Classic games are still fun for me and I thought the simpler games might be a way to introduce Elijah to video games as a super rainy weekend special activity kind of thing. Or at least that was my excuse.
It’s a lot easier to get a system up and running now. Here’s a shopping list:
Things you might have already:
- HDMI cable
- Micro SD card (at least 8GB)
- USB Keyboard
Now you’re ready to follow the instructions (Lifehacker has a good guide too) and get gaming!
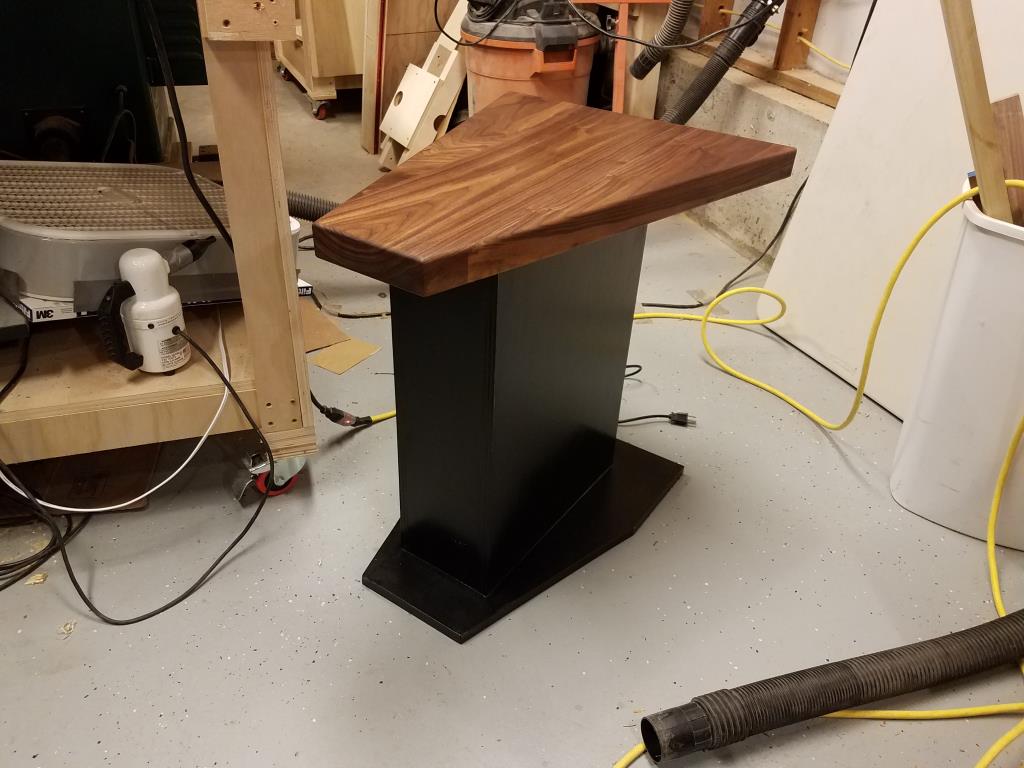
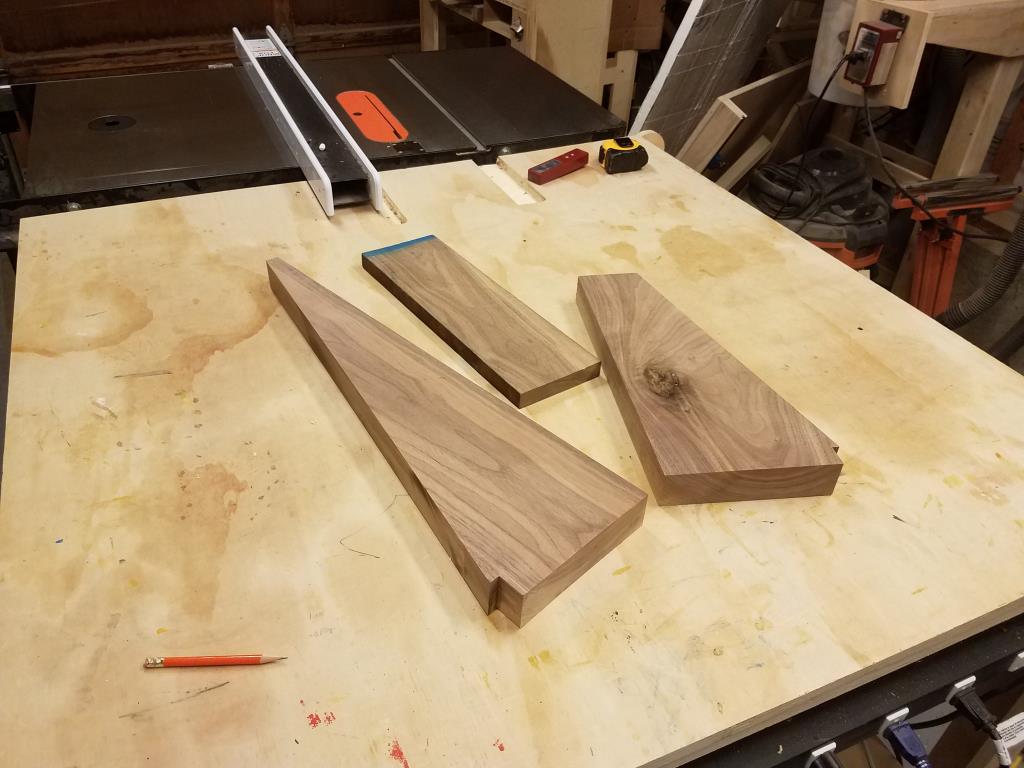
That only took me a couple hours to put together. I wasn’t thrilled with all the cables and pieces laying around so I decided to build a nice box for it. I have done some bandsaw boxes but I don’t recall doing any nice small wooden boxes with a lid. This seemed like a good excuse. I started with some walnut scraps from the side table build.
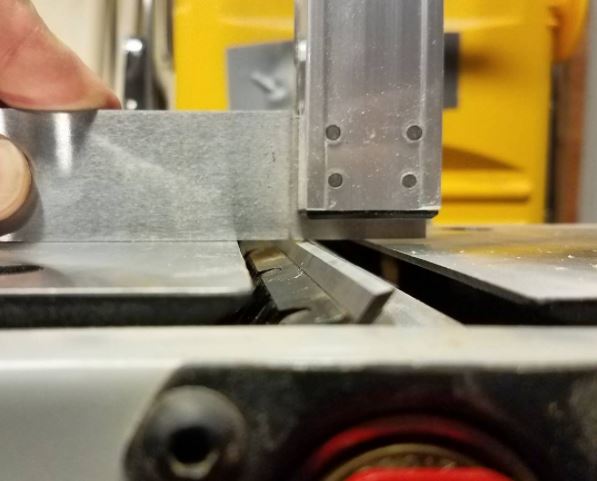
 For the top, I found part of the wood with nice grain and tried a bookmatch. That just means that you use the bandsaw to cut down the middle of the board (the thin way) and lay it open like a book. The grain ends up as (almost) a mirror image. I was really happy with how it looked though in the final product I did goof it up a bit. I think I flipped one of the boards end for end.
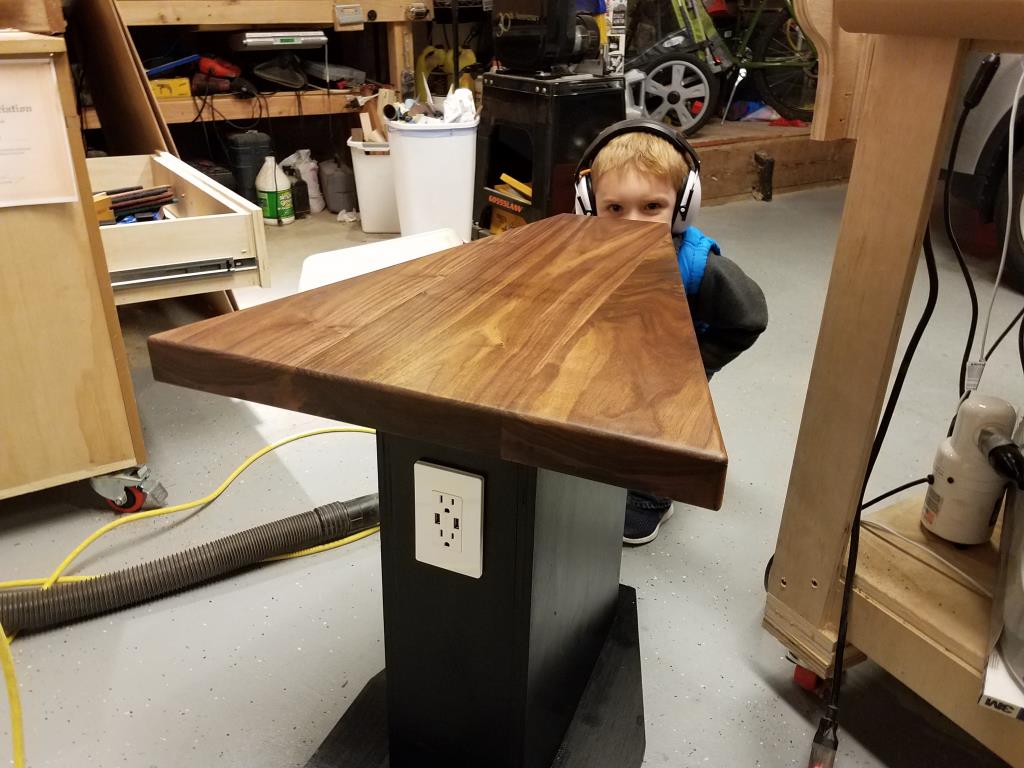
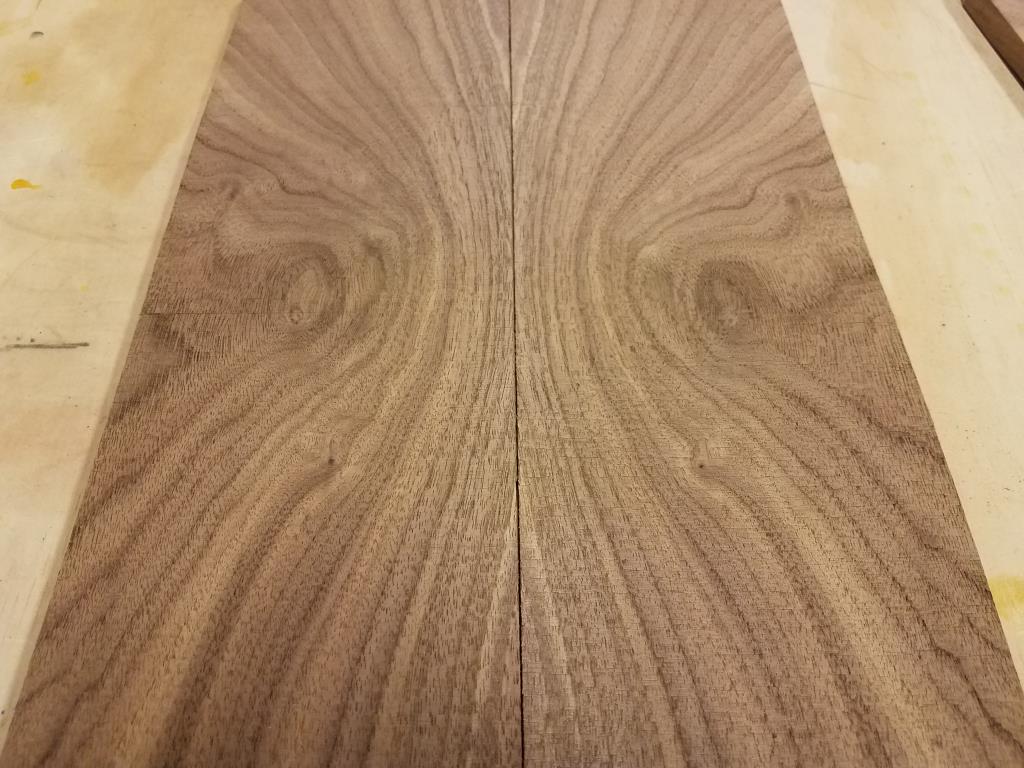 Because I was using scraps, I couldn’t quite get a continuous grain all the way around the box, but I did pay a little attention to it and some of the corners look pretty cool. I put in some small maple splines to reinforce the corners. The box walls were thin so the splines are pretty tiny. I finished it off with a couple coats of shellac.
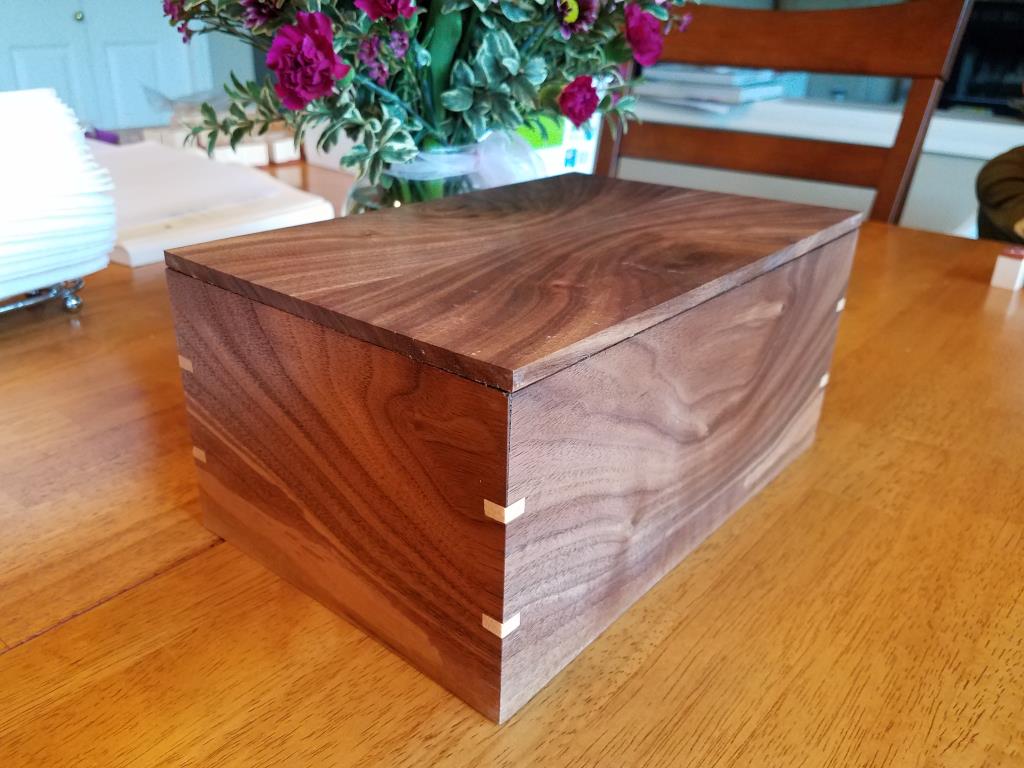
I’m happy with it for a first attempt. Everything fits inside so that’s a win and the grain is pretty to look at. I want to try another box soon to use what i learned. Crosscut Hardwoods is selling small pieces of curly maple and I picked up some of that to try on the next box.