
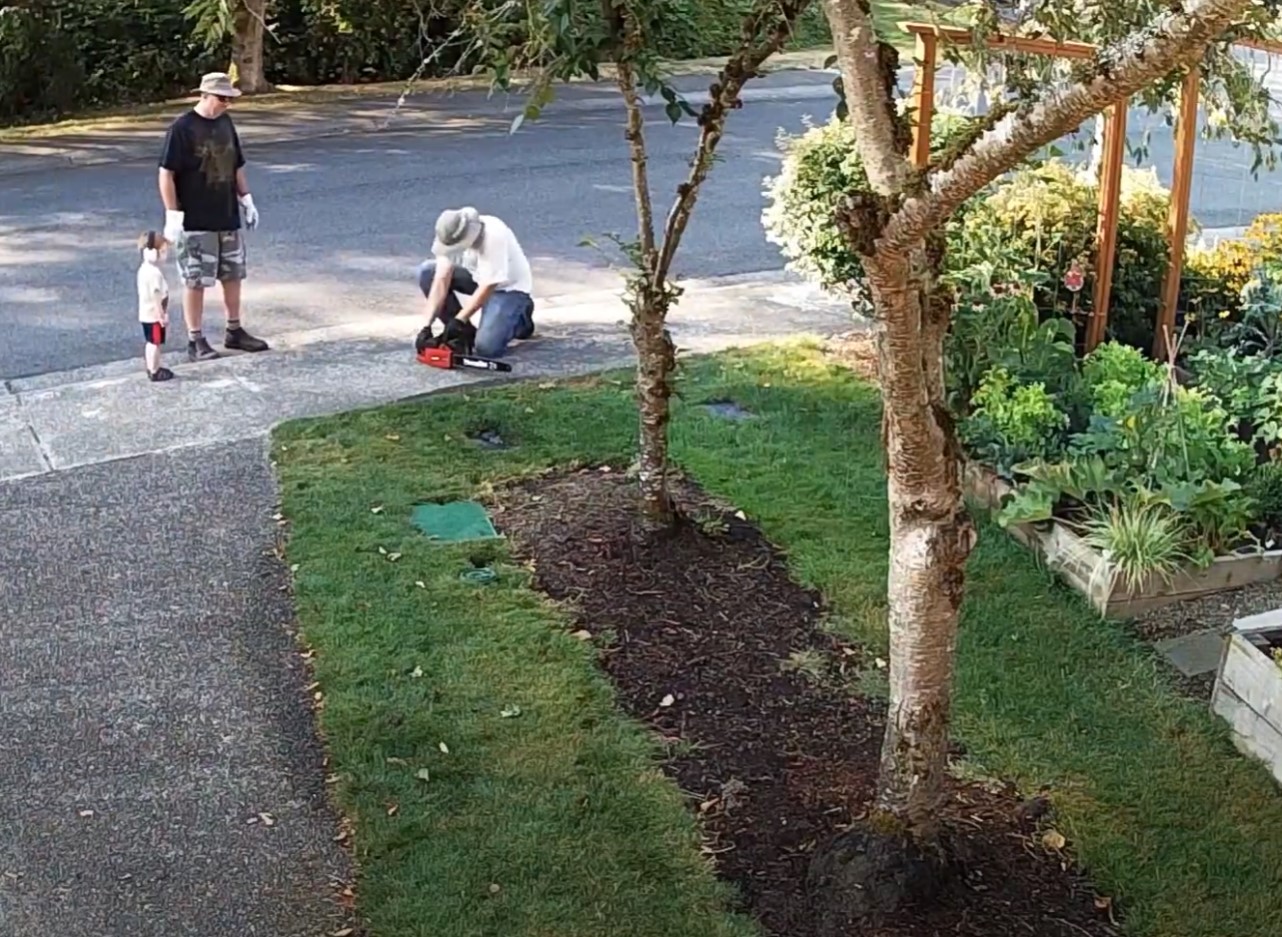
In 2016, we decided to take down two scraggly cherry trees along our driveway. Check out 3-year-old Elijah looking on as Logan and I took the trees down.
There was hardly much wood in them, but I saved some of the bigger pieces anyway. After drying out, one piece of the wood got turned into a cross that hangs in our front entryway. But I had another half dozen or so pieces sitting around with no plan. I had been thinking about trying to make a bowl on the CNC anyway, so I decided to use this wood for that project.
I spent a lot of time with a segmented bowl calculator trying to figure out the specific angles I’d need to cut 8 trapezoids for each layer. Eventually I felt good about the calculations and since that program spits out SVG files, I decided to just cut them on the CNC and know that the angles would be perfect instead of trying to do it on the table saw. The table saw would have been a lot faster, but one bonus of the CNC was that I could do a facing operations on each board to get them to exactly the same thickness. Using the planer for that would have been difficult since the pieces were too short for the planer.

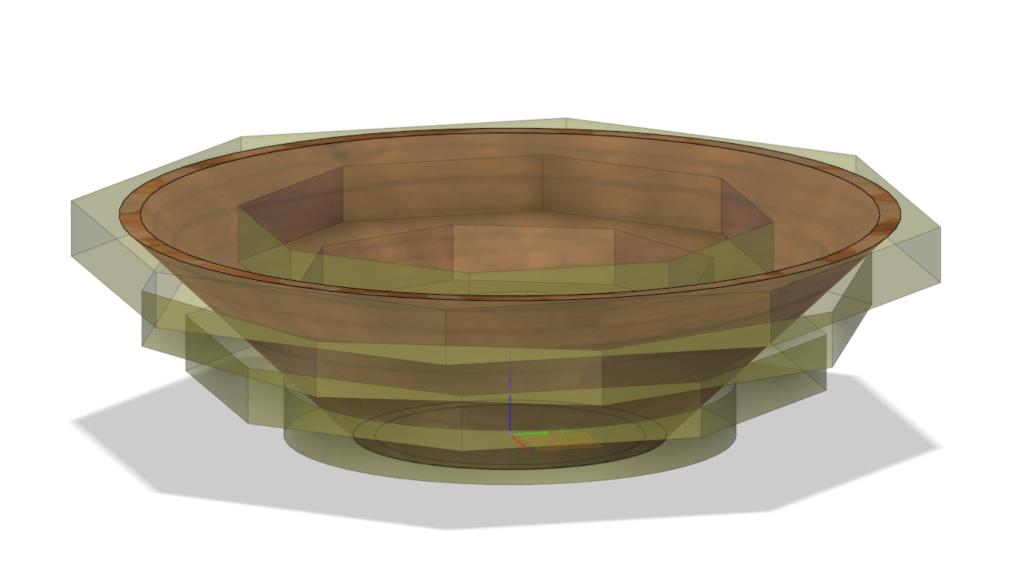
I glued each layer individually and clamped it with hose clamps. Once each layer was done, I glued them all together. Then it was time to model the actual bowl in Fusion 360. The trick was that I had to make sure that the bowl perfectly fit inside the blank. Here again, the SVG files from the calculator came in handy because I could pull them into Fusion and draw the blank pretty much exactly as it existed in the real world. I also had to be careful not to make the bowl too steep since my router body would crash into it while carving out the bottom of the bowl.
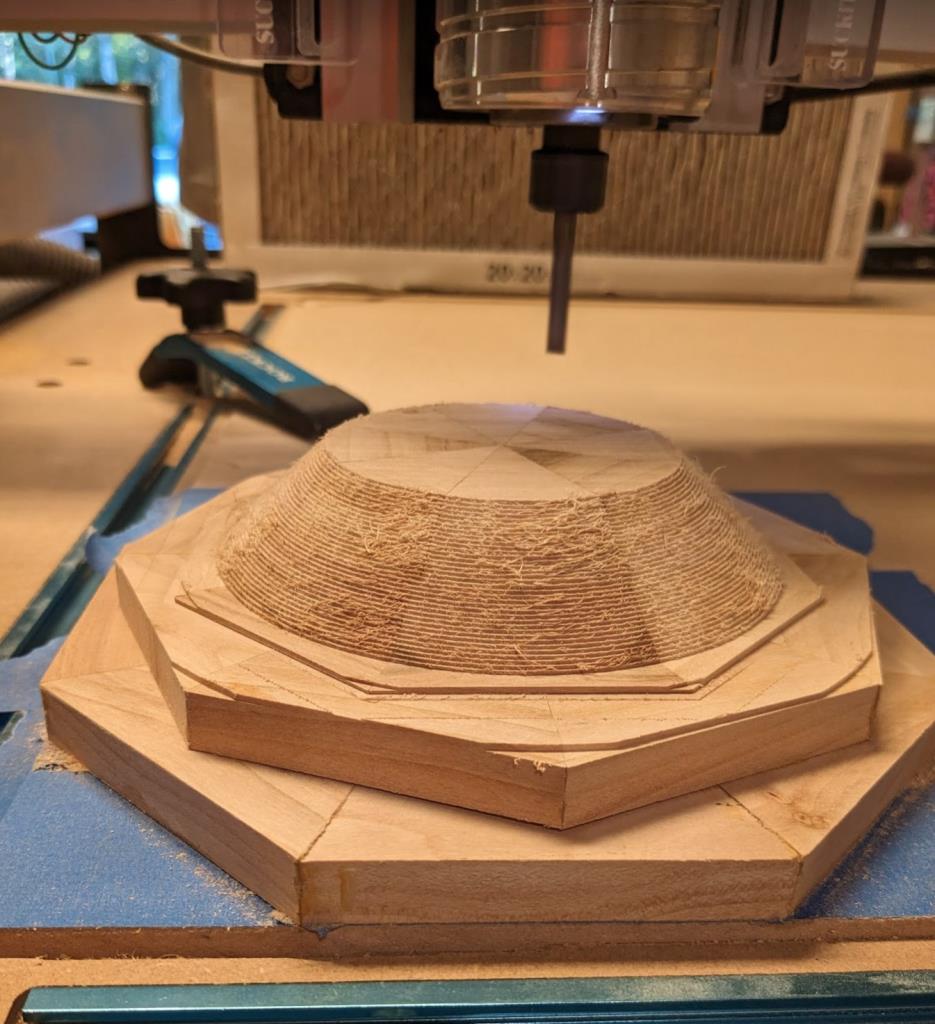
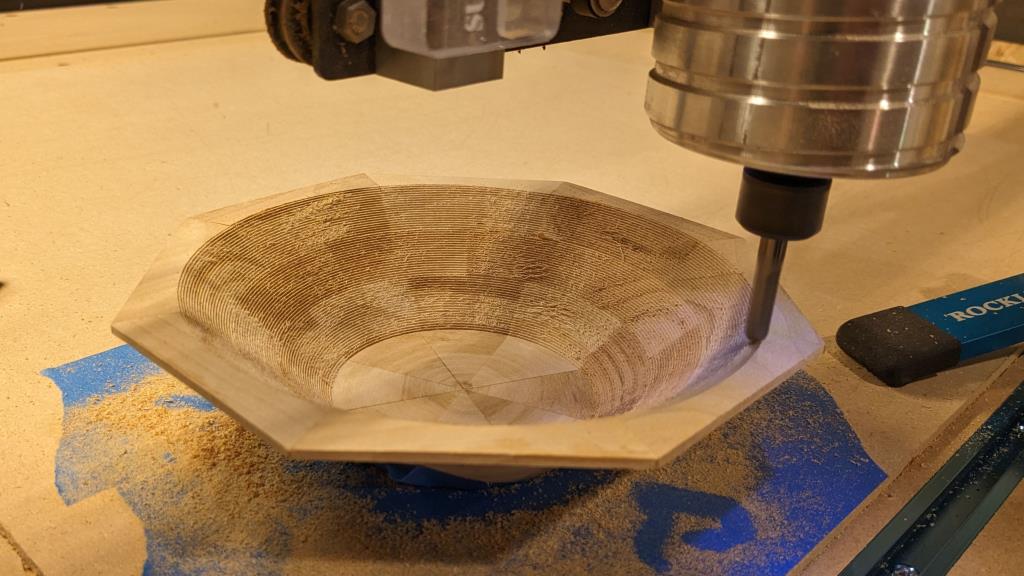
Then it was time to program the actual cut in Fusion. I started with the bowl upside down. I programmed a dummy cut around my stock which would give me confidence that I had things calculated correctly. Then I did a roughing pass with a 1/4″ end mill to get rid of the bulk of the material. The picture below shows that roughing pass about halfway complete. The whole pass took 1.5-2 hours.
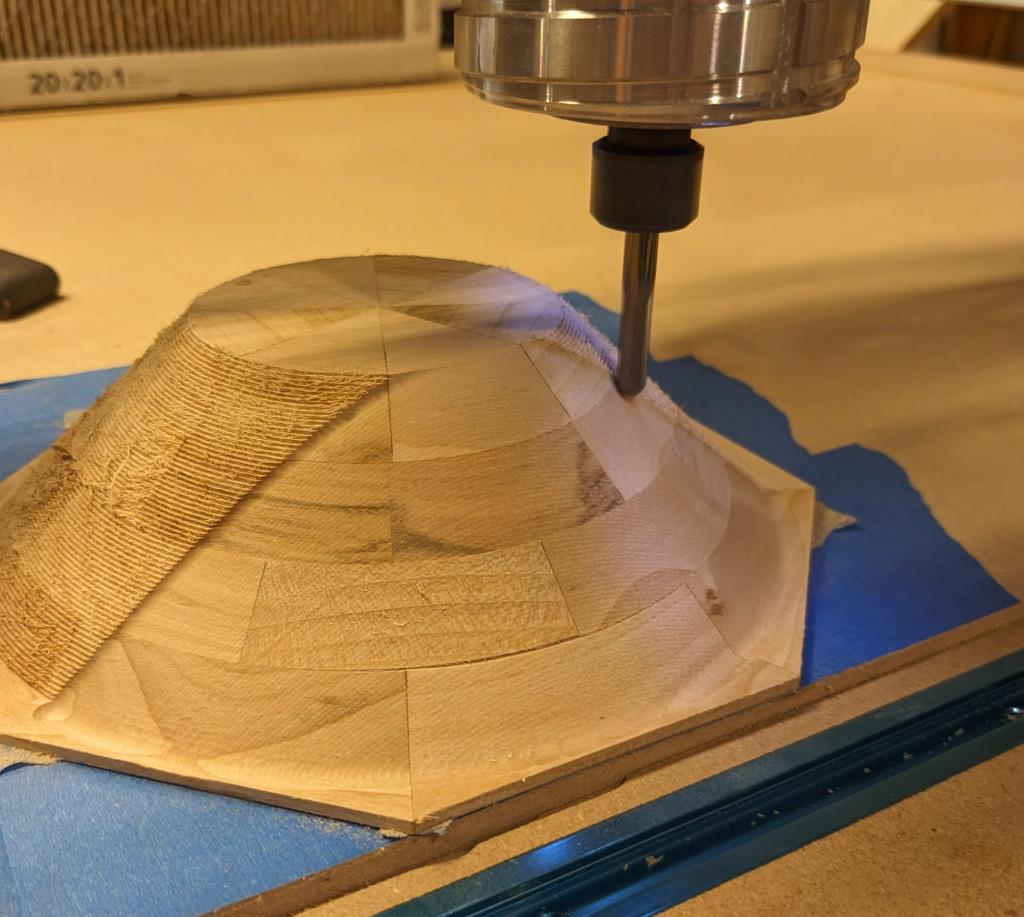
I then switched to a 1/4″ ball nose bit and took very small passes back and forth across the bowl to give a pretty smooth finish. It still needed sanding, but it was very close to the final surface.
Next I flipped the bowl over and did the same process on the inside of the bowl.
While doing the inside of the bowl, I had an accident where the bit plunged way down into the blank where it shouldn’t have. The origin of my model had been set incorrectly. Chatting about it with Luke, he suggested that I fill the hole with a dowel, and I happened to have a cherry dowel that was exactly the right size. Thankfully that whole mistake ended up getting cut away, so it didn’t impact the final product.
It was also a challenge to hold the bowl to the surface of the table. Since I was machining the whole surface, there was nothing to clamp to. So instead, I put blue painters tape on the bottom of the blank and on the table. Then I glued them together with super glue. It created a strong bond that I was able to break later without damaging the bowl or the CNC table.
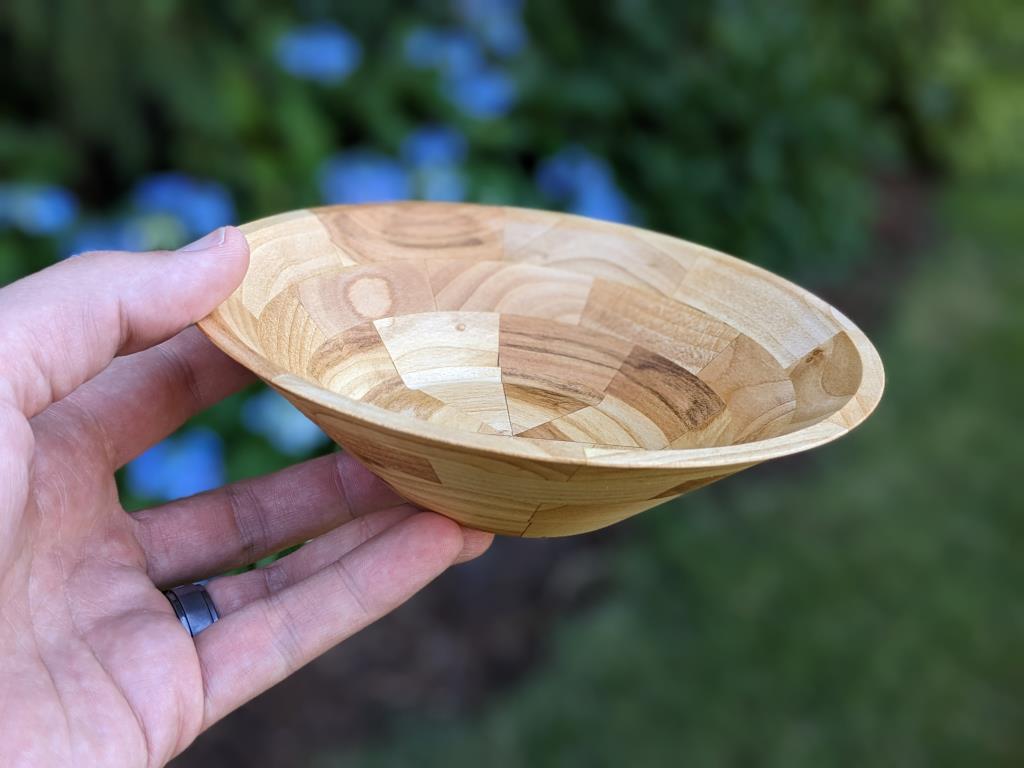
I added some boiled linseed oil as the finish and now it’s done! I don’t have any big plans for the bowl, but I’m happy to have made it successfully through this project. I didn’t really have enough wood to make another one if I screwed up and I was too lazy to make a duplicate blank out of cheaper boards.
If I ever do this again, there will be a few changes:
- I didn’t rotate the second layer correctly. The cracks line up with the base/first layer. It doesn’t look too bad from the inside of the bowl, but it looks goofier from the outside.
- I should have taken more time sanding the layers flat before gluing them together into the blank. I thought I had them flat enough, but there are some segments that have a tiny gap to the segment above them.
- I need to experiment more with the program and how fast I run the bit. This whole bowl was something like 6 or 7 hours of machine time plus all the setup time around it.