As I sit here staring at this blinking cursor trying to remember what happened in 2024, I’m thankful that I keep this website going. I don’t post every day like I used to, but it is nice to have a record of our trips, my projects, and other family events (with some nonsense posts in the mix of course too.) So let’s flip back through the posts and see what happened this year:
We usually try for one big (I guess that’s a relative term that varies by family) vacation per year, but this year had two because Tyla got to go on her AGE-REDATCED’th birthday adventure to Leaping Lamb Farm. We had been there in 2022 for the first time and Tyla immediately wanted to schedule a return visit so we booked spring break week this year. We had to wait a year and a half for the trip but it was worth it. There were baby lambs and baby goats hopping and falling all over the place.
I took a solo trip in May to the 2024 PacNW Men’s Retreat and promptly returned home with food poisoning. Not only was that a horrible experience but I was really bummed to miss Pastor Dave Scharf’s talks. Little did I know I’d run into him later in the year… (Also, I’m happy to say that the restaurant that got me sick is now permanently closed. There appeared to be some serious health code violations, and I should have just walked away.)
We took a quick day trip down to Portland to see a professional disc golf tournament. It was such a fun day for all of us that we already have a tournament on our calendar for 2025. It’s a small sport but big enough that the pros are mind-bogglingly good. It was amazing to see in person what they’re capable of instead of just watching it on TV. Elijah also got to watch his disc golf teacher play and then got to take a picture with her on the first tee!
Pretty much every summer we try to make it back to my parents’ house in Indiana for some pool fun. They surprised us this year by installing a diving board and it got a lot of use! Given how far away we live, I’m thankful that Elijah gets to spend so much time there and get a little taste of what it was like where I grew up.
Our “official” big vacation was a cruise to Alaska. This was the third cruise for Tyla and me, and we knew Elijah was excited to see Alaska, but when we told him it was a cruise, it was a hard sell. He really didn’t want to go. Ask him what he thinks about cruises now! I’m thankful he kept an open mind, and he has now done a complete 180. It wasn’t nearly as relaxing as our previous cruises, but it was fun to experience it through his eyes.
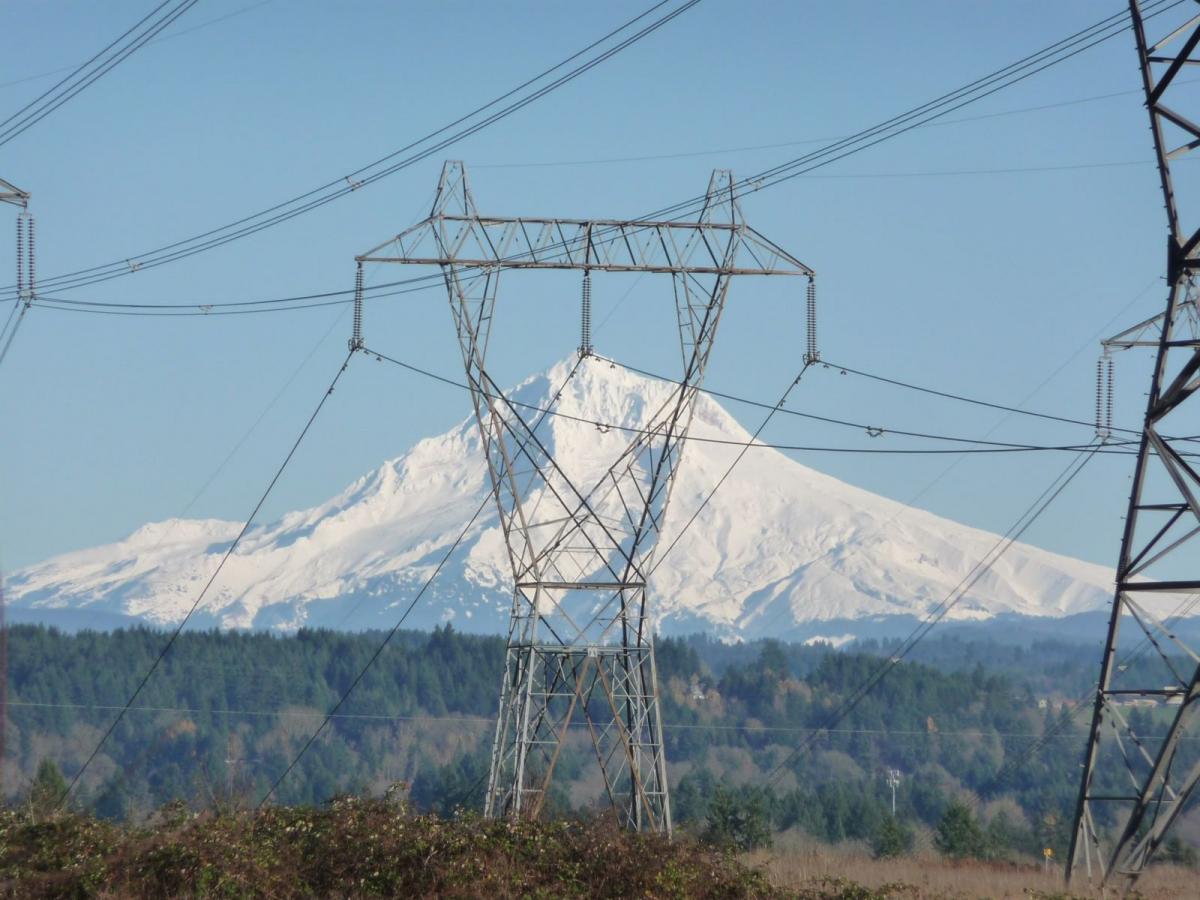
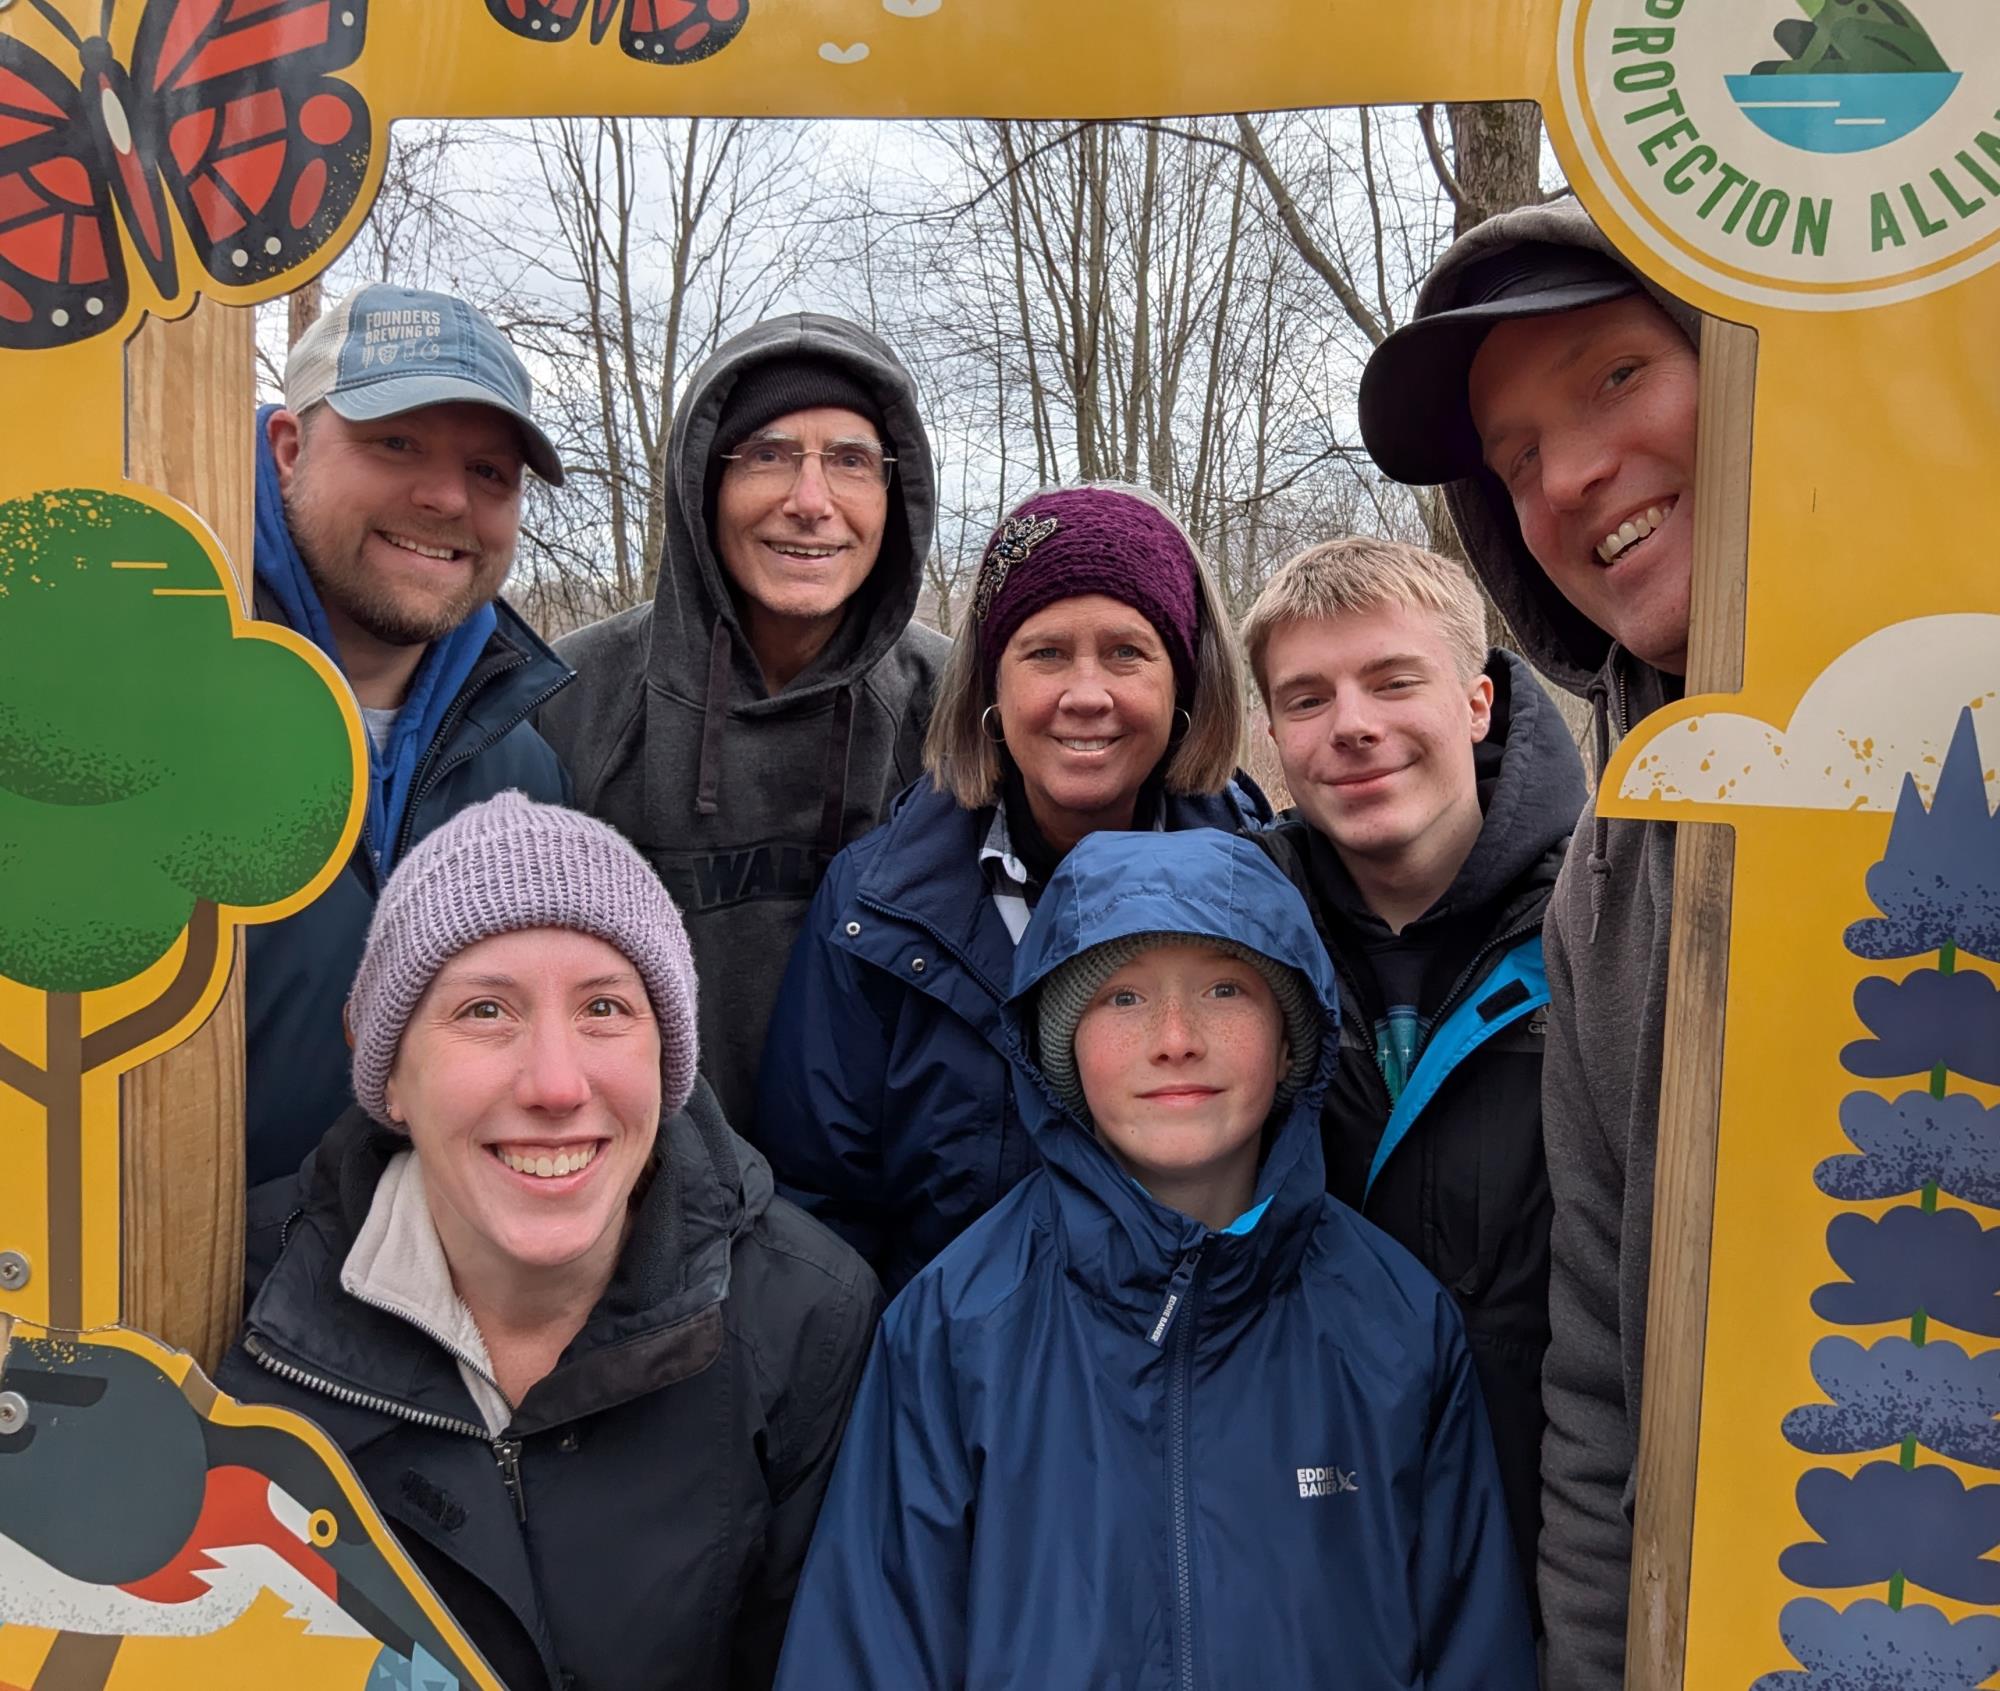
We squeezed in one more quick family trip to Moses Lake in central Washington so we could drive up to the Grand Coulee Dam. We wanted to show it to Elijah and we were also able to snag a couple more counties as we try to color in the entire map of Washington counties. I think we’d all agree that the highlight of that trip was our ride on the tiny Keller Ferry. Our cars have been on a lot of boats, but never one that small!
As you may have noticed, pretty much all our trips involve all three of us, but in October, Tyla and I took our own trip out to New Ulm, MN for a weekend at Martin Luther College. We’re getting more involved with supporting the school and were involved in some meetings. A huge thank you goes to Megan for staying at the house and watching Elijah!
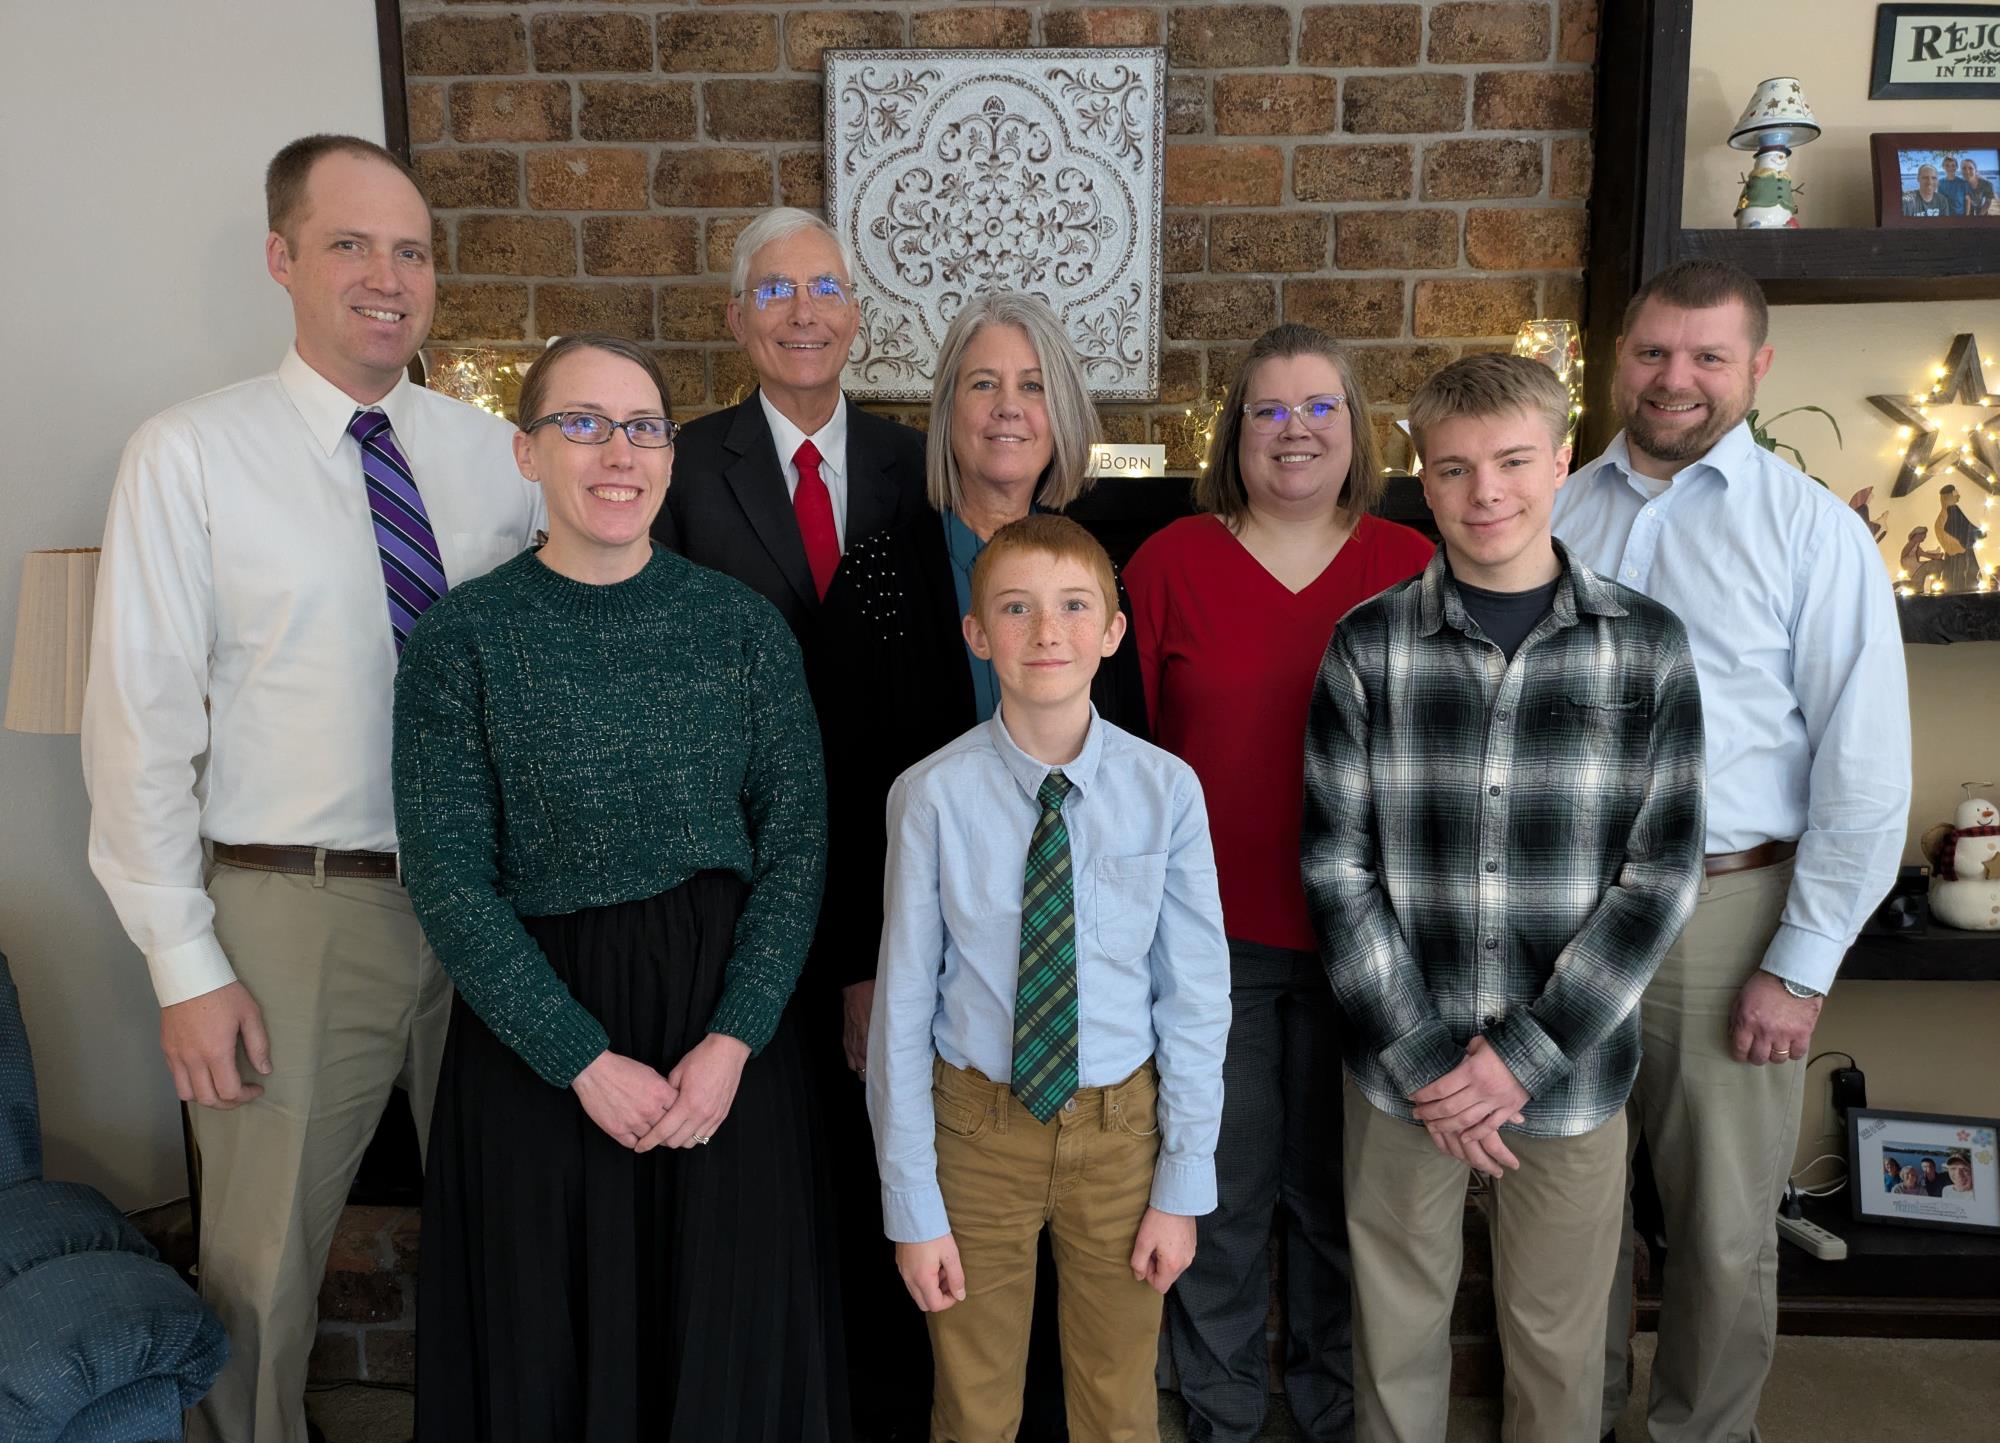
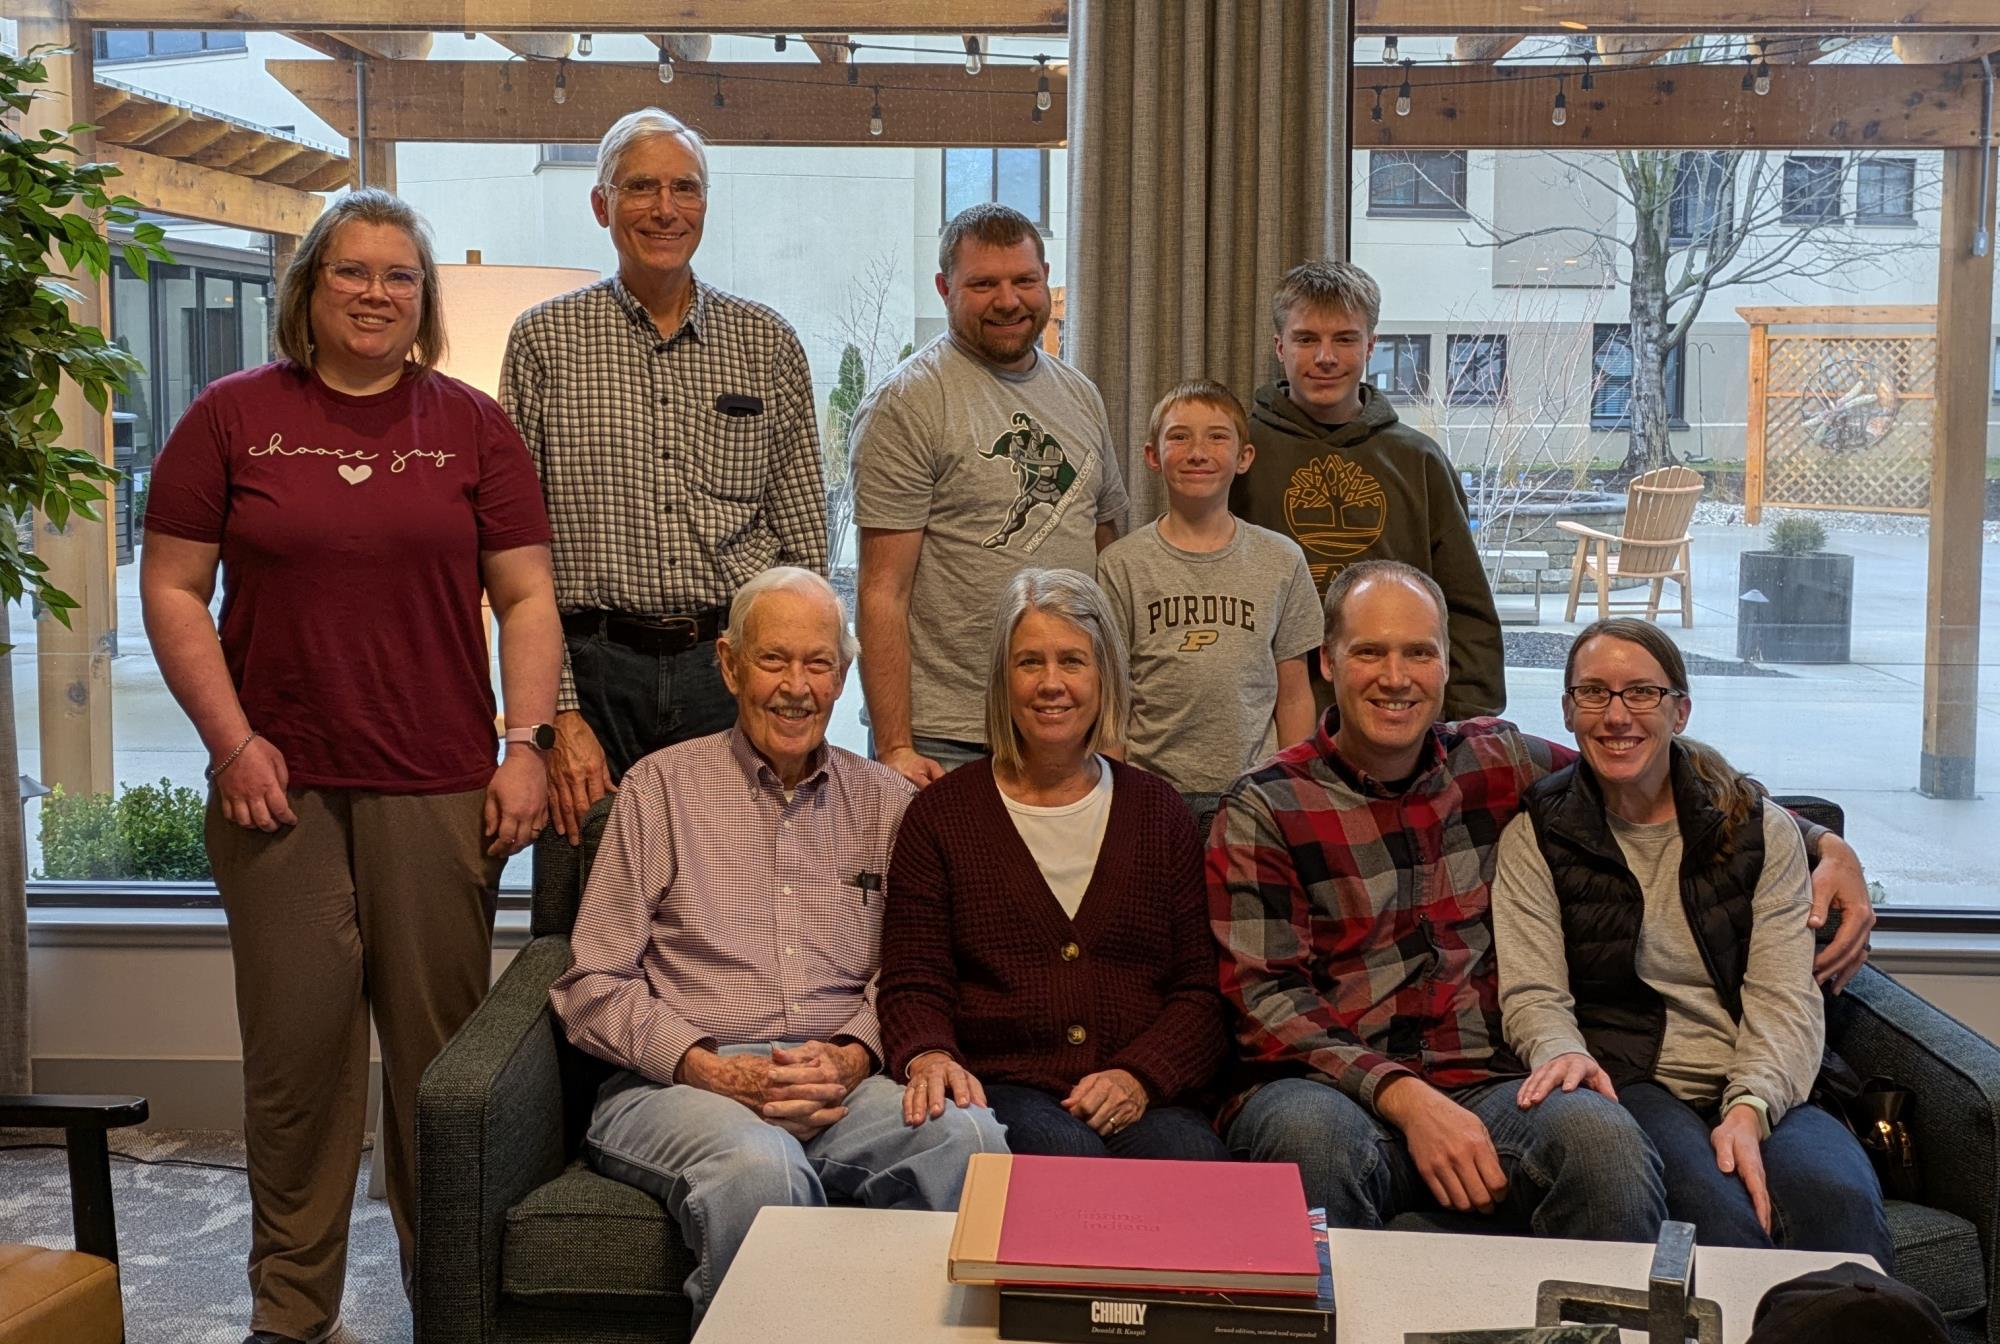
Then finally, this year we spent Christmas in Indiana. Two trips to Indiana in one year! I know it’s a lot of work for my parents to host us all, but we really appreciate being able to spend Christmas with everyone.
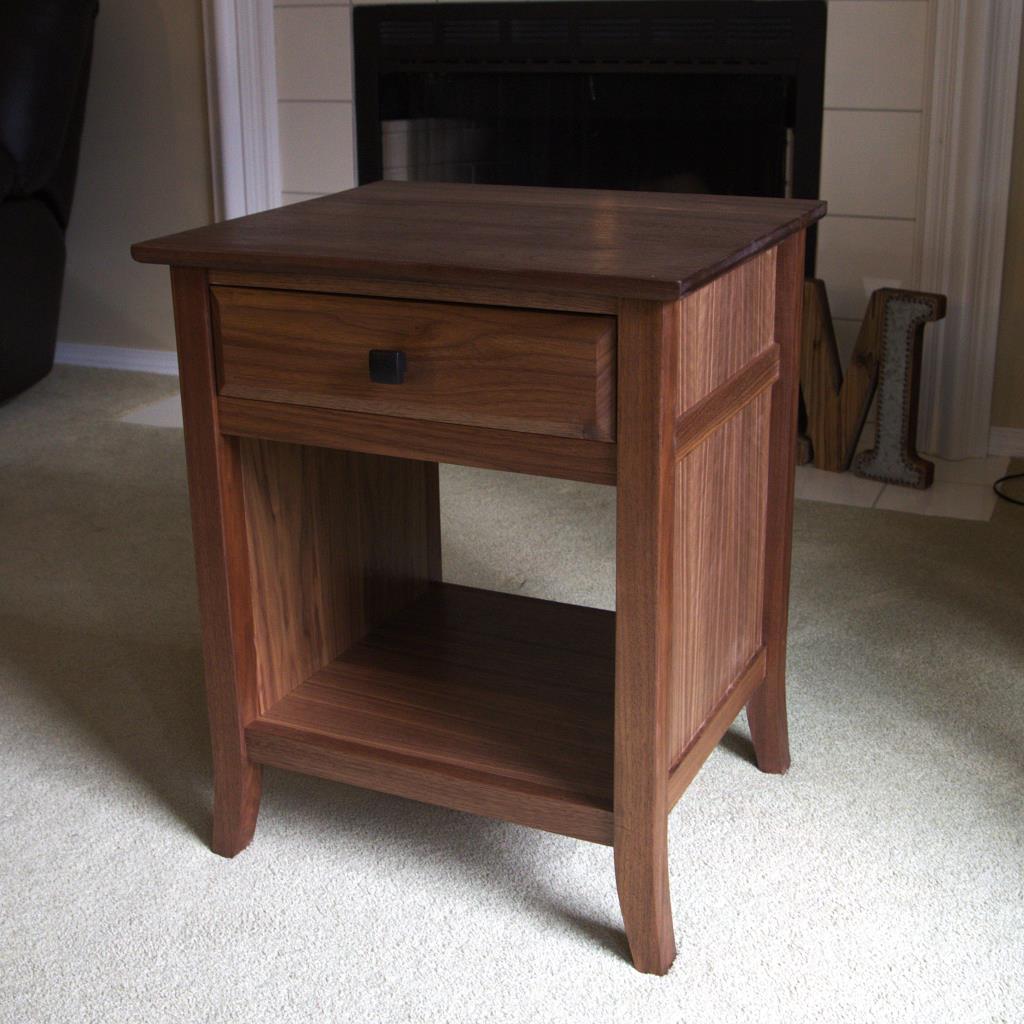
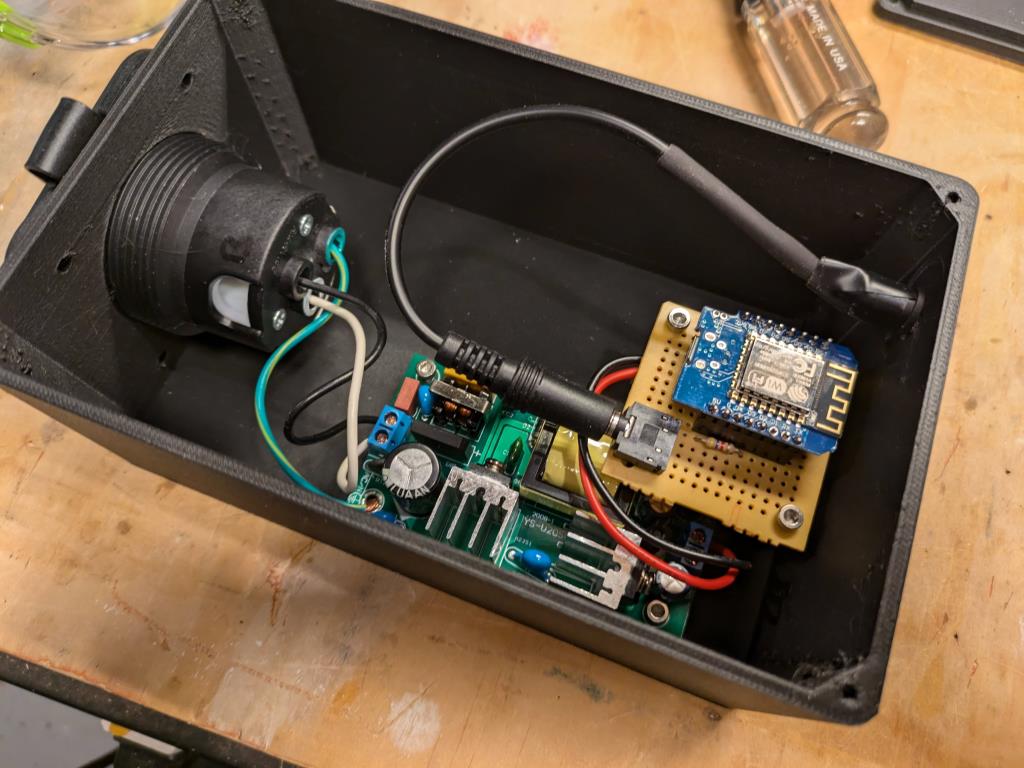
At home, I felt like I had a lot less free time to do projects. I’m not sure if that’s because I was a lot busier with my volunteer work at church or because I was lazier in the evenings. It’s probably a combination of both. My woodworking Instagram account does remind me that there were quite a few projects even though none of them were huge. I made a walnut trash can with some interesting angles, a keepsake box made with wood from an old cross with Elijah’s school logo on the lid, a walnut tissue box holder, a coat rack, a kids bakery sign, a cat bed, and an updated silverware tray. There are some big projects underway now but those will probably land in 2025. And while it’s not woodworking, I replaced the rotten wood backsplash in our kitchen with tile. It was my first time doing tile and it makes me smile every time I do the dishes because I’m not staring at something I need to fix.
I think the biggest change for me personally this year was mostly dropping off of social media. I still post my finished woodworking projects to Instagram and I post for our church Facebook and Instagram accounts, but I have broken the habit of doomscrolling and it feels amazing! I removed the Instagram icon from my phone’s home screen and left that spot blank. It was shocking and scary how many times I would pull out my phone and click that spot. That just reinforced my desire to stop. I set a rule for myself that I would only go through what the people I follow had posted once per week on Friday nights, but now I find myself going multiple weeks before I remember to check in. This feels much healthier and certainly removed a lot of pointless screen time from my day.
To combat the relentless acceleration of the calendar and ever-dwindling free time, I’m trying to be even more intentional with my time. Making task lists for each day, removing wastes like social media, and trying to schedule family activities on a regular basis are all helping. There’s also the problem of having too much stuff to cram into a week, but I haven’t figured that one out yet. There’s always next year!
Previous Year In Review Posts: 2003, 2004, 2005, 2006, 2007, 2008, 2009, 2010, 2011, 2012, 2013, 2014, 2015, 2016, 2017, 2018, 2019, 2020, 2021, 2022, 2023


2024 Year In Review
As I sit here staring at this blinking cursor trying to remember what happened in 2024, I’m thankful that I keep this website going. I don’t post every day like I used to, but it is nice to have a record of our trips, my projects, and other family events (with some nonsense posts in the mix of course too.) So let’s flip back through the posts and see what happened this year:
We usually try for one big (I guess that’s a relative term that varies by family) vacation per year, but this year had two because Tyla got to go on her AGE-REDATCED’th birthday adventure to Leaping Lamb Farm. We had been there in 2022 for the first time and Tyla immediately wanted to schedule a return visit so we booked spring break week this year. We had to wait a year and a half for the trip but it was worth it. There were baby lambs and baby goats hopping and falling all over the place.
I took a solo trip in May to the 2024 PacNW Men’s Retreat and promptly returned home with food poisoning. Not only was that a horrible experience but I was really bummed to miss Pastor Dave Scharf’s talks. Little did I know I’d run into him later in the year… (Also, I’m happy to say that the restaurant that got me sick is now permanently closed. There appeared to be some serious health code violations, and I should have just walked away.)
We took a quick day trip down to Portland to see a professional disc golf tournament. It was such a fun day for all of us that we already have a tournament on our calendar for 2025. It’s a small sport but big enough that the pros are mind-bogglingly good. It was amazing to see in person what they’re capable of instead of just watching it on TV. Elijah also got to watch his disc golf teacher play and then got to take a picture with her on the first tee!
Pretty much every summer we try to make it back to my parents’ house in Indiana for some pool fun. They surprised us this year by installing a diving board and it got a lot of use! Given how far away we live, I’m thankful that Elijah gets to spend so much time there and get a little taste of what it was like where I grew up.
Our “official” big vacation was a cruise to Alaska. This was the third cruise for Tyla and me, and we knew Elijah was excited to see Alaska, but when we told him it was a cruise, it was a hard sell. He really didn’t want to go. Ask him what he thinks about cruises now! I’m thankful he kept an open mind, and he has now done a complete 180. It wasn’t nearly as relaxing as our previous cruises, but it was fun to experience it through his eyes.
We squeezed in one more quick family trip to Moses Lake in central Washington so we could drive up to the Grand Coulee Dam. We wanted to show it to Elijah and we were also able to snag a couple more counties as we try to color in the entire map of Washington counties. I think we’d all agree that the highlight of that trip was our ride on the tiny Keller Ferry. Our cars have been on a lot of boats, but never one that small!
As you may have noticed, pretty much all our trips involve all three of us, but in October, Tyla and I took our own trip out to New Ulm, MN for a weekend at Martin Luther College. We’re getting more involved with supporting the school and were involved in some meetings. A huge thank you goes to Megan for staying at the house and watching Elijah!
Then finally, this year we spent Christmas in Indiana. Two trips to Indiana in one year! I know it’s a lot of work for my parents to host us all, but we really appreciate being able to spend Christmas with everyone.
At home, I felt like I had a lot less free time to do projects. I’m not sure if that’s because I was a lot busier with my volunteer work at church or because I was lazier in the evenings. It’s probably a combination of both. My woodworking Instagram account does remind me that there were quite a few projects even though none of them were huge. I made a walnut trash can with some interesting angles, a keepsake box made with wood from an old cross with Elijah’s school logo on the lid, a walnut tissue box holder, a coat rack, a kids bakery sign, a cat bed, and an updated silverware tray. There are some big projects underway now but those will probably land in 2025. And while it’s not woodworking, I replaced the rotten wood backsplash in our kitchen with tile. It was my first time doing tile and it makes me smile every time I do the dishes because I’m not staring at something I need to fix.
I think the biggest change for me personally this year was mostly dropping off of social media. I still post my finished woodworking projects to Instagram and I post for our church Facebook and Instagram accounts, but I have broken the habit of doomscrolling and it feels amazing! I removed the Instagram icon from my phone’s home screen and left that spot blank. It was shocking and scary how many times I would pull out my phone and click that spot. That just reinforced my desire to stop. I set a rule for myself that I would only go through what the people I follow had posted once per week on Friday nights, but now I find myself going multiple weeks before I remember to check in. This feels much healthier and certainly removed a lot of pointless screen time from my day.
To combat the relentless acceleration of the calendar and ever-dwindling free time, I’m trying to be even more intentional with my time. Making task lists for each day, removing wastes like social media, and trying to schedule family activities on a regular basis are all helping. There’s also the problem of having too much stuff to cram into a week, but I haven’t figured that one out yet. There’s always next year!
Previous Year In Review Posts: 2003, 2004, 2005, 2006, 2007, 2008, 2009, 2010, 2011, 2012, 2013, 2014, 2015, 2016, 2017, 2018, 2019, 2020, 2021, 2022, 2023