I remember reading that the traditional gift for a 10th wedding anniversary is a clock. I thought it would be a fun project and even picked out some plans that I liked from a back issue of Wood Magazine (Volume 38, Number 226.) We’ve now passed our 13th wedding anniversary and I decided it was time to get started making the clock.
A lot of the complexity in the project is just figuring out which clock movement to use, what kind of chiming sound you want, whether you want the chime to be electronic or mechanical, what type of bob to have swinging back and forth, what kind of hands to use, and which clock face to pick. Thankfully the plans I was using had specific part numbers and suppliers listed not just for the clock parts but also for the door hardware. I followed that all pretty closely but I did choose a different clock movement. We didn’t expect to use the chimes much so I didn’t need anything too fancy.
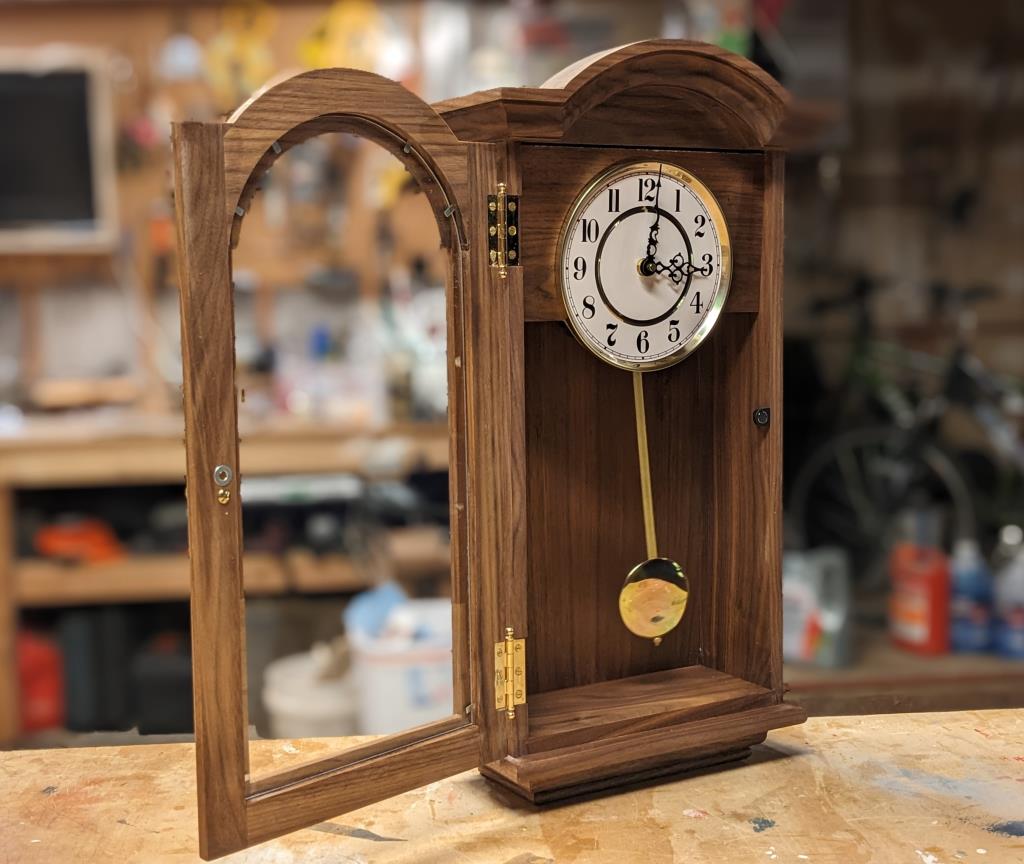
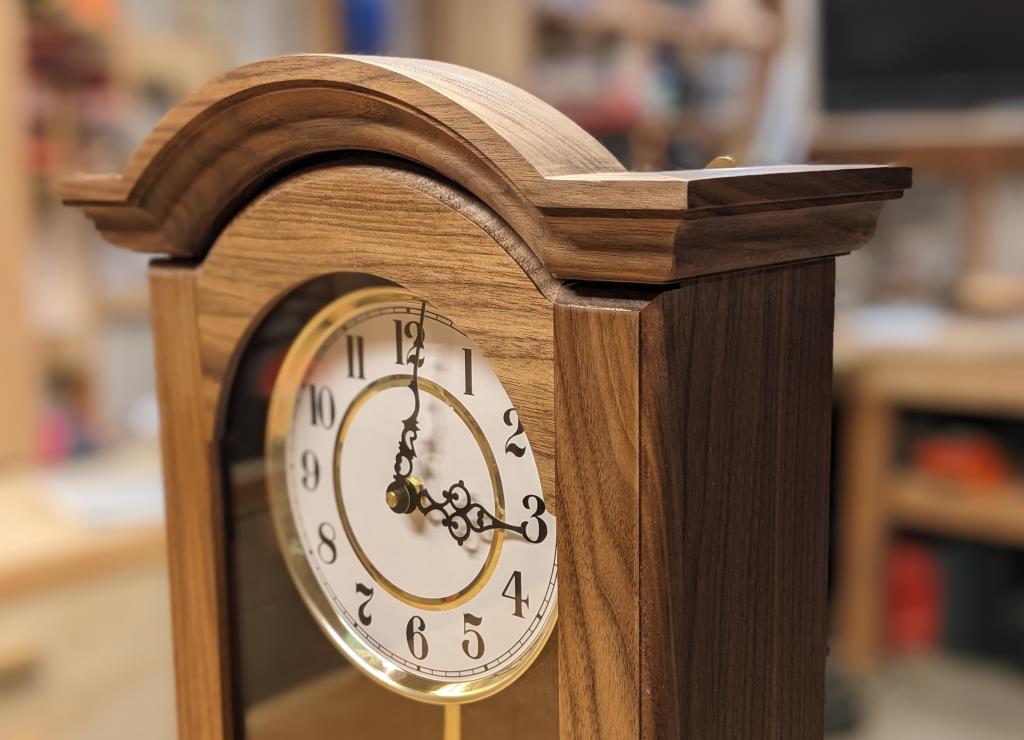
The project construction was fun. After building the main case, it was a straightforward process of building up specific molding pieces on the top and the bottom. Some of them did require a giant new router bit which was a bit scary to use but the result was worth it.
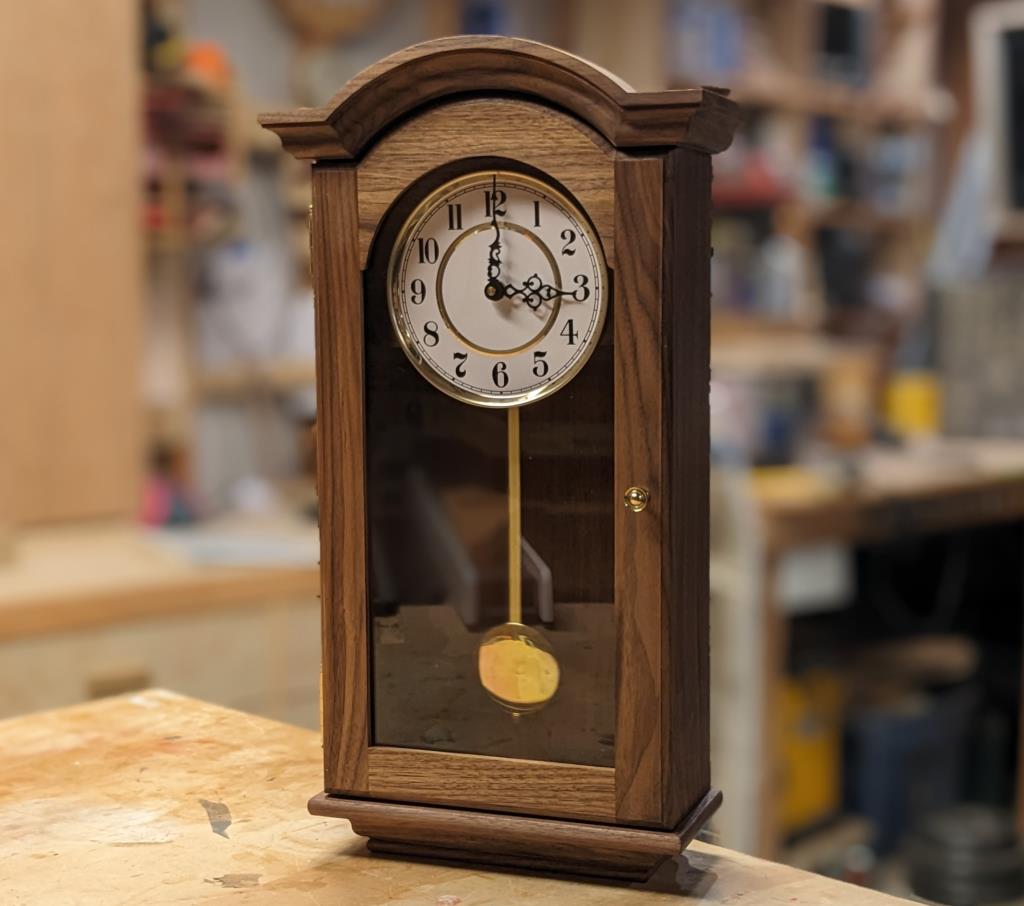
The door is designed to have a piece of glass sitting in it. The glass has a curve at the top and then gets etched with a design on the front. Finding a glass shop and/or learning how to cut curved glass all seemed like something I wasn’t excited to tackle right now, so instead I visited TAP Plastics. I bought some non-glare acrylic that didn’t end up working because the distance between the clock face and the door meant that the clock face looked blurry. So now it’s just a regular piece of cast acrylic. Some day I might take it to the laser and etch a design on the front, but we both know that’s unlikely to happen any time soon. It looks great as-is.
The clock face and the movement are held on via magnets so it’s easy to remove them to change the time. A magnet also holds the door closed.
The finish I used was Arm-R-Seal from General Finishes. I’ve used lots of different finishes in the past, but Matt Cremona has been building gorgeous furniture for many years and he uses this one finish for everything. I love the way his stuff looks and I love the simplicity of just having one finish instead of trying to find the latest and greatest thing that might or might not work well. This was very easy to apply and it looks great!
This clock now hangs in our kitchen and I love looking at it! We don’t use the chimes at all but they are there if we ever choose to flip them on.
I documented a lot of this process along the way in Instagram stories @martenswoodworks so follow me there if you want to see behind the scenes for the next projects.