
Part 1 showed the cabinets going in. Once that was done, I added two sets of quad outlets above what will be the desk surface. Each quad outlet contains two outlets that are built-in surge protectors. This seemed useful for things like printers and scanners which will sit on the desk surface.
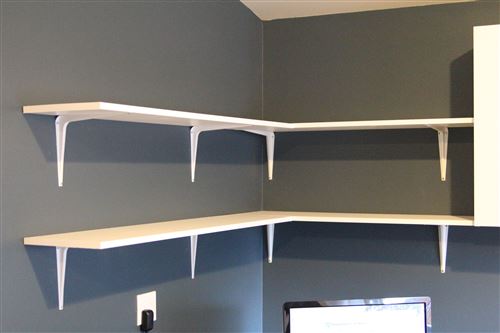
The length of the wall wasn’t an even multiple of the cabinet sizes I had available so I couldn’t stretch cabinets all the way to the end of the wall. Instead I wrapped some custom shelves around that corner. This is my least favorite part of the project, but they were cheap and functional. I can replace them later if I come up with something better. I bought some 10” metal supports and a couple melamine boards. I cut the boards to fit, ironed white veneer on the exposed ends and mounted them.
Next it was time for the hardest part of the job: building a desk surface. I went through a ton of different ideas from buying a bunch of boards to make a butcher block style table and using laminate flooring. This kept me up nights. I won’t go into details but there were a bunch of requirements that seemed to conflict. Finally I decided to build it with 3/4” sheets of oak plywood and face it with 1” strips of solid oak.
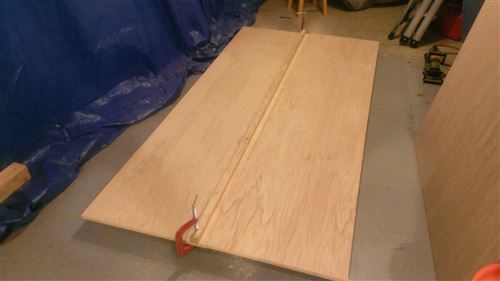
I had to build the desk in two parts in order to get it up the stairs into the room. One piece was an L-shape with a 45-degree angle where I’ll sit and the other wise was a simple 2’x8’ rectangle with a notch cut out of one corner to accommodate a support structure in the wall. I don’t have a table saw (yet) so all of the big cuts were done on the garage floor using a clamped straight edge to guide my circular saw. It’s not the most glamorous way to make cuts, but it sure works well even with one person. (The blue tarps were set up to cover my shelves and to block off the third bay where I was working in an effort to control dust.)
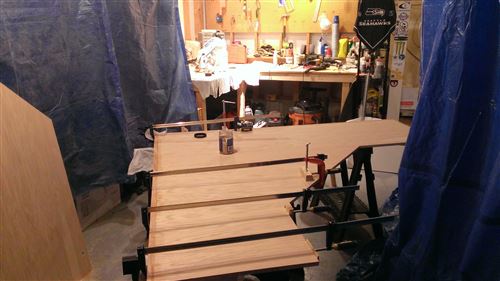
The building work went pretty quickly once I got started. The L-shape part was two pieces of plywood joined together with biscuits and glue. The facing went all the way around the desk and was also attached with biscuits and glue. There are no nails in the whole thing so the surfaces are pristine. I bought some 48” clamps and got good at using them as I slowly attached each piece of oak to face the plywood.
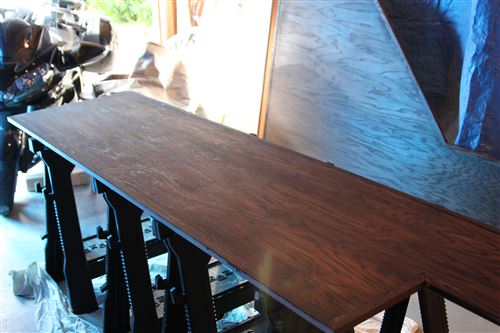
Once the building part was complete, I nervously set about staining the desk. It’s a huge surface and I’m no expert. A new 5” random orbital sander helped immensely as I got the surfaces prepped. I ran through 120 grit, 150 grit, and 220 grit sand paper. I figured I needed to do each piece in one pass so that the stain would be put on roughly even. I started by doing the bottoms of both pieces, made my mistakes there and then did the tops. After the stain I applied three coats of polyurethane (the bottom only got one coat.) Given the cool weather, I wanted to let everything dry extra long so I did one coat per day. That stretched the project out a long time, but in the end, I had a desk surface that I was pretty proud of.
Next up: Installation and finishing touches