
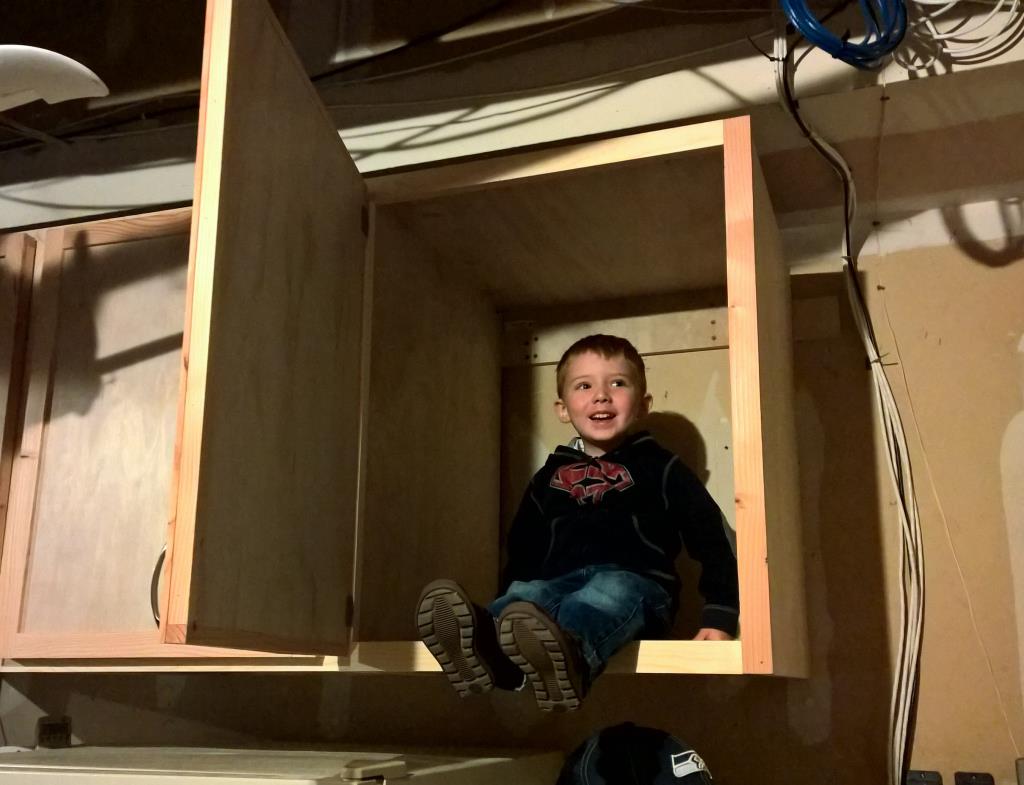
The shelves next to our garage fridge have been working well so it was time to work on using the space above the fridge for more storage. I looked at a bunch of different designs but eventually decided to see if I could build “real” cabinets.
To kick it off, I built some simple boxes using pocket holes. Since this was just being used in the garage, I wasn’t too concerned about having those pocket holes showing. Obviously for something nicer you’d want a different type of joinery. The dimensions are 24″ wide, 30″ high and 24″ deep. That’s a lot deeper than a standard cabinet but it works fine in this location.
To mount it to the wall, I went with a french cleat system. This let me easily hang them on the wall and get them positioned the way I wanted them. After they were in place, I did add some screws into the studs but those really aren’t necessary. I was able to hang from the edge of the cabinets with them just sitting in the french cleat.
This was the first time I had ever built a face frame and doors. I’m really happy I went for it because it turned these quick and dirty cabinets into something that looks respectable. I just used a bunch of scrap 2x4s to do it but it turned out great. I picked up some cheap self-closing hinges and handles from Amazon to complete the doors.
I’m extremely happy with how these turned out. They are a great place to store our extra stash of paper towels, toilets paper and other random bulky supplies. And since they have doors, I don’t have to worry about them getting all dusty. I want to start doing more stuff with doors in the garage to make it at least appear to be a little more tidy.


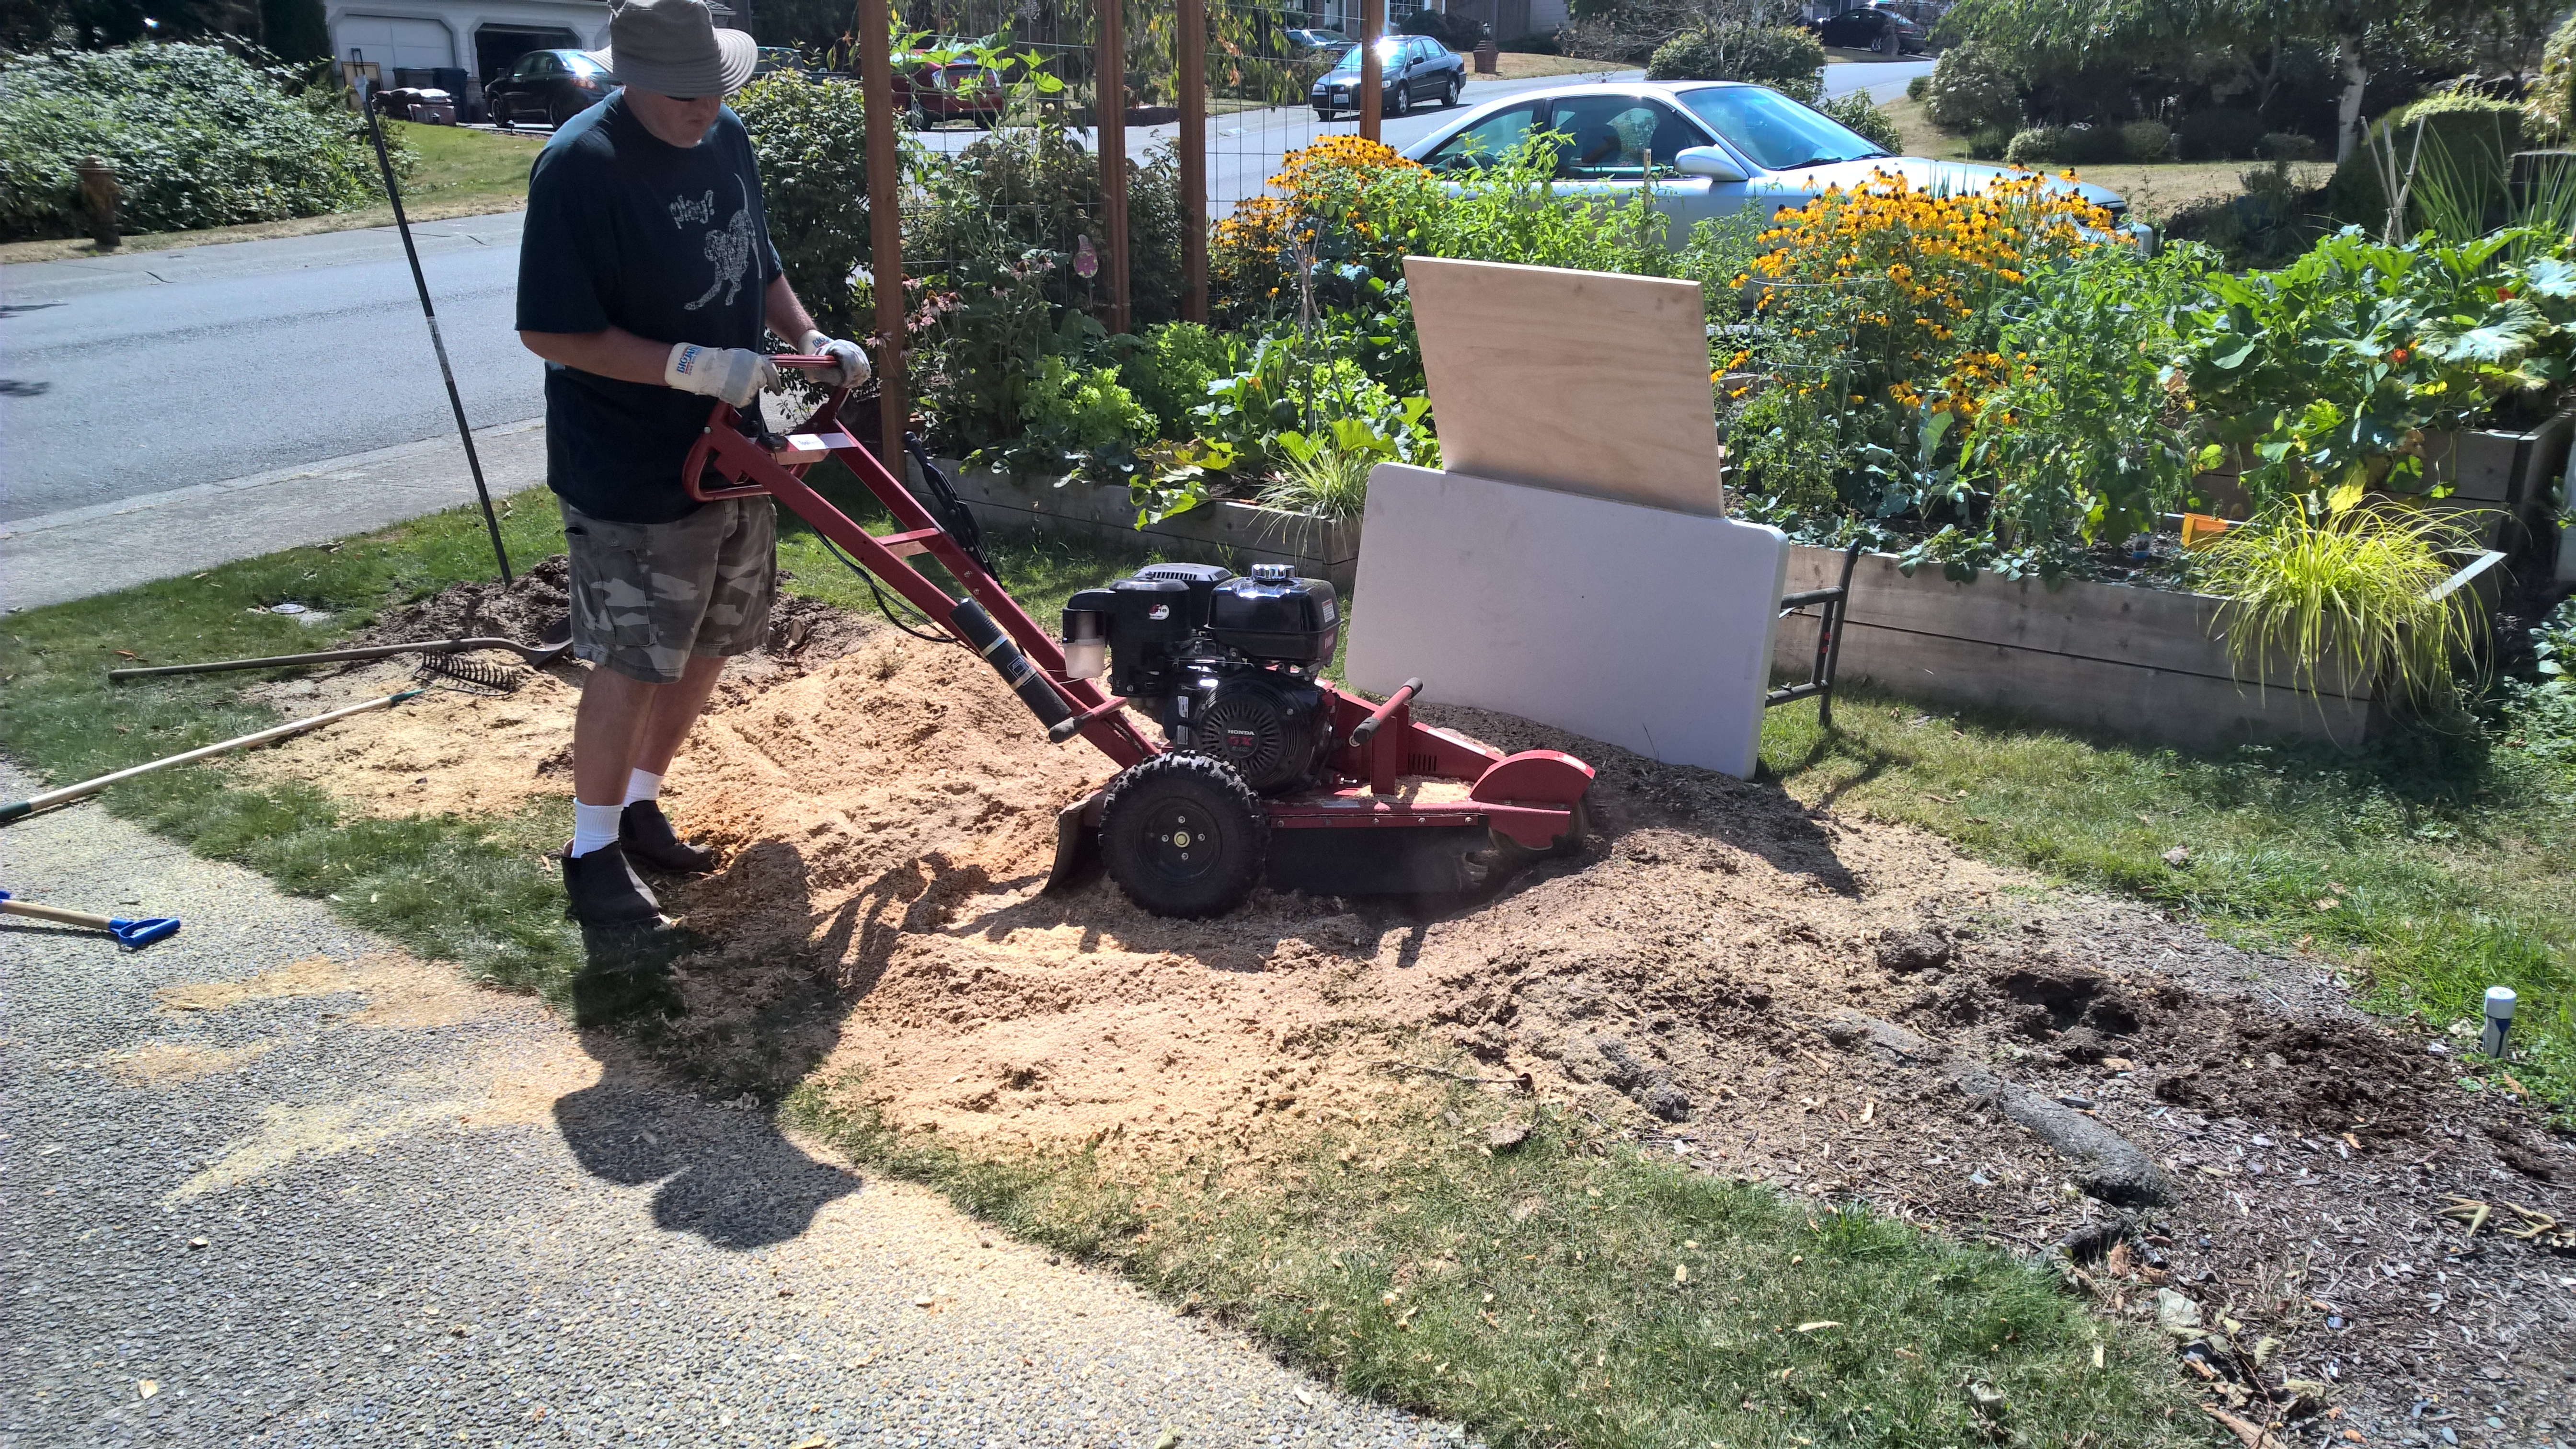
 As you may remember, we’ve lost power at our house three times in the last 12 months and we’ve lost it quite a bit in the past two. We have used our new generator for the two latest incidents, and it worked great, but I’m a lazy human. Running an extension cord through the house and feeding it around the house to run various things is annoying. It was time for an upgrade.
 Last year was very dry and, despite my attempts to give the yard the right amount of water, it still died. This year has been pretty dry as well, but the yard is still green. The difference? I’m using the “Zimmerman Method” this year.
 Last year we stocked up to prepare for a 3-4 day emergency so we’d still have food, water, etc. Those kits rapidly expire so we needed a way to stay on top of it. Today was the First Bi-Annual Survival Sunday. Here’s our current list of activities for these Survival Sundays:


