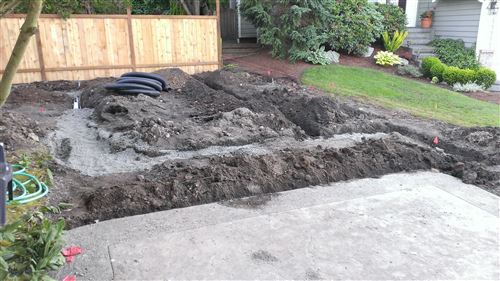
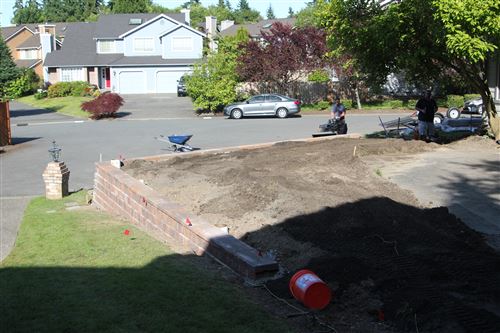
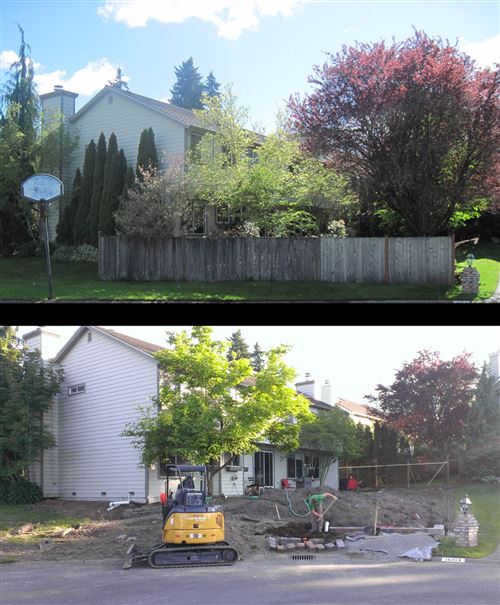
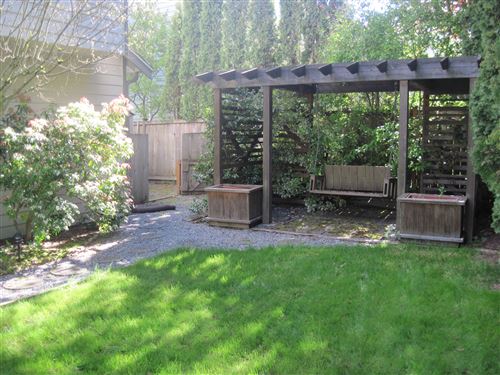
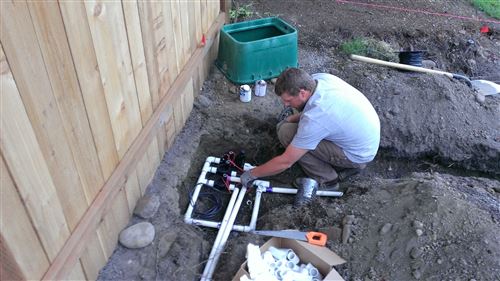
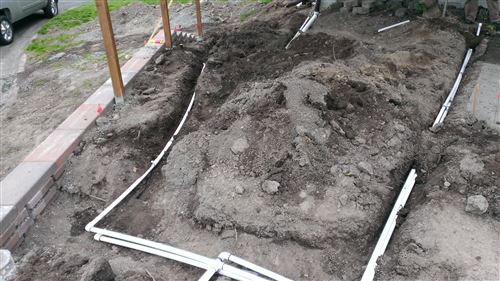
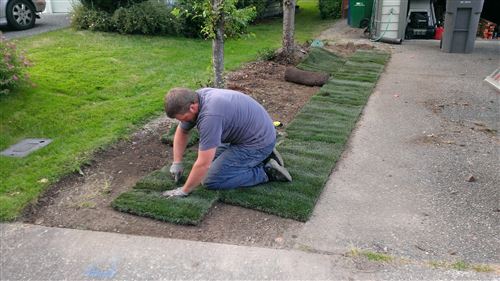
While it might not look that much different than a week or two ago, we’re crossing some major work items off the list. The drainage is completely done and covered up. We dug trenches for irrigation, laid the pipes, installed the heads, and filled in the trenches. All that’s left there is hooking up the controller. We even installed a bit of sod along the driveway. I think we’re going to sod the back yard instead of seeding. It’s a pretty small area so the cost isn’t huge, and it will get us a nice result sooner. Don and Logan stopped by to help me set three more fence posts along the wall.
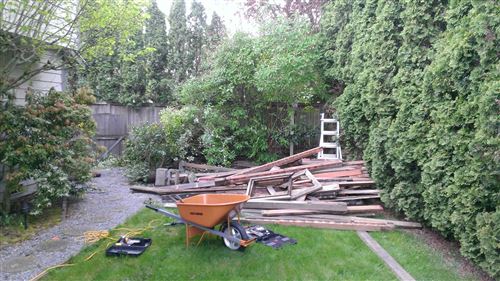
The biggest remaining puzzle piece is the fence. I’m hitting that hard now and hope to make good progress over the weekend if the weather cooperates.
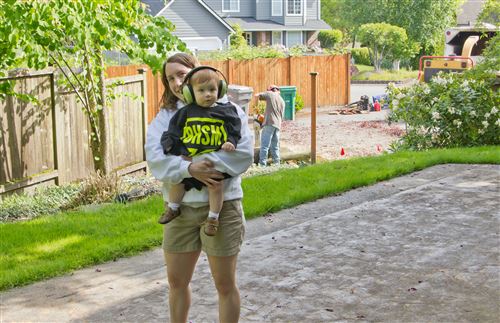
We are 227 hours into this project and doing pretty well with the budget. It’s a ton of work but it’s fun to see it start coming together. My life right now is pretty much wake up, go to work, come home, work in the yard until 9 or 10, go to bed. Tyla has been great putting in extra hours to take care of Elijah when I’d normally be helping out! We’re both eager for the project to be done so things can return to “normal” and we can enjoy the fruits of our labor. I’m able to list out the remaining work in quite a bit of detail which means that we’re getting closer to the end. At least it’s measurable with a pretty high confidence rate.
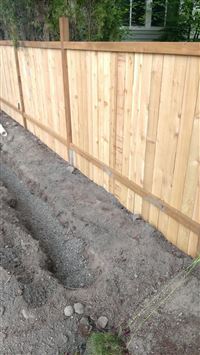 I am far from an expert on fence building so after reading a bunch of articles on the web and enlisting some help, I built one wall of my fence before starting on the rest of it. This turned out to be a good decision because I could make all my mistakes on a smaller scale and then move more quickly on the rest of the fence. Here are some of the tips I picked up along the way: