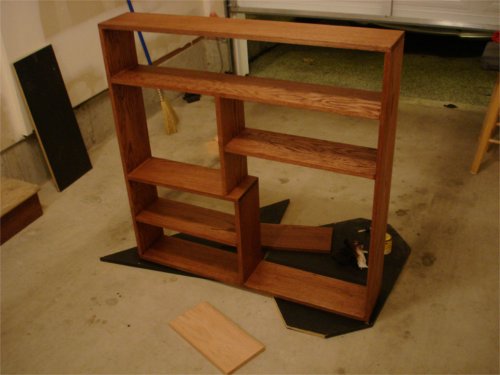
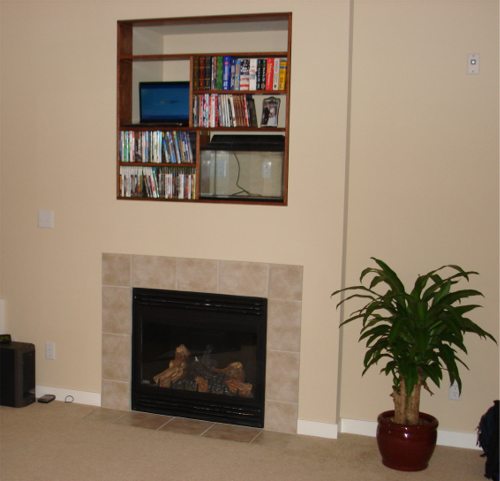
The shelving project had three phases: shelf construction, fish tank setup, and the digital photo frame. The shelves were built and installed and the fish tank is the happy home to six neon tetras. For the last week I've been working on turning an old laptop into a photo frame. This is part 2 of 3. For the third part, click Page 3 – Voice Activated Screensaver.
The goal was to dismantle the laptop enough that I could flip the LCD around and lie it flat on the keyboard (with the screen facing up.) By removing a few screws and cutting some of the plastic, that was accomplished without too much trouble. The next step was mounting the laptop into the shelves.
Plan A: Build a stand out of wood that will hold the laptop and LCD in place. This quickly became a mess in my head as I tried to figure out how it would all work. The LCD was pretty flimsy and there was only a tiny connector carrying the video data and it looked easy to break. I tossed the wood platform idea.
 Plan B: I bought some styrofoam and spent hours carefully carving out the right nooks and crannies for the laptop to fit in just perfectly. I was particularly proud of this idea. When finished, it would fit perfectly in the hole in the shelves and hold the laptop securely in place. After I painstakingly cut out the styrofoam block, I powered up the laptop and was greeted with a blank screen. Somewhere along the way, I trashed that flimsy connector and I couldn't get it working again. (Yes, I know this looks very much like my laptop from my old job. I assure you it's not the same one. It's surprising how cheaply you can pick up old laptops like this on eBay.)
Plan C: By this time I was fed up with using the LCD from the laptop so I took a trip to Costco. I picked out the cheapest LCD they had which happened to be a 19" model. I didn't need anything fancy. The new plan was remove the base and build a new stand. After some thinking, I thought that would tip over too easily. Next plan.
Plan D: Tim and I ended up cutting a piece of wood to fit vertically into that hole in the shelves. It's held in place with L brackets. We chose L brackets because we could install them without taking the shelves down and trying to hammer nails in. It took a long time to do the math and get the holes drilled correctly to match up with the mounting holes on the back of the laptop, but eventually it all worked out. I cut out some black posterboard to use as a temporary matte around the frame.


I'm happy with the way it turned out. It would have been nicer if I had been able to really make the whole thing out of the laptop, but the end result is the same (or better.) The laptop now sits behind the shelves and has a wireless card in it so I can remote desktop in and change settings. I also have a wireless mouse and keyboard hooked up to it, but you have to be standing fairly close to the shelves to get the signal so it's impractical to use the mouse and keyboard for much more than bug fixing.
For now it's just running the default My Pictures screensaver, but I'm working on some new software for it. Hopefully we'll be able to power off the LCD at certain times of the day and receive picture submissions from users on the Internet. You'll know when that's finished because I'll be asking you for pictures.
I think I can basically cross this project off my list. The rest is just software and that's the easy part.
[Page 3 – Voice Activated Screensaver]
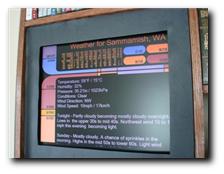 Keep It Simple Stupid. Thanks to RickB for pointing out that my photo frame submission scheme is way too complicated. I had grand plans for how it would work, but A) nobody really uses it and B) it's a crazy process. Maybe those two things are related.
 During my brief stint with Lockheed in Minneapolis, I contributed a bit of code to an after-hours UAV project. Unfortunately I didn't get involved until almost the end of my time up there, but I was enthralled with the project. Since then I've always had an idea in the back of my mind to buy an off-the-shelf RC plane and add an autopilot to it.