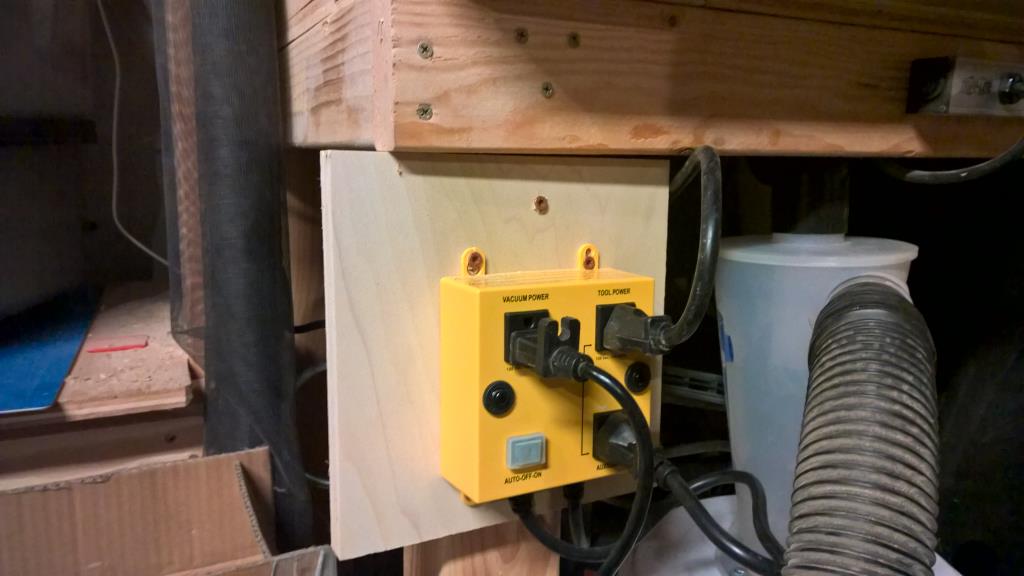
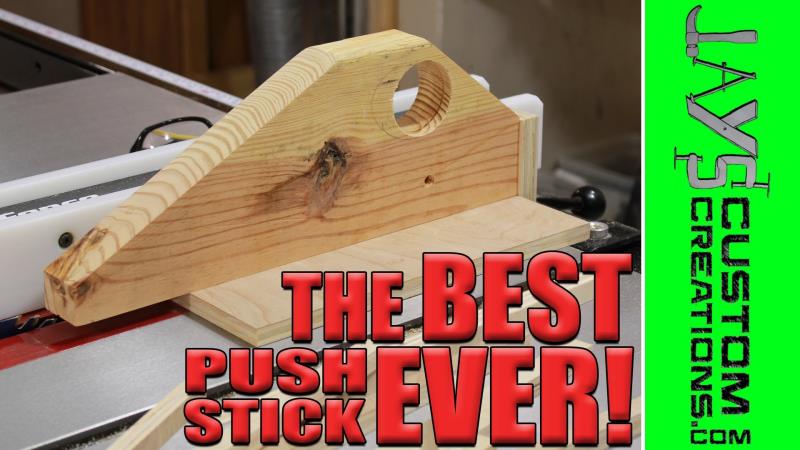
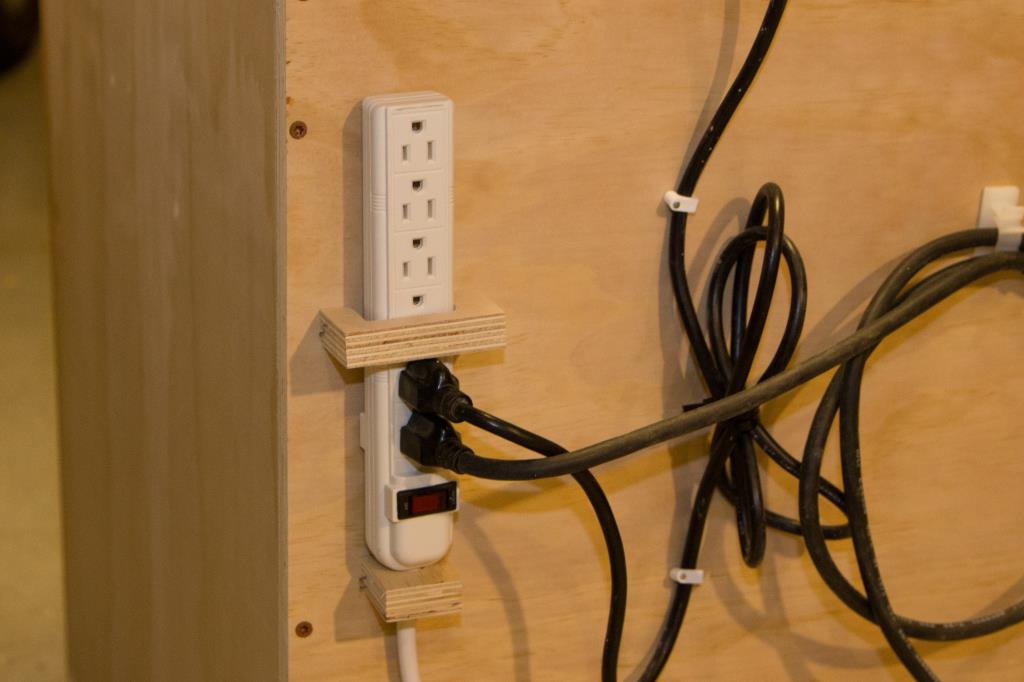
 My simple shop-vac dust collection system works very well for my small shop, but one annoyance is turning the vacuum on and off every time I turn a tool on and off. I finally bought an iVac switch and my only regret is not buying it sooner. You plug both your vacuum and your tool into this switch. Whenever your tool turns on, your vacuum will turn on. When you turn the tool off, the vacuum runs for another 3-5 seconds and then shuts off. It’s incredibly convenient.
It has two plugs so that you can source power from two different electrical circuits. This would be useful if the tool you are using takes around 15 amps. You’d blow the circuit if you turned on a shop vac too. I don’t use that feature yet but I like knowing that it exists.
There’s a switch on the front that lets you choose from Auto, On, or Off so you can still flip the vacuum on without a tool or stop it from coming on when you turn on a tool. The whole thing seems simple but it’s very well-designed.
Now I don’t have to reach under my bench to flip the vacuum on and off. I can hide it away and let this magic switch do the work.

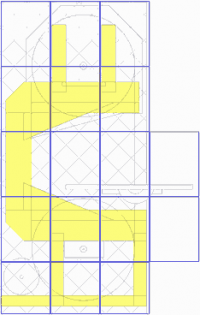 I’m working on a new decorative sign for our house. After I had drawn it at full size in Photoshop Elements, I needed to print it full-size, tiled across multiple sheets of paper. It seems like there are a lot of ways to do this, but it took me long enough to figure out that I figured I should write it down.
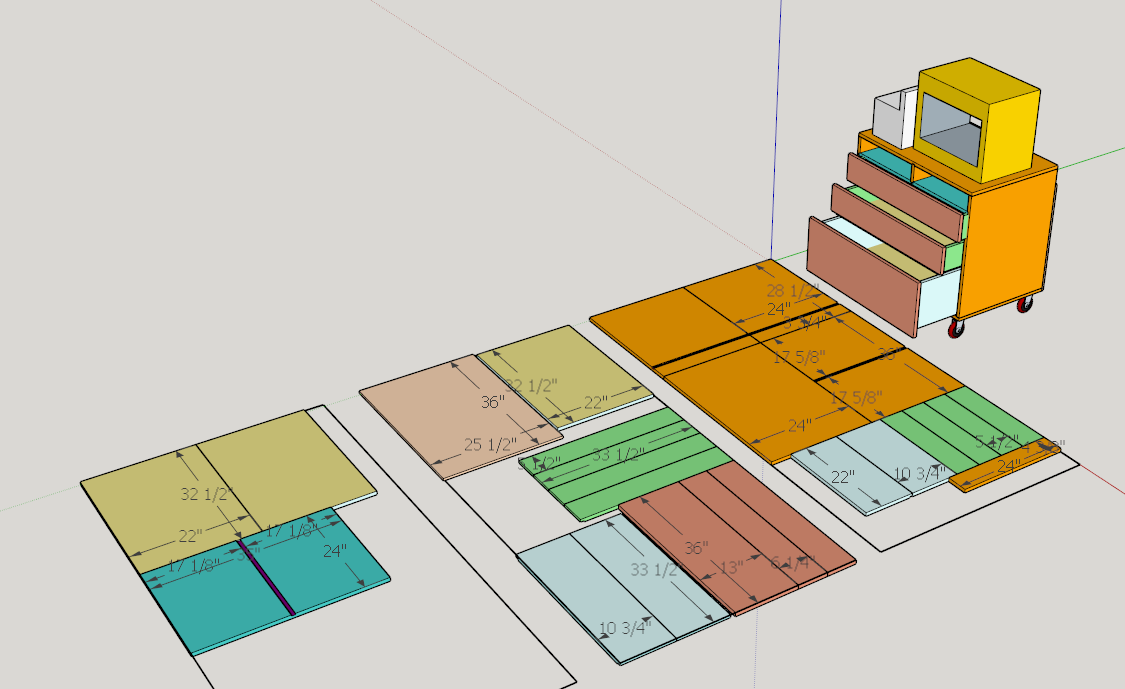

 When you think about buying handmade craft projects online, you probably think of Etsy. They’ve been around for a long time and they’re the uncontested leader in the market. However, Etsy has left a lot of angry makers in their wake. You can read a good write up about that on
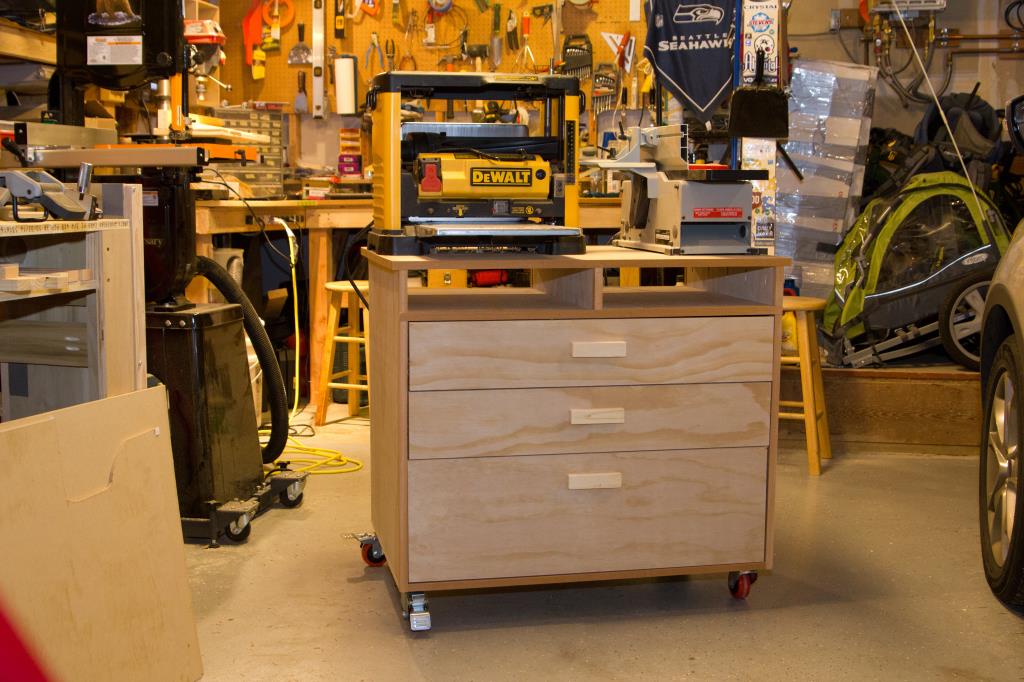
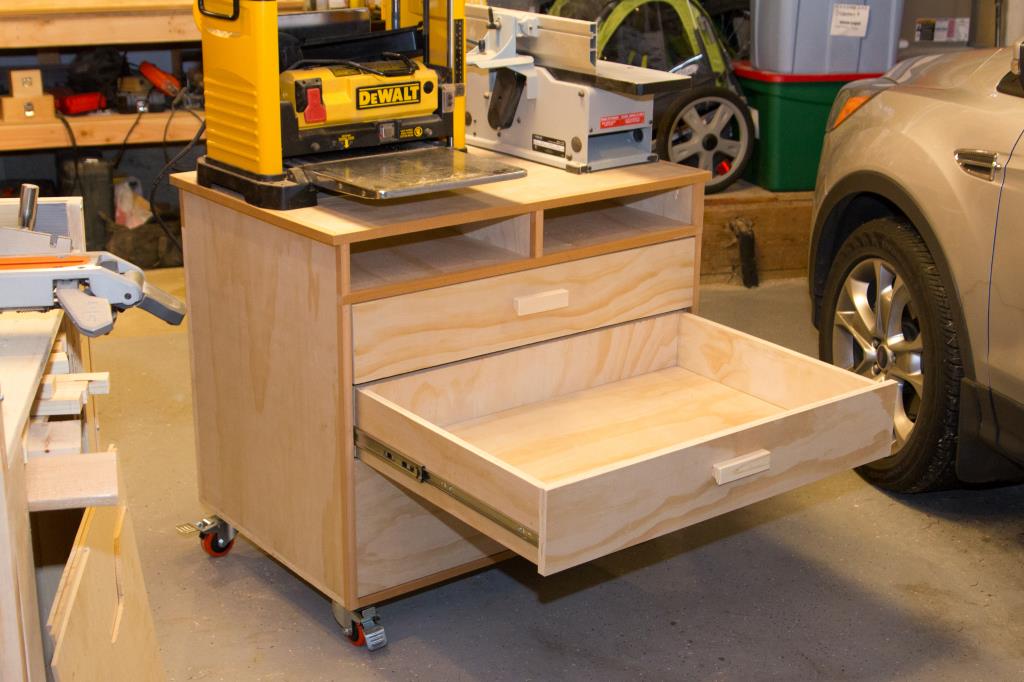
 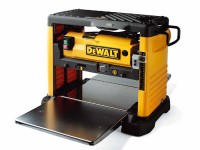 One of the last (haha) tools that I had on my radar was a thickness planer. If you have no idea what that is, it’s basically a machine that will make two faces of the board parallel with each other and will also thin a board down. In the past, Tim was nice enough to loan me his for a month or two while I worked on Tyla’s jewelry box, but I didn’t want to keep borrowing his every time I needed one.