My table saw came from Tim who got it from Doug. I think Doug put together the rolling base for the metal stand. It worked ok, but the wheels were a bit small when I’d try to roll it out into the driveway and my first attempt at dust collection for the table saw never worked that well. I decided to build a new stand from scratch and I took the opportunity to learn some new things along the way.
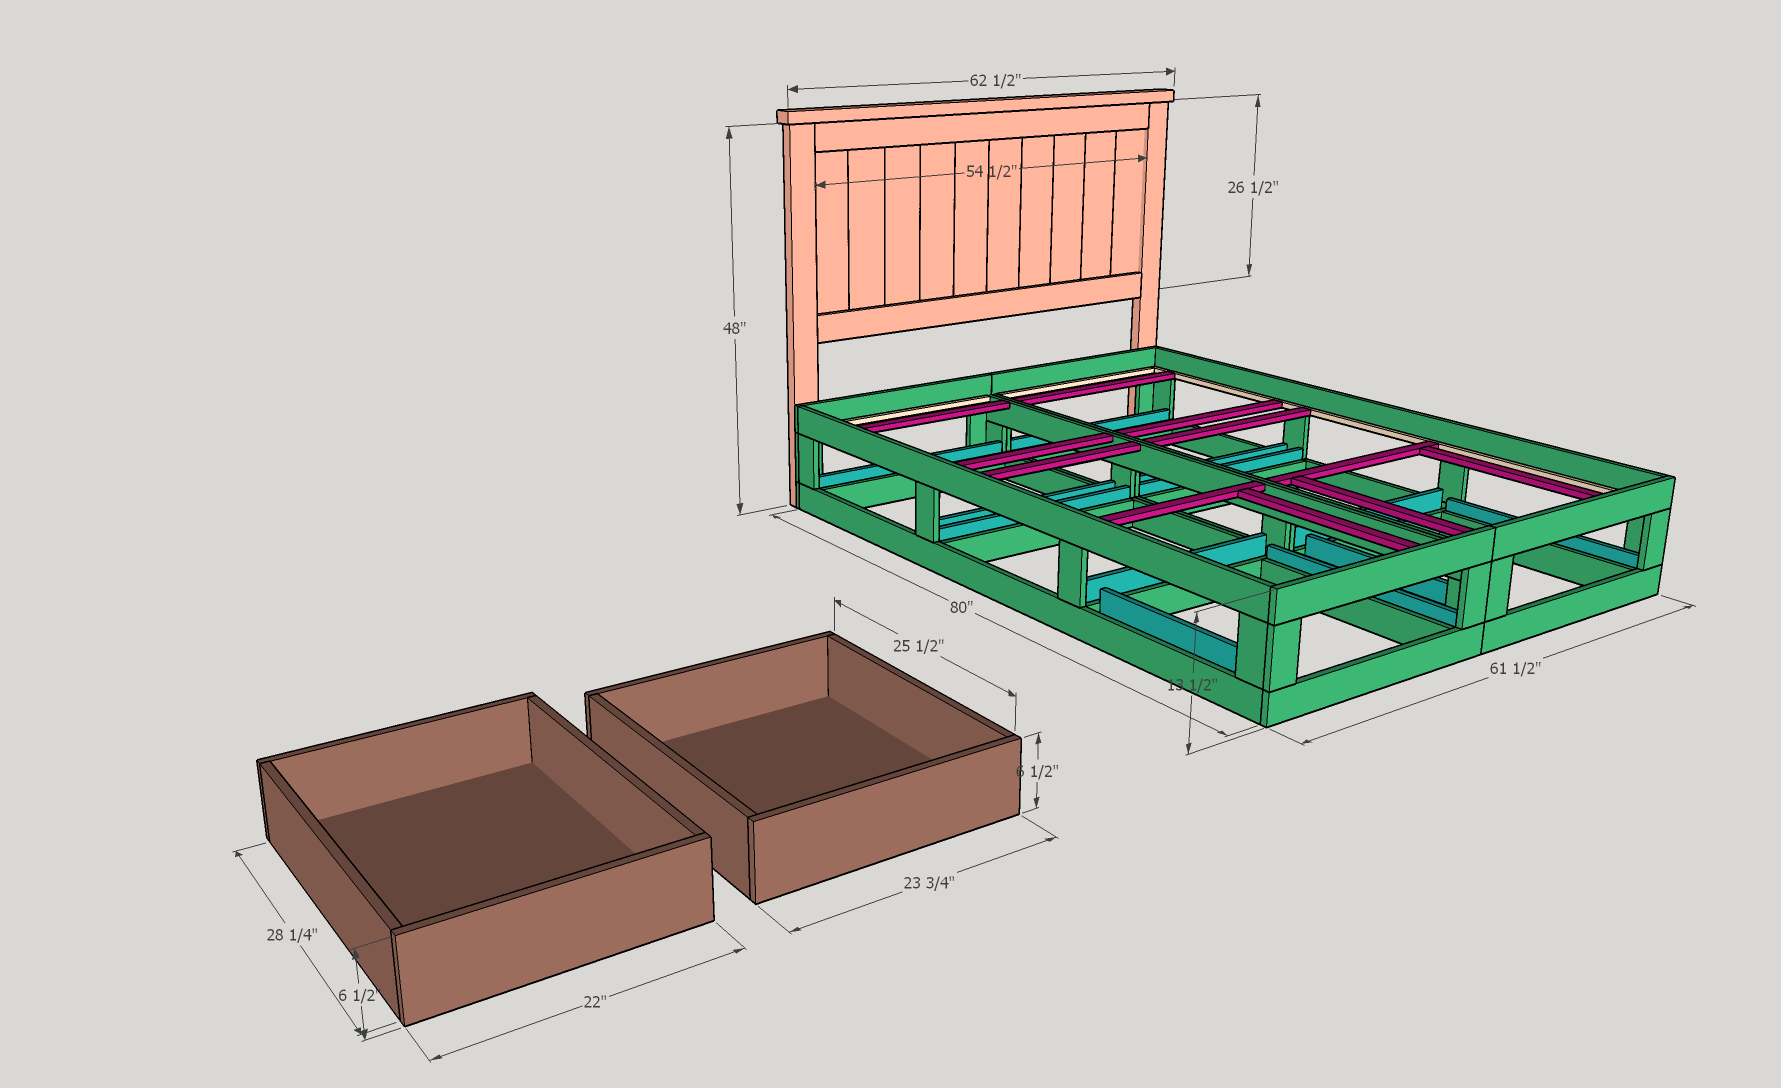
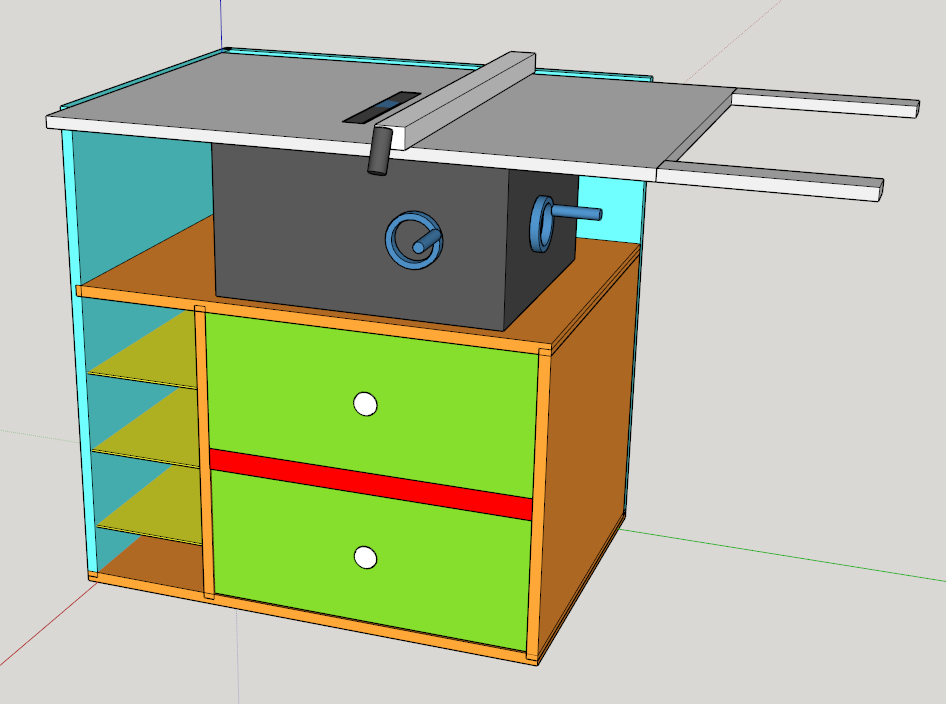
The first task was to really learn SketchUp. It’s a free 3D modeling tool that is especially popular among woodworkers. As with any tool like this, there is a steep learning curve, but I’ve seen how much it can help people once they get the hang of it. I’m far from an expert but it was handy to visualize the build before getting into it, and it also helped me figure out how much wood I needed to buy. (The colors are just to help differentiate the pieces.) I stopped tweaking the drawing once I got it close and then I modified all the measurements slightly in my head so that I could make better use of the plywood and not have so much waste. Next time, I’ll spend the extra time to make those tweaks in the model because it would be really helpful to take measurements right from the model to figure out where all the dadoes go.
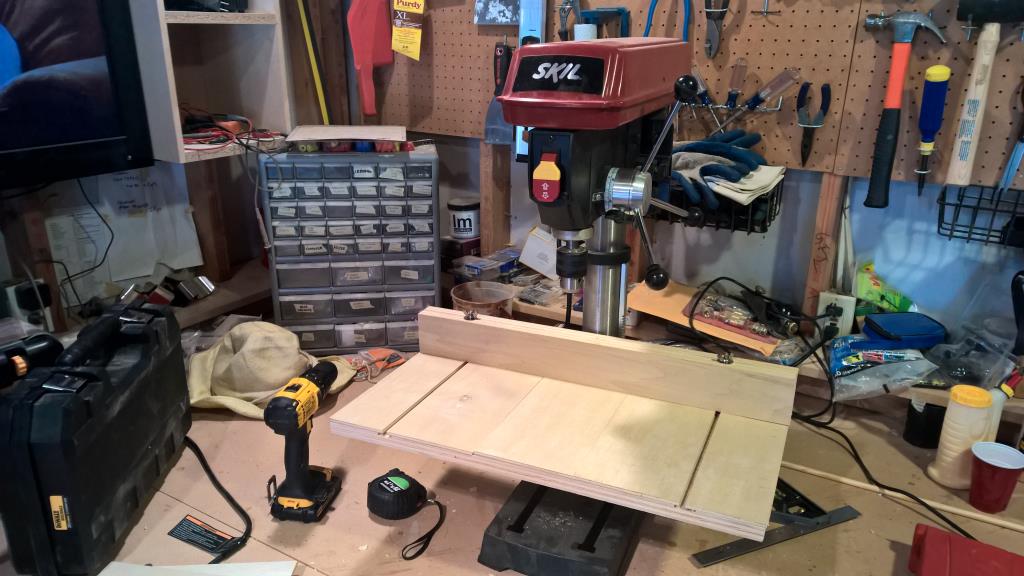
 The next thing I learned was using a dado stack on the table saw. I cut lots of dadoes for Tyla’s jewelry box, but I used the router table for all of those. Tim loaned me his dado blades and I used my new custom insert. That setup combined with the track for cutting plywood made quick work of the main pieces
The dadoes made it easy to hold everything in place while I glued and nailed it together. Unfortunately, once I was part way into the assembly, I realized that I had cut one dado 1/2″ off of where it was supposed to be. Also the whole unit wasn’t quite square. The result was that it looked a little goofy and the box that was going to hold the two shelves wasn’t square. Yuck.
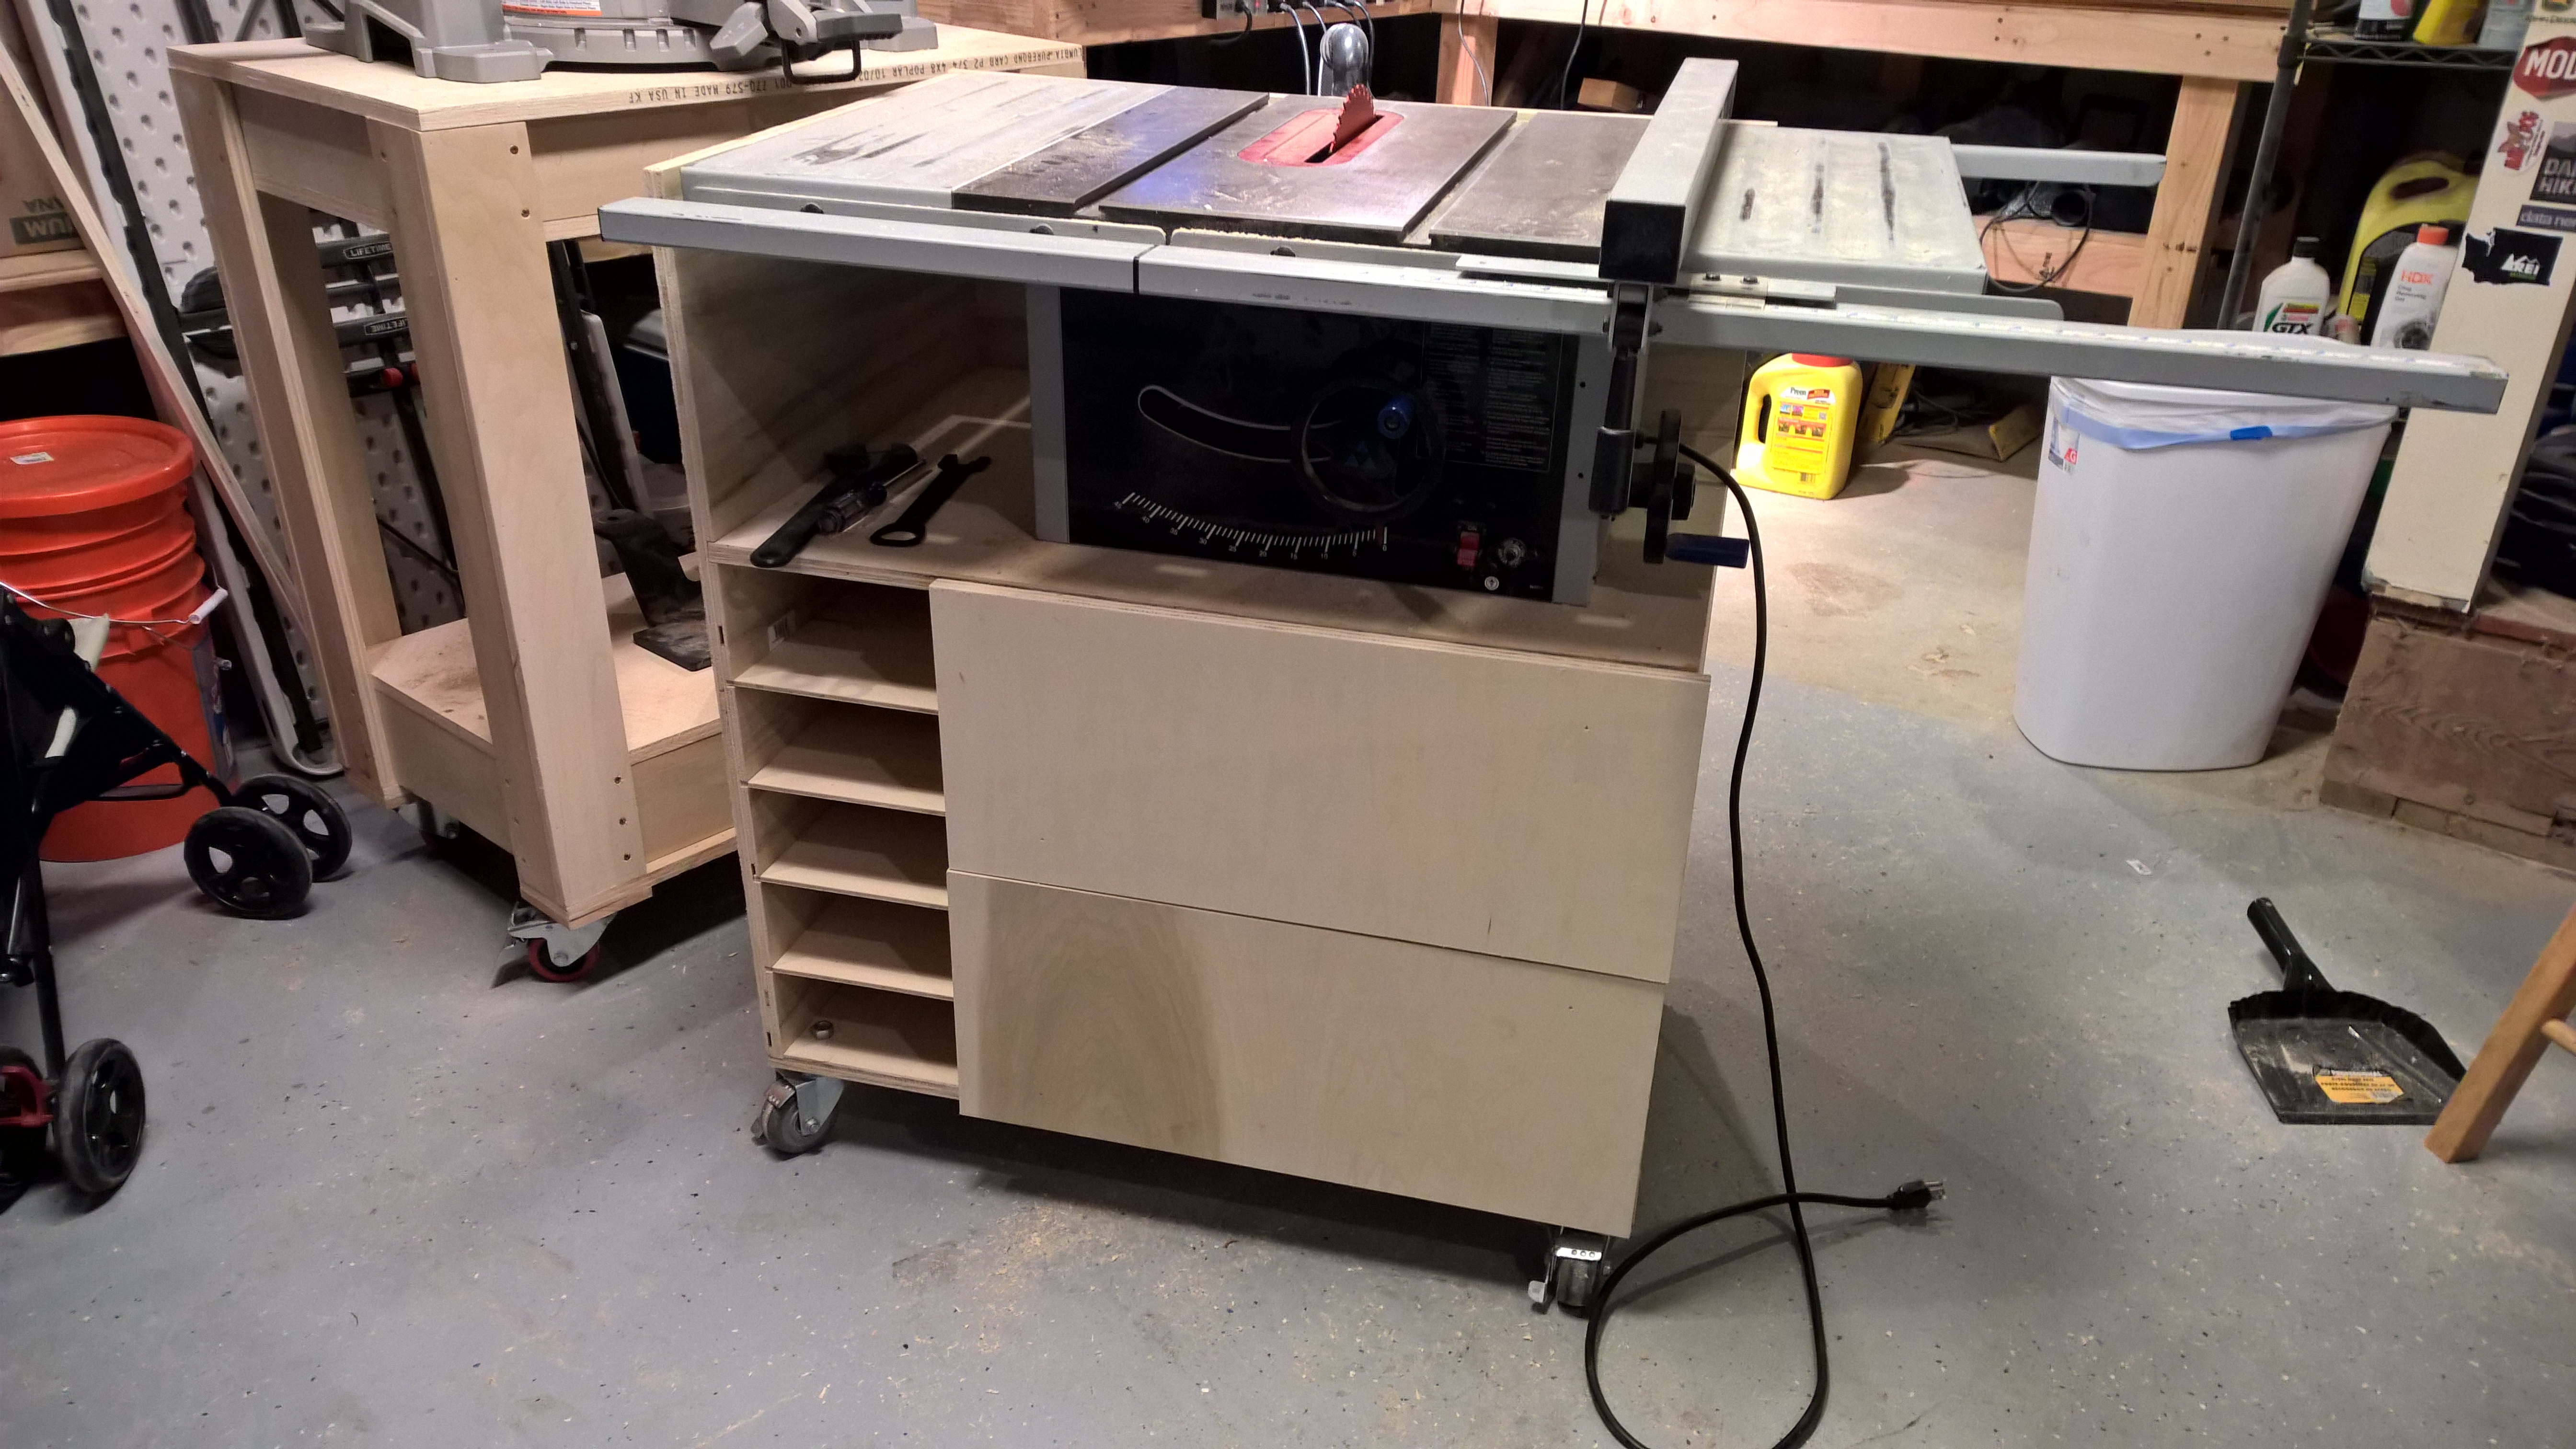
I ended up working around the mess. You can easily tell that it was built by a novice, but it functions quite well. There’s a hole cut out under the table saw so the dust falls into the top drawer. Plus, I have lots of storage for push sticks, blades, and jigs.
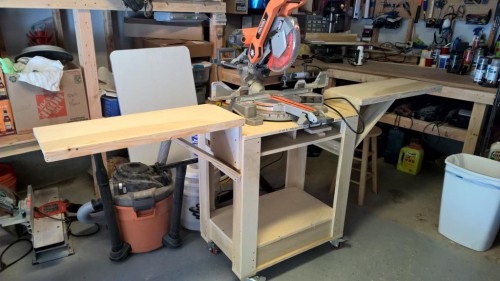
I put tall sides on the left and the back thinking that I might add some flip up tables on those sides to help support bigger pieces of wood. I’m not sure if/when I’ll get to that, but it was an easy addition to the project in case I decide to do that later.
The whole unit is solid and rolls around very nicely. The wheels are salvaged from my old Park ‘N Move which I don’t need after selling the motorcycle.
I’d be happy to toss this whole thing out for a nicer table saw, but in reality, this saw has been good to me and I think I’m going to have it for quite a while. There are lots of other tools I’d rather have before a new table saw.

PS. I also should have done a better job planning my cuts so that I could have matched the grain on the drawer fronts. I ended up with a huge green blotch in the poplar plywood on that bottom drawer and it very obviously doesn’t match the top drawer.