Studio711.com – Ben Martens

Woodworking

Garage Shelves: Part 2

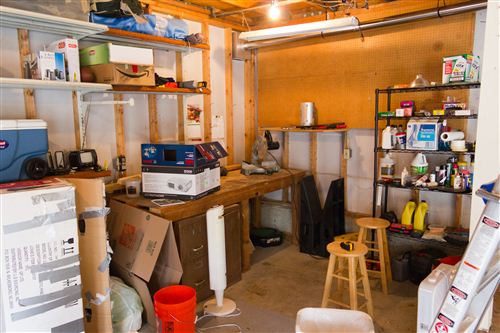
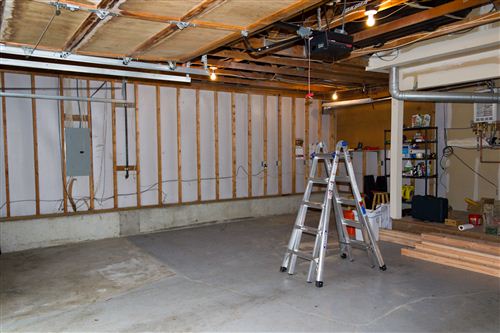
The next phase of the garage shelf project was building a workbench. Here’s a shot of the old bench.

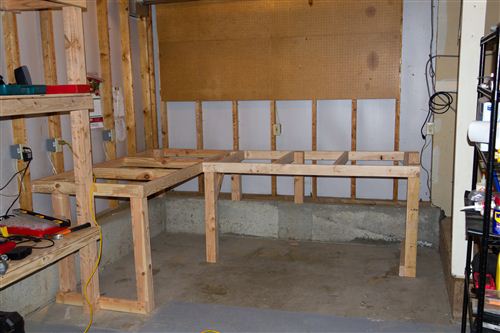
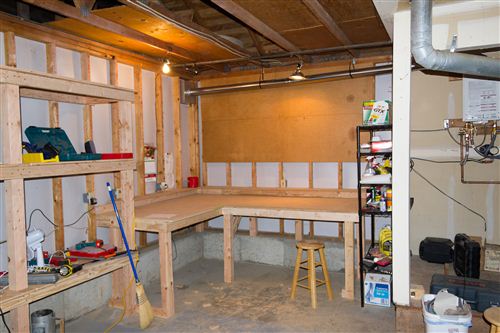
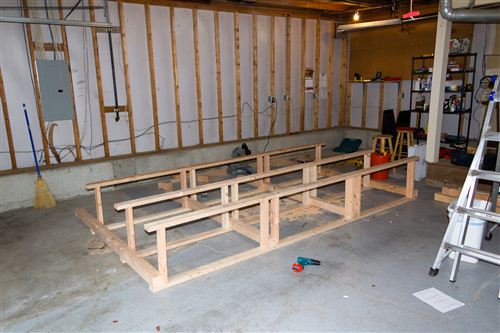
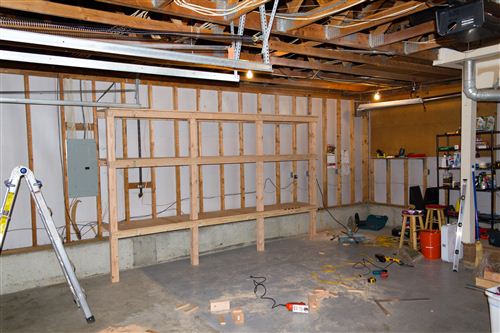
It’s not quite the dream work area that I had in mind. The day after I built the storage shelves, I set to work building a new workbench. The shelves had been thoroughly planned out, but the workbench was designed as it was built. I decided to have the bench be roughly 38” tall. As with the shelves, I had to factor in the slope of the floor out to the driveway. Here is a shot of the frame. Some of the posts rest on the foundation. It bolts to the wall for rigidity, but I don’t rely on any of the wall joists for actual support.

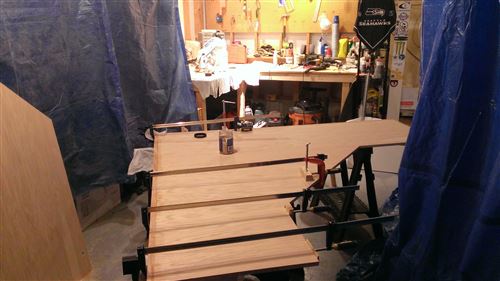
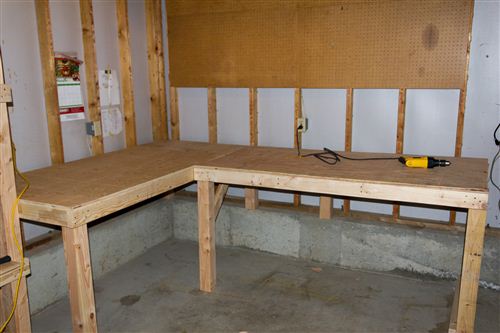
Next it was time to apply the work surface. I went with one layer of 3/4” plywood and a top layer of 3/4” MDF drilled in from the bottom. Some day I’ll probably replace the MDF with a more durable surface, but for now it makes a very smooth work area.

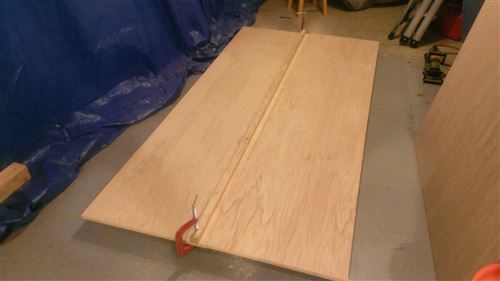
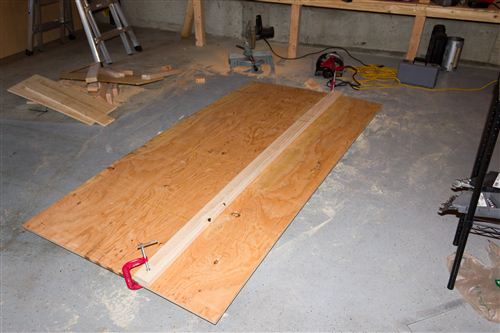
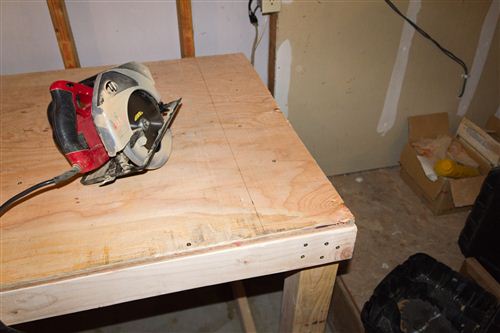
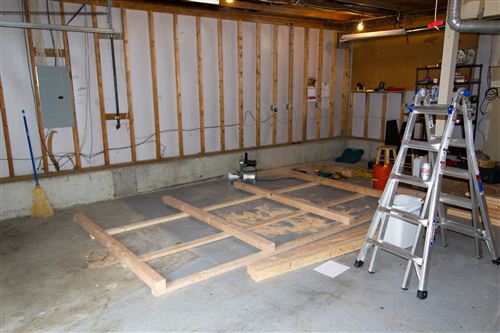
I don’t have a table saw, but the method pictured below worked very well for making large cuts.

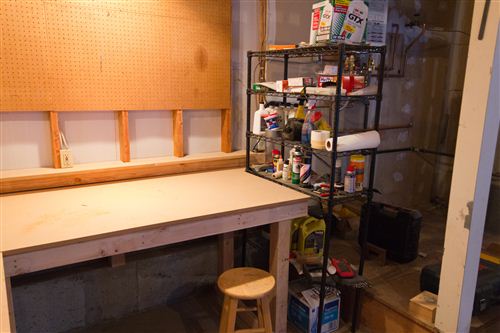
Once I got the plywood on, I realized that I didn’t have a good place for some black metal shelves that I had in the garage. I bit the bullet and cut a few inches off the end of my brand new workbench and remounted the legs. I wish I had thought of it originally but it turned out ok.

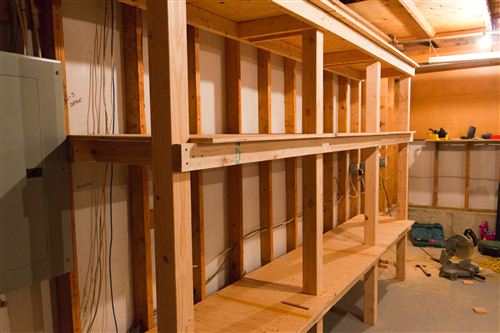
That’s as far as I got on that day. The next day, I spent a few hours adding a rail and shelf along the edge of the bench. The base of the shelf is a 2×4 and then the shelf is 3/4” MDF with cutouts for each wall joist.

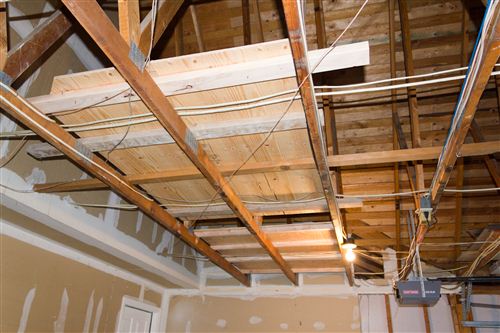
On the second day of the workbench project, Logan also came over to help me put some plywood up in the rafters. It was pretty tricky and a bit time-consuming because all of the wires are run on top of the rafters. Not only was it hard to get the boards up through gaps in the wires and rafters, but I also had to lay down 2x4s on the rafters to give the wires room to go underneath the plywood. We added about 80 square feet of storage space up there.

Garage Shelves: Part 1

The shelves that Tim and I built in the condo were one of the best changes I made to that place. The garage in the new house is awesome, but I wasn’t real happy with the aesthetics or functionality of the old shelves and the workbench area. I’ll break this into a series of posts because it was a pretty big project.

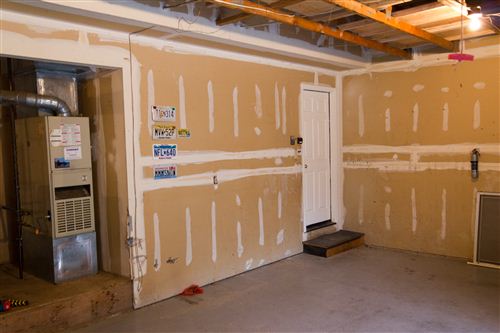
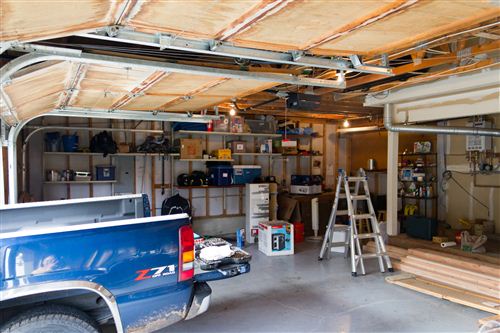
Here’s what it looked like before I started. (That’s Logan’s truck in the photo.)

Functional? Probably, but I knew I could do better. Logan and I started by tearing out all the old shelves. The metal went to recycling where we made about $35. That covered the dump run for the rest of the stuff that couldn’t go to recycling.

Getting all the wood and cleaning out the old mess took a day. The next day I tackled the main shelves. Because of the electrical box and the plumbing (just to the left of this photo), I decided not to run them along the whole wall. I started by building the shelves on the floor. I used the existing wall studs as the support for the back side of the shelves and that saved a lot of time. I had to make each post a different length because the garage floor slopes slightly out to the driveway.

I was able to lift the shelves up into place and secure them to the wall.

Then I added some plywood for the shelves. Each piece was 2’x4’ so when I was at Home Depot, I had them cut the plywood for me. That saved a lot of time and made it easier to handle. All I had to do at home was notch out holes for the 4×4 supports.

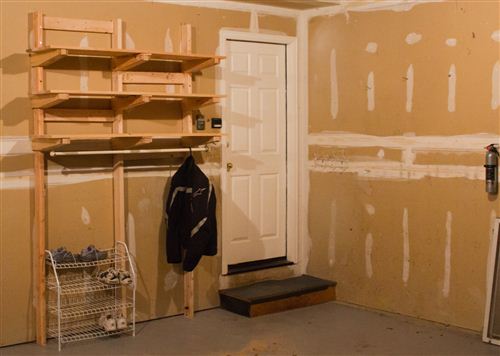
By the end of the day I had a good looking set of shelves in place!

Garage Shelves: Part Deux

Ever since I did the first set of garage shelves, I’ve wanted to extend them. Tim came over and we were able to do just that.

We tripled the previous surface area and even added a ladder to make it a bit easier to get up there. The end result is enormous, but it really provides a lot of storage area for my little condo. I had a couple neighbors jealously look on and ask if I’d come do the same in their garage.

Thanks for the help Tim! I’d probably still be making trips to Home Depot for replacement pieces of wood if you weren’t there to help.

It’s a bit difficult to photograph the shelves, but this should give you an idea. There is about 90 square feet of space on top. I had to put a lot of stuff on the floor while I was building the new shelves and I clearly have cleanup work remaining.

Garage Shelf

One of the biggest (by physical size) projects that I’ve ever undertaken also turned out to be one of the quickest. I have a very tiny garage. It was a struggle just to get the motorcycle and the car in at the same time. Over the last two years, the floor of the garage and the three shelves got more and more full. It was time to build a bigger shelf/mini-attic at the back of the garage above the motorcycle. The only trick is that we had to build around the water heater and pipes in the corner.

Tim and I met at Home Depot at 5:45 on Monday evening. We headed home with the wood and soon BenH joined us. Ben and I built the frame while Tim notched the top of each post. The posts were 4×4’s and the 2×4 (and 2×8 front span) sit in notches on top of the posts for added strength. Just four hours after we started the project, we had the frame standing up on the posts and lightly secured.

On Tuesday night, we added some diagonal bracing and secured everything tightly. Screws were added between the structure and wall studs were we could to keep it all stable. For the final step, we cut the plywood to fit the top of the shelf and Tim screwed it into the frame.

Pretty much everything that we had on the floor of the garage now fits up on that shelf. We were even able to empty one of the white shelves. I’m probably going to be buying a cargo box for the top of my car and we should be able to hang it from the bottom of the shelf when not in use. We have just about crammed as much fun into the garage as we can physically fit!

We had about $20 worth of wood leftover due to some last minute design changes. Once I return that, the total project cost will only be about $80. We also learned that Stanley bits are worthless. We ruined about a half dozen of them trying to get all the screws in. Once we switched to DeWalt bits, everything went much more smoothly.