
The shelves that Tim and I built in the condo were one of the best changes I made to that place. The garage in the new house is awesome, but I wasn’t real happy with the aesthetics or functionality of the old shelves and the workbench area. I’ll break this into a series of posts because it was a pretty big project.
Here’s what it looked like before I started. (That’s Logan’s truck in the photo.)
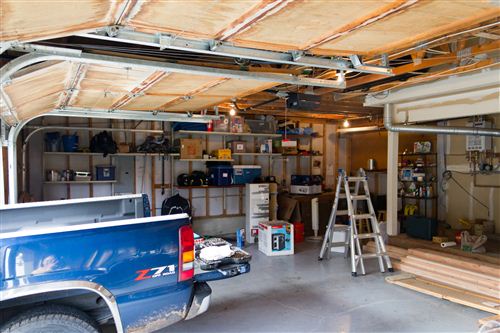
Functional? Probably, but I knew I could do better. Logan and I started by tearing out all the old shelves. The metal went to recycling where we made about $35. That covered the dump run for the rest of the stuff that couldn’t go to recycling.
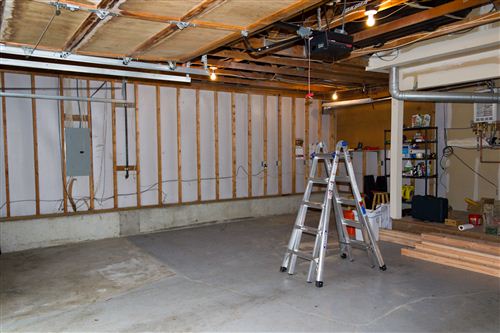
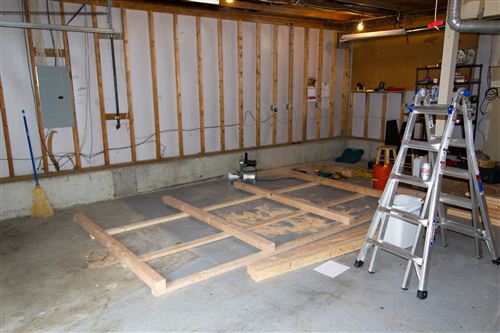
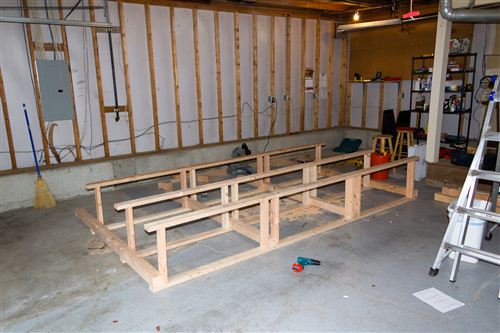
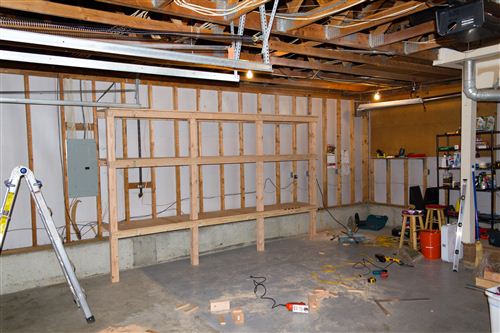
Getting all the wood and cleaning out the old mess took a day. The next day I tackled the main shelves. Because of the electrical box and the plumbing (just to the left of this photo), I decided not to run them along the whole wall. I started by building the shelves on the floor. I used the existing wall studs as the support for the back side of the shelves and that saved a lot of time. I had to make each post a different length because the garage floor slopes slightly out to the driveway.
I was able to lift the shelves up into place and secure them to the wall.
Then I added some plywood for the shelves. Each piece was 2’x4’ so when I was at Home Depot, I had them cut the plywood for me. That saved a lot of time and made it easier to handle. All I had to do at home was notch out holes for the 4×4 supports.

By the end of the day I had a good looking set of shelves in place!