
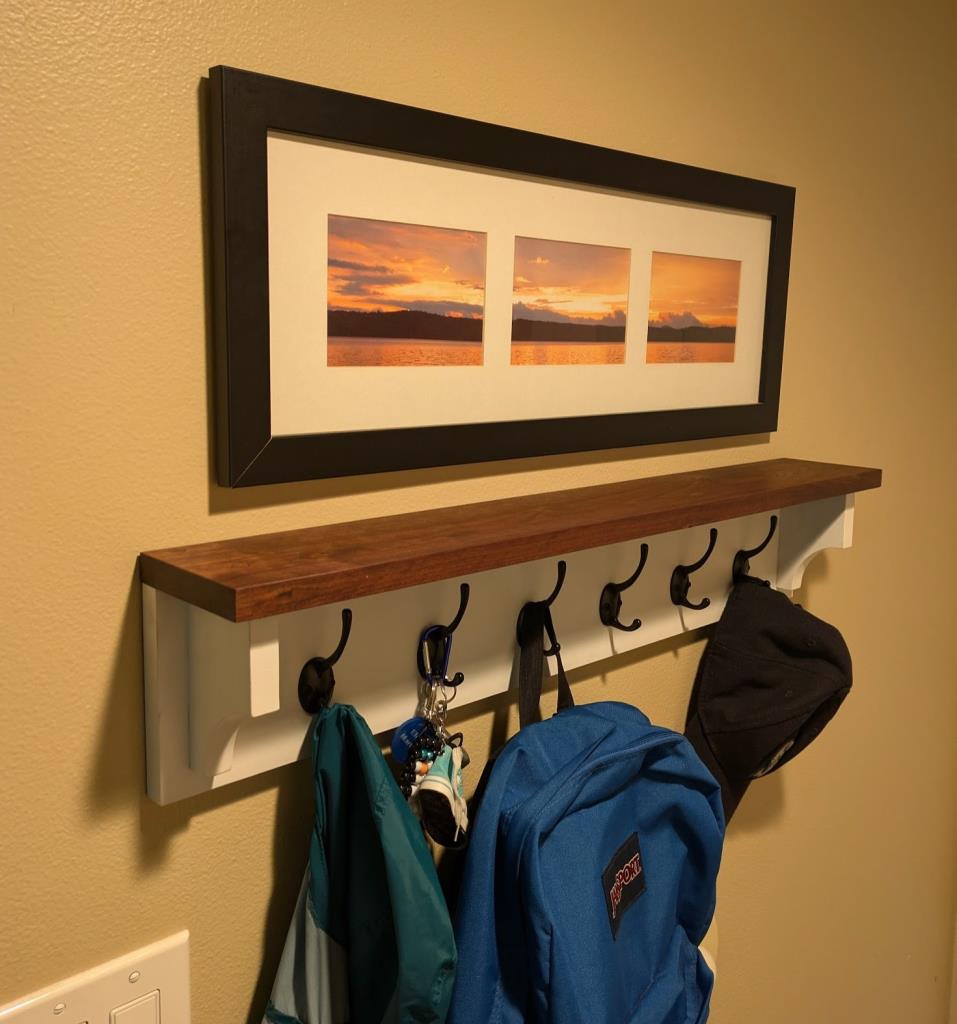
We generally use the entry door from the garage but there’s no easy place to hang up coats near that door. After more than 10 years of living in the house, I finally bought a cheap coat rack and screwed it to the wall. It worked but I wanted something a bit nicer.
While the design is almost exactly what you’ll see from many internet shops, the advantage of building it myself is that I can make it fit our space perfectly. For example, when the door opens, it hits the door stop just before it hits the wood. I was also able to put the mounts on the back directly in line with the studs but still have the shelf be centered in the wall.
The project went together very quickly. The white part is poplar with some rattle can white paint and then the top is walnut with David Picciuto’s experimental finish. On the back, I routed an insert for some metal keyhole hangers. The project was quick but it made use of a bunch of previous Christmas and birthday gifts such as dividers, self-centering drill bits, and plug cutters.
We’ve always had a photo hanging on that wall (a sunset from Camp Ticawa) and I can’t decide if it fits with the new coat rack. Perhaps a different frame would look better or maybe I need to move it completely.
I was happy that the rack installed level without any drama. I used a laser to make sure everything was aligned. Now we’ll see how it holds up to a school year full of heavy book bags!


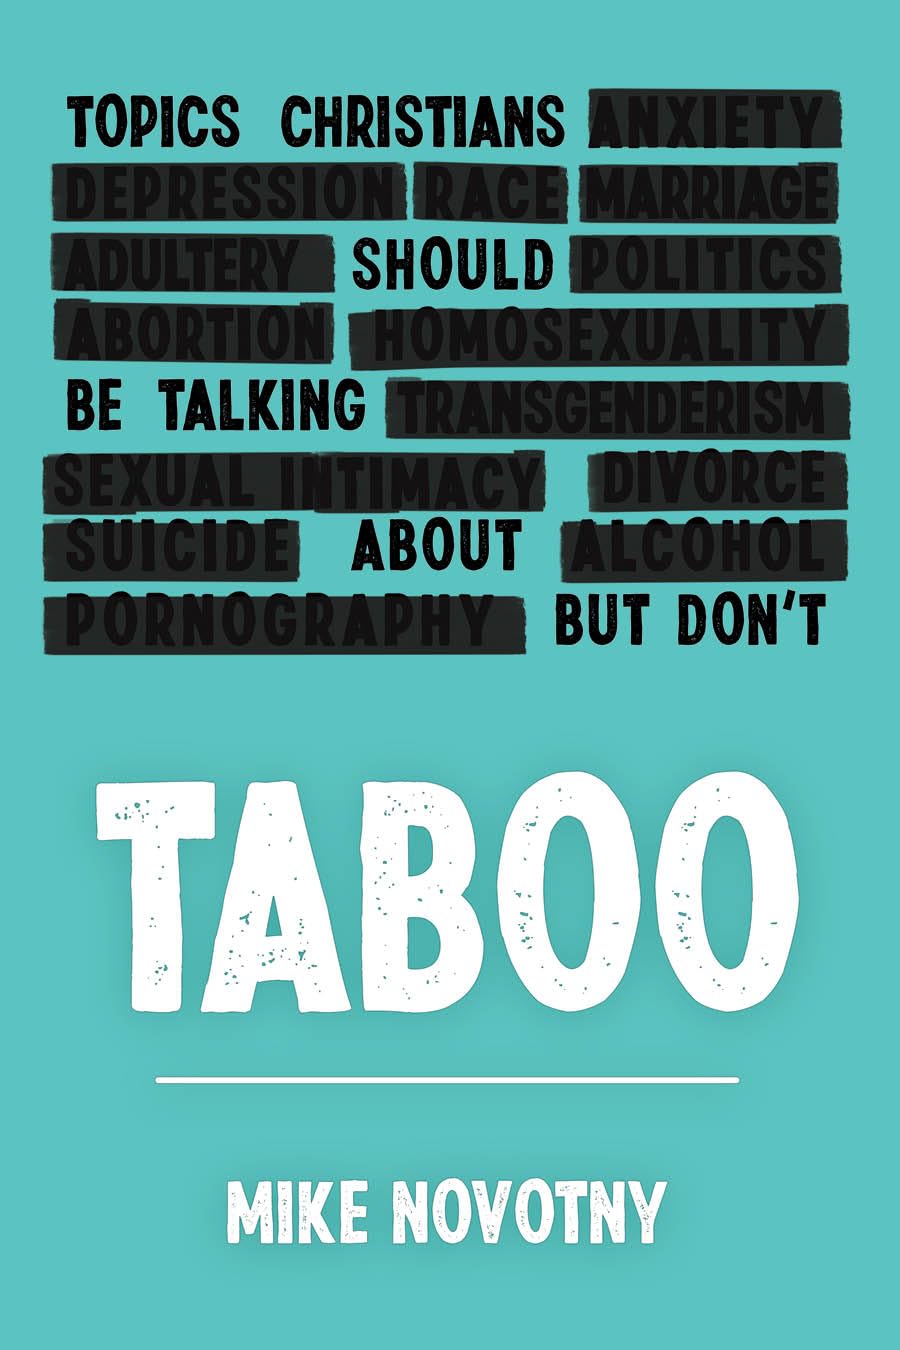
Election Year
Are we going to make it through the next few months? Even a quick peek at the news for the last four years reveals an angry torrent of people screaming at each other or worse.
Watching from the sidelines, there are so many similarities between politics and sports. In politics and sports, both sides cheer for their own team and some people take it way too far. The difference is that at the end of the day, the sports fans usually know it’s just an ephemeral game. The people glued to their team’s news source haven’t figured that out.
Have you ever thought about how there are always about 50% on one side and 50% on the other side? The political teams don’t take permanent, principled positions. Rather, they are two riverbanks following a meandering course of public opinion and fighting to control their half of the river. They would have you believe there are only two opinions, and if you question anything about their side, you must be part of the other team. Can we please get more people who freely admit that not everything from the other team is wrong and that there might even be a third or fourth answer to a particular question?
A country where people are quicker to argue than to listen doesn’t bode well for our future. How would things be different if we only talked about politics when people asked our opinion? Hateful, predatory internet culture has now somehow become what we expect from our political candidates instead of rational, respectful discussions between people who happen to disagree on the best way to solve a problem. Political debates and speeches frequently sound like people trying to fit in the name-calling and zingers that will make their team yell “OOOOO! They got you!”
So if you do tell me about your political viewpoints, expect me to change the topic or just make my way out of the conversation even if I’m voting for your candidate. I’ll do my own reading and research before I vote. If we do have a chance to talk, I’d rather have a conversation about Jesus than about a political candidate. Imagine what our country would look like if all the Christians focused as much time on the Bible as they do on their news source.