
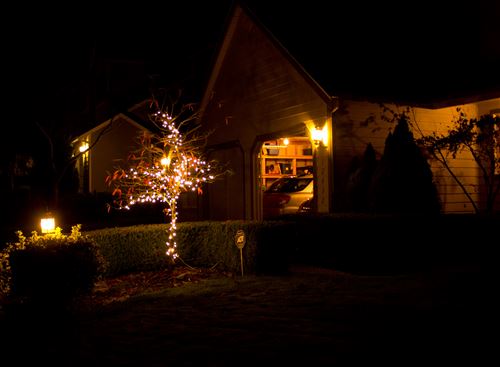
I’ve always dreamed of having my own Christmas light display. It would cost too much to do the whole house with LED lights right now, but I got a small start by wrapping the little tree in the front yard. With LED lights, you can chose from the very cool (as in cool on the temperature scale for color) white lights or the “warm white” lights that more closely match incandescent. Both have their advantages but I went with the warm white lights to more closely match my existing yard lighting and other displays on the street. My hope is that I can continue to find white LED lights that match this color every year and slowly build out the rest of the exterior lighting. Our house is really set up well for a magnificent display. If I had easy access to a 30 foot lift, we could decorate the huge cedar (am I right Tim?) tree on the corner of our house!
So here’s a photo of what we have now. I’m almost embarrassed to show it. In 20 years I can look back and laugh at how we got started!
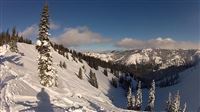 I have an amazing wife. Not only is she carrying our child, but she agreed to let me get a season pass to Crystal and Snoqualmie this year since my skiing opportunities in the future will be quite a bit different. Thank you Tyla!
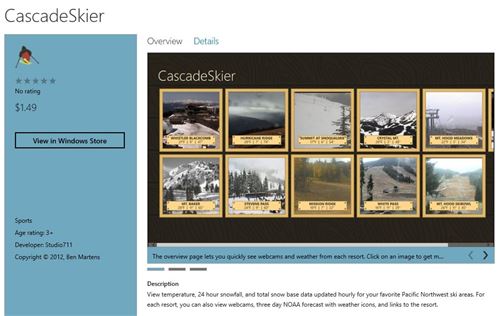
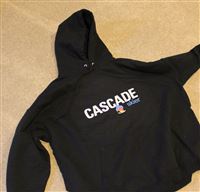 I’ve been running this CascadeSkier thing on the side for five years now. The sidebar gadget is still running but will be phased out as people move to Windows 8. The
 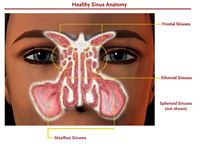 If all goes well, I won’t remember at least an hour of today. After a lifetime of sinus infections and being unable to breath out of my nose very well, my ENT doctor has recommended sinus surgery. They’re going to knock me out for about an hour, straighten my deviated septum, reduce the size of my turbinates (parts of your nose that help warm the air as it passes but in my case are blocking sinus cavities), and clean out some of my ethnoid sinus cavities. It’s going to be pretty unpleasant for a few days, but hopefully going forward I’ll be able to breathe better and have fewer infections.
 I’ve been doing this daily blogging thing for over 10 years now, and I often wonder what it would be like if my parents or grandparents had done something like this. Would I read it? Most likely I think I’d go back to read their thoughts on major world events and big changes in their lives. Actually, Grandma Martens does keep a daily journal and I’d be very interested in going back through that at some point.
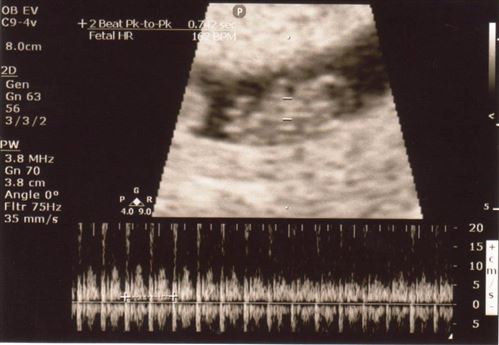
 Tyla and I aren’t going back to Indiana for Thanksgiving or Christmas this year so we picked a cheap weekend in October instead. Luke, Rachel and David came over from Toledo and we all had a great weekend! It was a nice lazy, relaxing weekend with some Catan, pumpkin carving, and visiting a petting zoo and corn maze! Being back home always brings back a lot of great memories and it was fun to add a few more to that list.
Surgery Update
It has been one week since my sinus surgery. The first few days were really miserable, but on Monday I saw the doctor again. He said things were healing normally but I had more swelling than average. He is trying to combat that with some new meds. At the appointment he also cleaned a bunch of stuff out of my nose. I don’t know if it was that cleaning or the meds, but the last couple days have seen some big improvement. I’m still not allowed to blow my nose and I haven’t breathed out of it for a WEEK, but it’s draining a lot less now. I bet it will be another week or two before I’m done with all the symptoms, but I feel like I’ll be ready to head back to work on Monday.