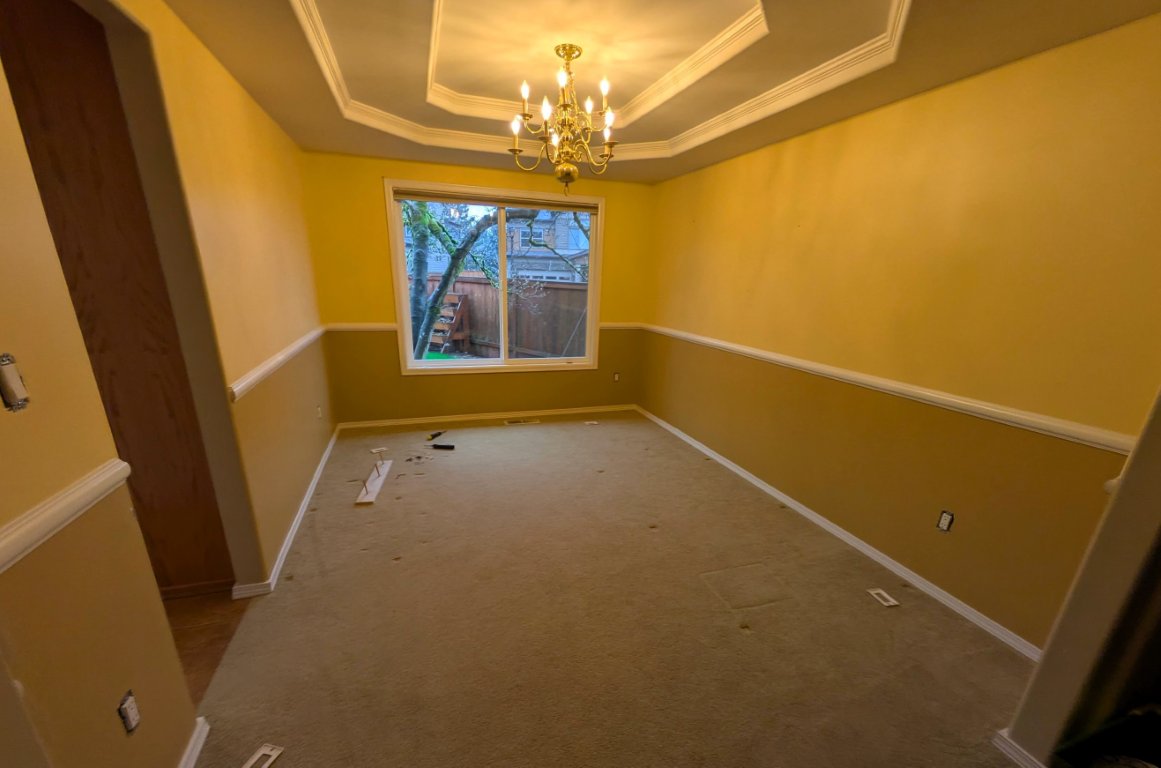
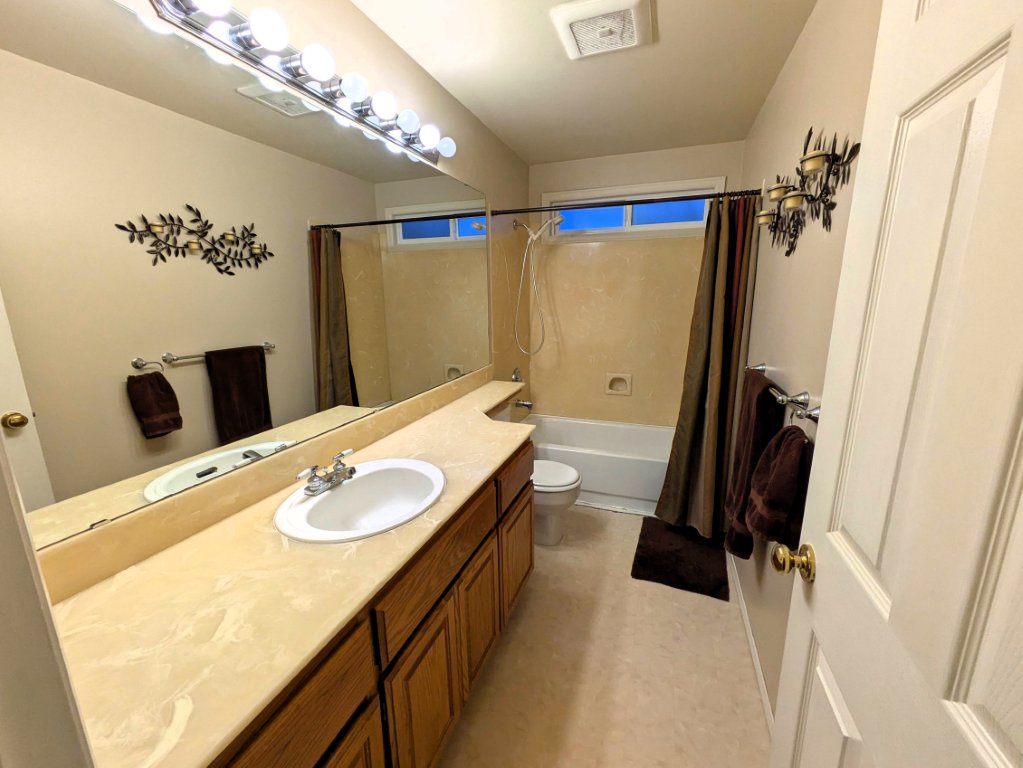
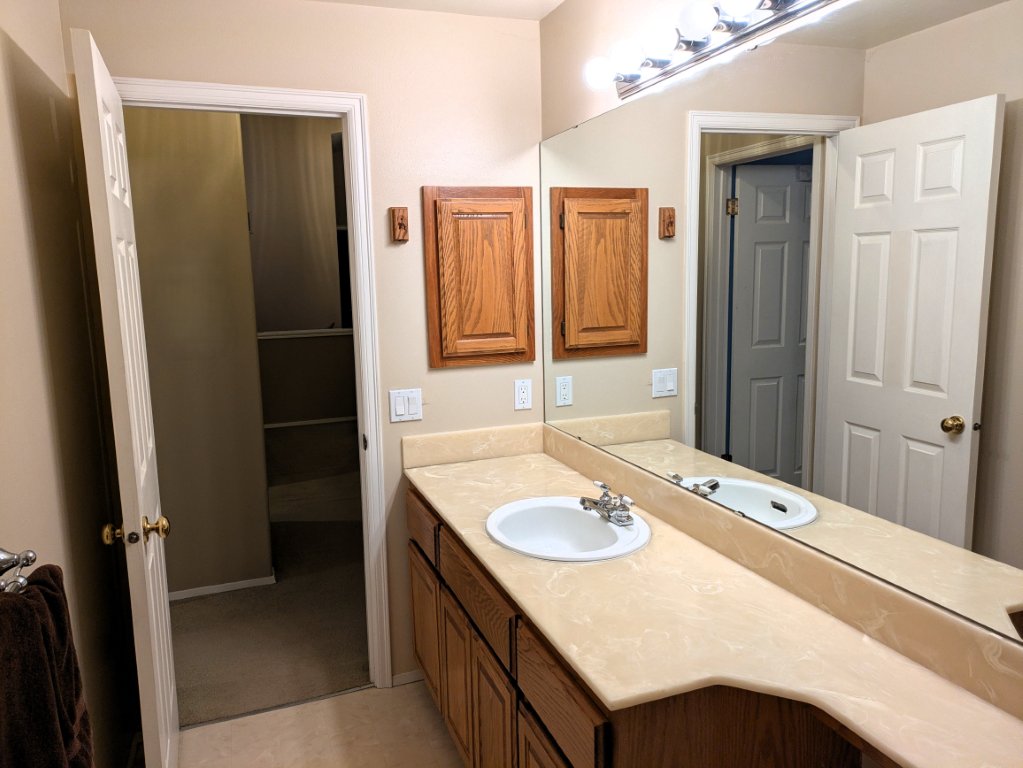
If you’ve been upstairs in our house, you’ve probably visited our pale yellow bathroom. Our main bathroom was originally yellow too, but we had that remodeled back in 2013. After living in this house for ~14 years and saying I was going to remodel our guest bathroom for about that long, we decided it was time to hire someone.
I wasn’t looking forward to the search because contractors out here are very busy and very expensive. Everyone seems to want their project to get a million likes on social media. We just wanted to get rid of the yellow. Here was our specific task list:
- Remove yellow marble shower surround
- Remove countertop, vanity, mirror, light fixture, and medicine cabinet
- Remove yellow flooring
- Replace the shower valve to a modern pressure balancing valve
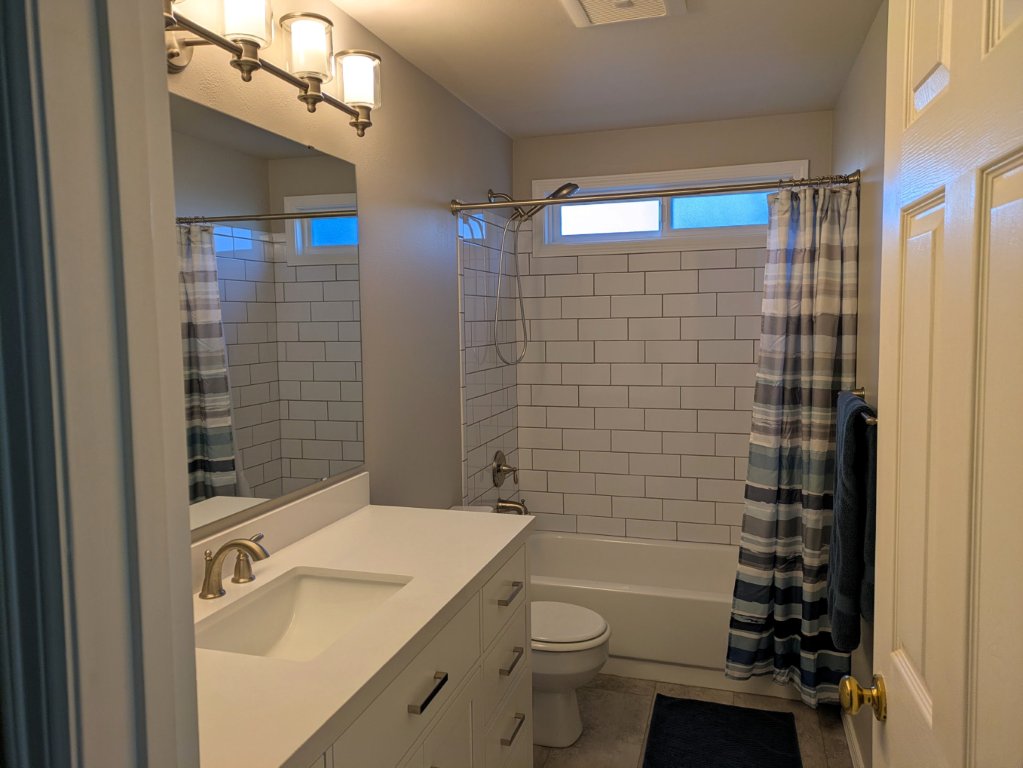
- Tile the shower walls
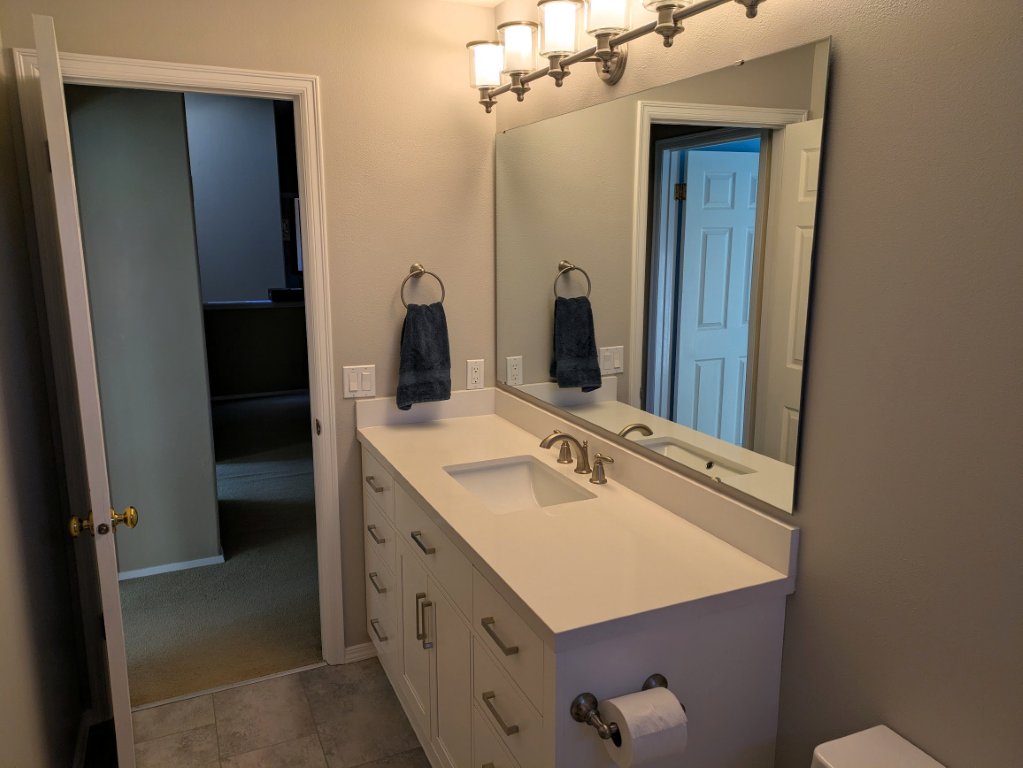
- Install a new pre-built vanity, mirror, and light fixture
- Install an LVT floor
If you’re into home improvement, you can probably see why I kept thinking I would do this. It would be hard and I would have to learn things, but it’s not impossible. When I chatted with the first contractor to get a ballpark estimate, I had more motivation to do myself. They said this type of project is usually $60,000-80,000. WHAT?!
A couple weeks before I was ready to dive in, some friends from church turned me onto their contractor. They said he was very reasonably priced, was willing to let the homeowner buy materials and do some of the work, etc. His quote was MUCH more reasonable and we quickly agreed to a deal.
My end of the project was buying all the supplies: tile, flooring, vanity, lighting, plumbing fixtures, etc. We used the same line of faucets and fixtures that we used in the main bathroom so that part of the decision was easy. We were going with a basic white, rectangular tile so that was pretty easy. Finding a vanity was a lot of clicking but I finally found a ~60″ wide, single sink, white vanity that was very well-built out of solid wood and I found a lighting fixture that was wide enough to not look goofy. The flooring was probably the hardest part. We had a big stack of samples in the house before we finally found one we liked that also happened to be in stock. Everything arrived at the house by the time we needed it except for the flooring which got installed about 15 minutes after I picked it up and brought it home. That one was a little too close for comfort.
I was shocked at how fast the contractors worked. Within two hours of showing up at the house to start the project they had fully protected all the flooring up to the bathroom and demolished the entire bathroom. By the end of that first day they even had the backerboard in place so they could start tile on day two. It’s awesome to watch people work with confidence and skill. For home improvement projects, I’m lucky if I have one of those and I rarely have both.
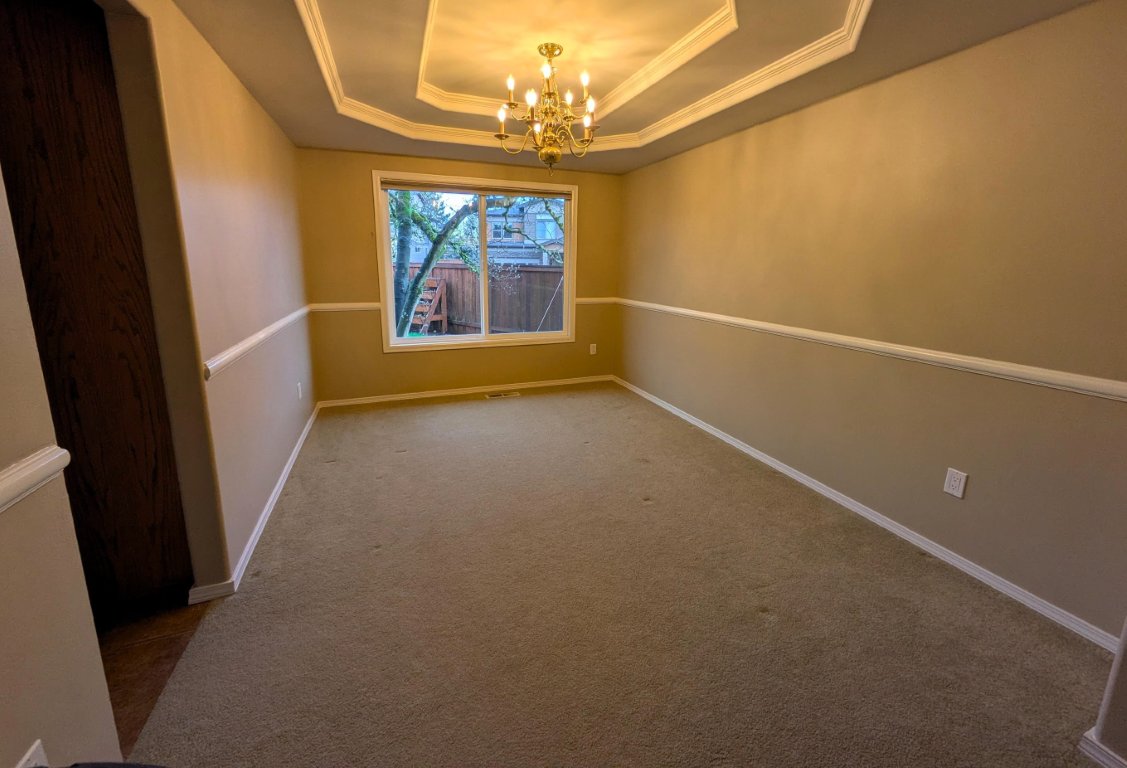
Since the original bid felt so good to us and because the company also had a major painting business, we tacked on having them paint the stairwell. It has needed to be patched and painted since we moved in but climbing up two stories on stairs did not seem fun. They also repaired and painted the whole front door wall and trim. It looks amazing!
I’ve been asked why we remodeled this when we know we’re moving. It’s mostly so that we don’t have a yellow bathroom in our real estate listing. While our house is far from fancy/modern for this area, that bathroom was especially unusual. Hopefully this new bathroom will keep a few more people flipping through the pictures in our listing.