Studio711.com – Ben Martens

Home Improvement

Ecobee3 Thermostat Review

ecobee3For years I’ve had a thermostat project sitting on the back burner. The key features I wanted to build into it were:

  1. Ability to set the thermostat from our phones
  2. Support for remote sensors so the thermostat can use temperatures from around the house
  3. Logging of all the temperature sensors as well as the runtimes for the furnace, air conditioner and fan.
  4. Advanced programming capabilities such as: in the summer if it’s hot upstairs but cool downstairs, just run the fan more to circulate the air.

I’ve seen some Arduino-based custom thermostat projects and figured it was doable, but it never bubbled to the top of my list.

Procrastination paid off because now there are some great thermostats on the market and one of them hits almost all of my required features: the ecobee3.

The biggest thing that held me back from installing something like this before was the wiring to our thermostat. All of these new wifi models require a common (“C”) wire which provides power. There are some hacks you can do to make one of the wires perform double duty and the ecobee3 even comes with the kit, but I really wanted it done “correctly.” So when Dad and Mom were visiting last week, I descended into the crawl space while Dad helped from on top and we fished a new line through the walls. We left the old wire bundle in place so I now have 11 wires running to my thermostat (4 in the old bundle plus 7 in the new.) I’ll never need more than 5 but whatever, I’m future proof.

Setup was a breeze and it even told me that I had one wire connected incorrectly. The touchscreen on the thermostat walked me through connecting to the wifi and basic setup. I also connected the remote sensor and placed it upstairs in our bedroom.

I jumped onto the web interface and looked at the myriad of ways that I could customize the scheduling and also added the apps to our phones. (There is a beautiful Windows Phone app available and I’m sure they have Android and iOS too.) It’s so nice to program a thermostat by clicking around in a browser window instead of punching buttons on a little device. The default software has lots of nice features such as “use the upstairs thermometer to control things at night” and “run the fan extra when the difference between the two thermometers is greater than normal”.

Another big reason for buying this specific unit is that it has a nice API. I spent some of my free time in the next few days writing a program to download all of the data from the thermostat and upload it to my SQL Azure database. That database now has information about furnace, air conditioner, and fan runtimes as well as individual sensor temperature and humidity values. It’s all recorded every 5 minutes so I will have tons of data to play with. The API also means that I could theoretically do fancier things like write a program to text message us if we should open the windows in the house or turn the furnace back up when we drive within 15 minutes of the house after being gone.

At $240, it’s a chunk of money to pay for a thermostat but if you’re at all interested in tinkering with this stuff, it’s a great product. I think it will shave some money off our bills too so we’ll recoup some of that cost, but mostly it’s just fun!

Power Outage Debrief 2

WP_20160313_17_18_50_ProAfter our previous multi-day power outage, I wrote a post talking about what I learned from my first real test with the generator and gave myself a B-. Unfortunately, I had another test recently when the third windstorm of March knocked out power for 175,000 people. Thankfully, this outage only lasted 11 hours so it was easier to deal with, but I’d still bump us up to a B+. Here’s a breakdown of what I learned this time around:

  • We need to have a plan of what to do when there is nasty weather coming. This time around, I remembered to set the fridge to Max Cool (dropping the fridge and freezer temps to 33 and -6), I moved ice from the freezer to the fridge and had it refill the ice in the freezer, and bumped the furnace thermostat up a couple degrees. That was all great but I forgot that I should also have been keeping our phones charged up.
  • After the power went out, I remembered that I never got around to building a better shelter for the generator. Fail. The last time I tried to use the pop up tent but it was difficult to deal with in the wind and it took a lot of time to set up. So I headed off to Home Depot, but because I only had my little Subaru, I had to plan something that was quick to build and could fit into my car. I had them cut a sheet of 3/4″ OSB into two 40×48 pieces and I bought a couple of metal 90 degree straps. I made a quick “tent” out of those two pieces and it worked really well. It was heavy enough that it wasn’t going to blow away and it provided shelter for the generator while giving the exhaust an easy way to exit. It will also be easy to unscrew and along the wall in the shed.
  • Last time I was nervous about the dirty power from the generator ruining the fridge so I would only run the fridge every ~2.5 hours and then unplug everything. That was a lot of work and I was exhausted after a couple nights of that. This time I just let it run and everything was fine. Much easier.
  • We used VERY little gas. The generator ran for a total of 7 hours and we used well under two gallons. The supply I had on was sufficient for a full day so that was a win.

Given that we’ve had three outages in the last nine months, we are ready to look into a manual transfer switch so that the generator could run right into our electrical panel. Depending on the, cost we might go ahead with that. A neighbor put one in and within 10 minutes of the power going out, he had his generator and started and plugged into his house.

Power Outage Debrief

generatorsetupAfter coming home from vacation in August in the middle of a power outage, Tyla and I decided to buy a generator. It wasn’t anything fancy, but it would be a big help. I figured we’d never lose power again since we finally shelled out money for a generator. Wrong!

On Nov 17, we had a really big windstorm and it knocked out power for around 300,000 homes. We lost power at 2:15pm. After waiting an hour to make sure it wasn’t a short term outage, I headed home to fire up the generator. We ended up getting power again at 12:15pm the next day, but even with the 22 hour outage, we succeeded in keeping the fridge running, using a space heater to keep the eating area warm, and running some lights. It’s amazing how much better it feels just having lights on in an outage like that!

Tyla and I have really ramped up our disaster prep in the past couple months and I’d give us a B- on this event. Here are some of the things I learned:

  • It never occurred to me that when I need a generator, there’s a good chance that it’s raining. The generator shouldn’t sit in the rain so it needs protection. I used our pop up tent but that was a little sketchy given the high winds. I thought it was going to blow away. I think I’ll try to fashion some kind of plywood that just sits on top and latches on to provide a rain shelter. It will be a lot faster to set up, and if I make it correctly, it will be easy enough to store along a wall in the shed.
  • It also never occurred to me that because we were running an extension cord inside, we’d have to leave a door or window cracked open which lets heat escape. I got around this by jamming a large towel in the crack and that helped.
  • We have a bunch of small battery backups around the house basically wherever we have fancy electronics (computer closet, desktop computer, theater setup, and downstairs TV). Those are really handy in power outages because you just move them wherever you want power and plug in a lamp, etc. They’ll run LED bulbs and charge phones for quite a while. Unfortunately, I was not able to charge them back up with the generator. While the generator provides a pretty clean voltage signal, the frequency fluctuated about +/- 1Hz from 60Hz. That was enough to make the battery backups freak out and keep switching back to battery mode. My initial plan had been to run the generator into various battery backups and then run equipment off of those batteries to keep the signal really clean. That failed so I had to hook things up without that battery in the middle and I was a little nervous about the dirty power running to stuff like the fridge which has lots of electronics in it. Everything worked ok so maybe I was worried about nothing. It would still be nice to find a cheap way to clean up the power signal a bit so we could use the batteries more effectively.
  • I was shocked at how little power the fridge used! I don’t know what the startup surge was, but once running, it only used 150 watts! If you put it in “Max Cool” it would ramp up to 500 watts once it pushed below 0 degrees in the freezer, but 150 watts? I could probably have been running this off my battery backups all along! Sure it wouldn’t have lasted indefinitely but I could have at least gotten one or two cooling cycles in the fridge.
  • The next time we think that the power might go out, we should set our fridge to Max Cool. It drops the temps by about 5 degrees in the fridge and freezer for the next 24 hours. If the power does go out, that gives us more runway before we have to use the generator.
  • I had no idea how quickly the generator would use gas. It was dependent on our usage and it turns out that we used very little of the available capacity. I never really saw the gas gauge move. Unfortunately I topped the tank off a couple times so I can’t get an accurate measurement of the gas we used when I drain the tank, but still, it would easily have run for many hours.
  • Because of the concern about running out of gas (which can damage connected devices) and because I didn’t necessarily trust the generator to run trouble-free, I didn’t let it run overnight to keep the fridge cool. That meant setting an alarm every ~2.5 hours to wake up, turn on the generator, and run the fridge for 30-45 minutes to cool it back down. It was a very restless night for me.
  • The overnight temp dropped into the mid 30’s. We keep the house at 69 degrees and by morning it was down to 59. If it was just Tyla and me, we could survive but it’s hard with a toddler who likes to throw off blankets while he sleeps. I was prepared to use our 1400 watt space heater in the bedroom periodically the next night, but then I chatted with our HVAC guru and he approved my plan to hook the furnace up to the generator. When he installed it, he put a switch in the line so my plan was to take the switch apart, wire in a male extension cord plug and then connect it to the generator with an extension cord. I don’t know how much wattage it would draw, but it’s a gas furnace so I just have to run the blower so I should have plenty of juice. It would have been awesome to get the house warmed up, but doing that also meant that when the power came back on, I’d have to undo my change to have the furnace running on the power grid again. In the future I think I’d probably wait until the house got really cold to do this, but it’s awesome to know that I CAN do it in a pinch.
  • We had already been considering adding wiring to our panel so that we can transfer over to the generator. I’m still interested in that and it would have made our experience a lot nicer, but I’m still not sure it’s worth the money. I’m batching up some other panel work that I want to have done (whole house surge protector and per-circuit usage monitoring/logging) so maybe it will make more economic sense to do them all at the same time. Now that I know how much work is involved manually hooking things up, I have a better feeling for how valuable it is to have it wired into the panel.
  • Food and water were never a concern. We have a big bin of food stored in the pantry that is our “emergency stash.” As long as we have some kind of fire, there’s lots of food that we can eat and the food will keep for at least a year in that bin. We didn’t even have to break into that bin though.
  • Our gas supply was inadequate. Now that I know how much gas the generator uses, I will keep more on hand. Previously I had 2 gallons in the garage, but I’m bumping that up to 8. I’ll keep rotating it every few months to make sure that it doesn’t go bad.

Overall I’m very happy we bought the generator. At less than $500, I feel like we’ve already come a long way towards feeling like we got enough value out of it to make it a good purchase. The next time this happens, I will have a lot better idea what to expect and will hopefully be able to relax a little more. This time felt pretty hectic and I didn’t get much sleep.

DIY Home Security

homesecuritySome of you know that I installed a security system at our house instead of contracting it out to ADT or one of the other popular companies. I never blogged about the project, but it was a major project for me. The physical installation wasn’t very hard, but it took a ton of time to research what I needed to buy. I’m not going to go into specifics on this public site, but here is some of the basic info in case you’re interested in this for your own home.

The main reason you would probably want to consider this is that you can save a lot of money on your monthly bill. I think ADT is currently charging $37/month for their basic package. By doing it yourself, you can get the same monitoring coverage for $10/month. You don’t have to be a math whiz to know that saving $27/month adds up quickly.

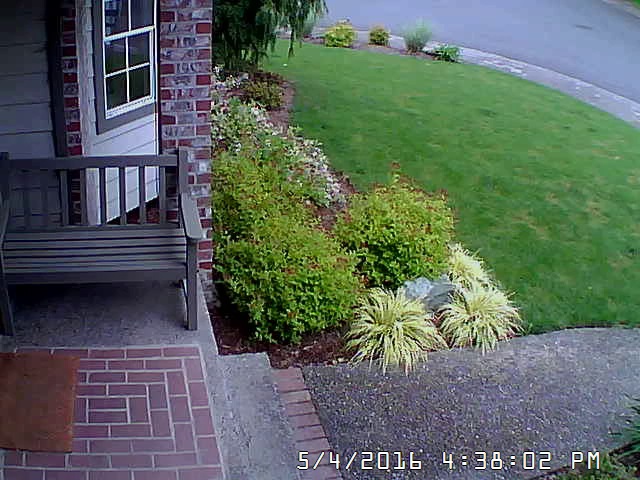
Our house was previously serviced by ADT but there was no active service when we moved in. The panels that ADT uses are locked down. While they are standard models, they are tweaked so that you can only use them with ADT. The sensors that are already on your doors and windows are probably reusable. In our case, all of the sensors were hardwired and those are extremely simple to reuse. The “only” thing I had to do was replace the main control panel and the keypad.

In retrospect, I could have saved myself some time if I had just bought the exact same panel that was there before. It would have been obvious how to wire it up! But I went with a new panel mostly because I didn’t think of that option, and also because I wanted to be able to support wireless sensors. I’m glad the wired sensors were there, but I wanted to quickly and easily expand the coverage of the system.

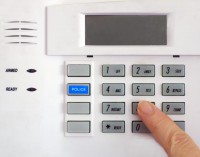
Once I had the panel in hand, I carefully labelled all the wires on the old panel, disconnected the wires, and then reconnected everything. Programming is all done via the keypad and you’re interacting with 90s technology. Everything is done via long strings of numbers and you better have a firm grasp on the manual so you don’t get loss. It’s ridiculous, but it works.

I was able to confirm that the alarm worked locally so then it was just a matter of hooking it up to the phone line. You cannot use a VOIP telephone line (like the one you get from Comcast.) It must be an actual old-fashioned telephone line (POTS) or you can use a cellular monitoring system for a little extra money per month.

So is this a good DIY project? Ehhh… if you’re a geek and you’re willing to spend a lot of time reading manuals, you can figure it out. You’d also have the advantage of being able to call me up and learn from my mistakes. I’m thankful we have it but I spent a TON of time getting it going. I think a lot of that delay was because I was so nervous about dropping a few hundred bucks and then screwing it all up.

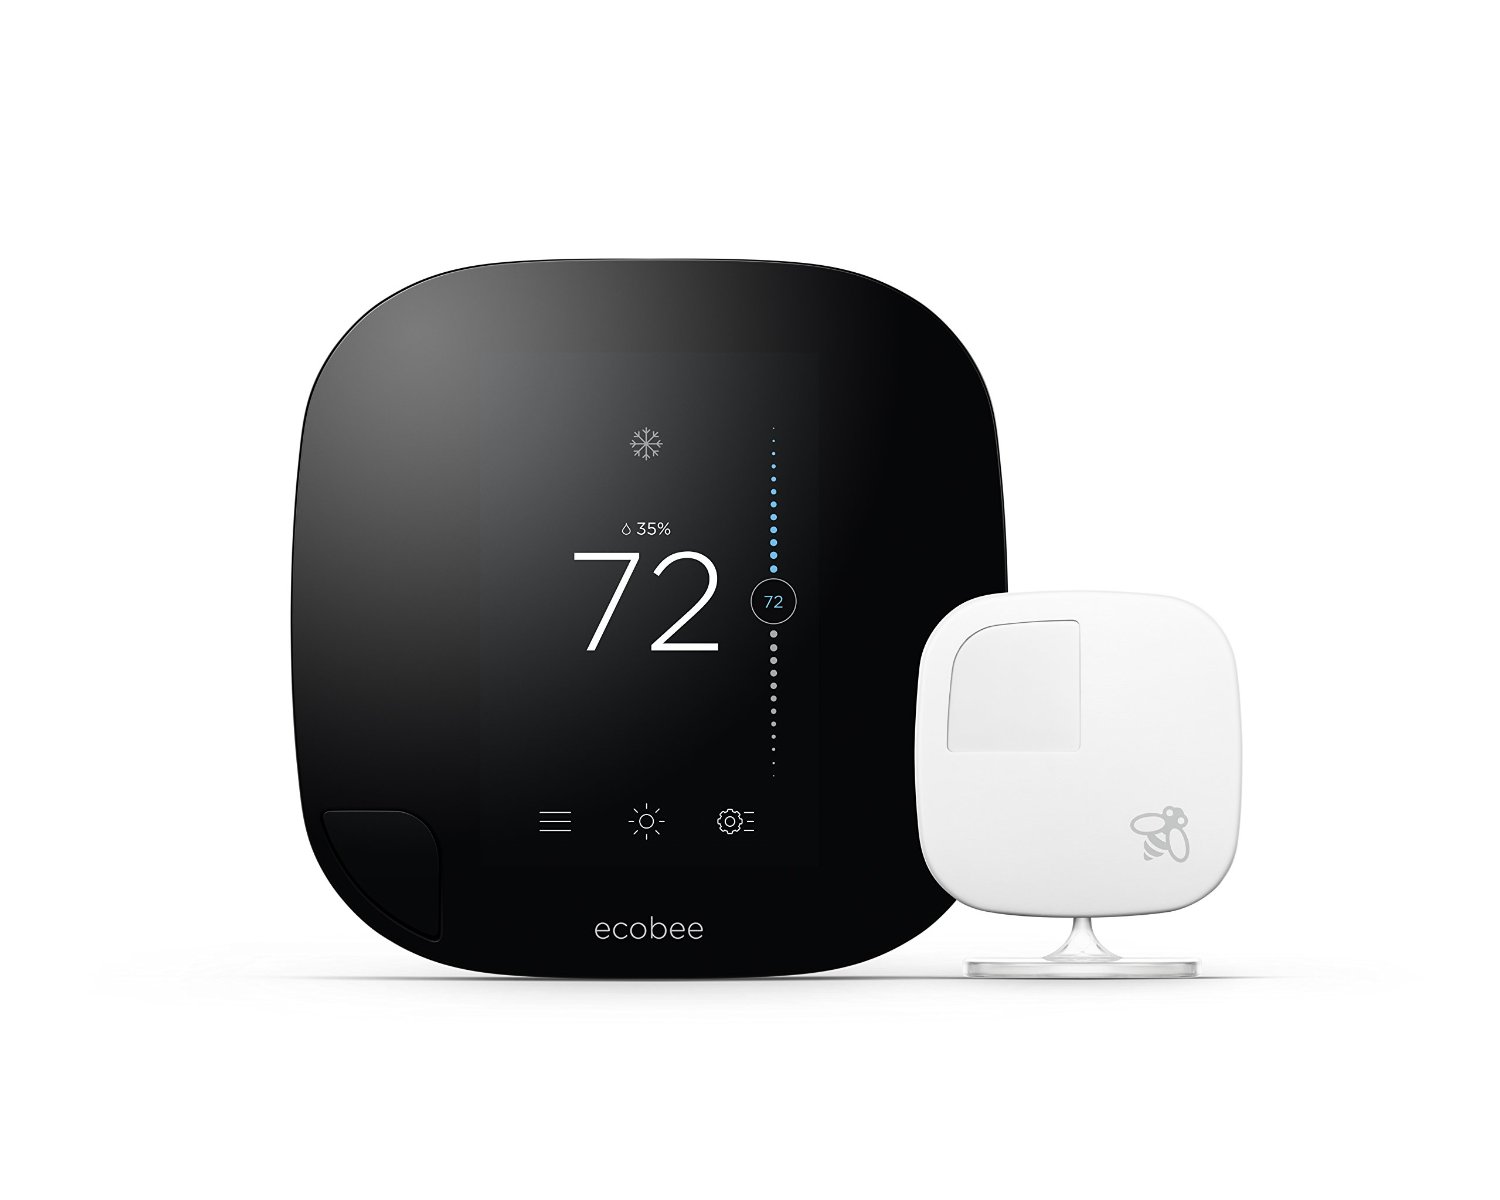
Our system has been rock solid and we use it regularly. We’ve only had one false alarm and that was attributed to a helium balloon slowly floating in front of a sensor. I love our custom solution because when I decide to add some more sensors, I can do it for $20-40/sensor. There’s no service call from a tech, crazy prices for installation, or additional monthly fees. And if I want to control it from my phone or hook it into a home automation system, it’s just some more research and purchases on my end. We’ve already added fire and carbon monoxide monitoring for a grand total of $0/month.

Is the system safe? Sure. I’m already using the layout that the “professionals” recommended for the house and then I’ve added more sensors on top of that. I can tell you that the fire sensors we got are exactly the same as the system that we put in at church for tens of thousands of dollars. A smart burgler could get through our system, but they could get through your ADT system at least as easily. I could spend more money to tighten up some of those holes, but at some point you just have to let it go. Having the sign out front is probably more important than the layout of our system.

I enjoy this kind of thing so it’s worth my time to save the money. Obviously the math is different for most people because companies like ADT are very successful!

Generator

generatorWe lose power at our house once or twice a year. In the last nine years, there have been a couple multi-day outages, but in general, our power is pretty reliable. But… we bought a generator. When we came back from vacation to a house with no power, food going bad in the fridge and an overtired kid who was thrown even more out of his routine, I snapped and clicked BUY IT NOW on Amazon.

Generators can get really expensive. I think I kept it fairly simple by making some compromises. I didn’t get a name brand, I didn’t get a super quiet model, I got gas instead of diesel, and I didn’t get one that is wired into my house. What I DID get is a DuroMax XP440E. It’s rated for a sustained 3500 watts, has an electric starter and it cost less than $400. I figure that if we use it even a few times, I’ll feel like it was worth the money.

My main goal during an outage would be to run the fridge along with some lights and cell phone chargers. That will be easily accomplished by placing the generator on the back patio and running extension cords into the house. Simple, but effective.

At some point I want to have a bunch of upgrades done on my electrical panel (per circuit usage monitoring, whole-house surge protection, etc) and at that point I might have them wire in a transfer switch. Then I could just plug the generator right into the panel and (carefully) power the whole house. Obviously we wouldn’t fire up the dryer, the microwave, etc, but it would be really nice to use light switches. Plus, our water heater requires electricity because it’s tankless so this would give us hot water. Brent, our HVAC guy, said we could power our furnace with the generator too. So there are lots of possibilities but I don’t plan to go down that route soon (or maybe ever.) In an emergency, I’m pretty sure I could hack up a solution to get the furnace powered by the generator so I feel like I’m covered. Plus it rarely gets THAT cold here.

Once it arrived, setup was simple. There are a few steps to follow to get it ready to run the first time, but now it should start up very easily via either the electric starter or the pull cord. We live less than a mile from the gas station so assuming they have generators, we should be able to get gas from them as needed if my small local cache runs out.

That all being said, I feel somewhat ridiculous for buying a generator. I grew up in a house that seemed to lose power all the time and we never had a generator. This was definitely a luxury purchase, but for I’m happy with getting this backup plan for only $400.

OpenSprinkler With Power BI

I’ve been happily using OpenSprinkler to control my irrigation system this year. One of its many features is logging how long each zone is on, but I haven’t done much with those logs yet. Last weekend, I decided to dig in to the data.

The first thing I did was write a little app that runs every morning, checks the latest logs, and uploads the new data to a SQL database in Azure.

Then I stood out by the water meter and figured out how much water each zone used. That included the startup usage (since water drains out of some heads when the zone is off) and the usage per minute. That let me calculate how much water I’ve been using over the past few months.

I fired up Power Query for Excel and brought in all the data so I could get some nice Power View charts and graphs going. (Note that I could also have used the new Power BI Designer instead of Excel, Power Query and Power View.) I saved that workbook to OneDrive and imported it into PowerBI.com. I set up PowerBI.com to automatically refresh the workbook every morning and show me the charts on a dashboard.

It might sound complicated but it only took me about an hour of work and that included standing out by my water meter for 15 minutes. Now I can fire up the PowerBI.com website every day and analyze my water usage. Since this isn’t based on an actual water flow meter, it won’t help me find leaks, but it does help me get an idea of how much money I’m spending to keep my yard green. I’m also working on some new features that will keep track of the high and low temperatures each day along with the precipitation.

You can get a long way in Power BI before you need to pay for anything so go give it a shot if this sparks some ideas in your head.

pbiopensprinkler

Basketball Hoop

newbasketballhoopWhen we bought this house, there was a broken basketball hoop on the property back in the cul-de-sac. It seemed like a great location to play, but the hoop was unusable. When we tore up the yard, we took out the hoop and threw it away.

Once it was gone, I noticed that more people were driving through the yard there as they turned around in the cul-de-sac. I decided to put a new poll back in roughly the same place.

I bought a Lifetime 71525 hoop from Amazon (yay for free shipping with Prime) and it sat in my garage for about five months before I finally got around to installing it. That should have been a pretty straightforward process, but as soon as I started digging, I discovered that my brand new irrigation lines ran right through where I wanted the pole to go. That meant I had to dig the hole even bigger and make a detour in the pipe. After that, the concrete went pretty easy but it was tricky to keep the pole perfectly vertical while the cement set up. Assembly of the hoop was more complicated than I expected, but I finally got it worked out after a little modification to the lifting mechanism.

The hoop has been up for a couple weeks now and it works well. Elijah loves to have it lowered down to 7.5 feet so I can lift him up to dunk the ball. The cul-de-sac makes a nice playing surface except that the road slopes down to the curb a bit so shots that go through the hoop usually fall down to that part of the road and bounce back into the yard.

Hopefully this hoop provides us with years of fun! Or at the very least, it will hopefully cut down a little on people driving through the yard in that spot.

Don’s Fence

Last summer at this time I was in the middle of our huge yard remodel and that included building a fence. Don and Logan put in a lot of hours on the fence at my house. This summer, we’re all working together again but this time it’s at Don’s house.

So far we’ve gotten most of the old fence removed, most of the new posts in concrete, and some of the fence up. This past weekend we made a ton of progress because Don rented an auger and a cement mixer. We knocked out 10 posts before 3pm. Not too shabby for our ragtag group.

Somehow Don seems to end most of the work days with a bleeding cut on his arm, I hurt my back on Saturday running the auger and Logan broke his thumb by shooting a nail through it. You might not want to come help with this project. Our safety record isn’t very good!

donfence1 donfence2

Planter Box Drip Irrigation

dripirrigationplanterNow that we have our wonderful irrigation system controlled by the computer or my phone, I want to hook it up to everything that needs water! Thankfully, that turned out to be pretty simple. I got it connected to the three window boxes in front of the kitchen and all the way up to the hanging basket outside the front door.

Home Depot has a lot of the stuff I needed, but to avoid buying a lot more than I needed, I ordered from http://www.irrigationdirect.com/. I only found them through a web search, but they let me order very small quantities of very cheap parts (some were just $0.07 each).

Even if you don’t have an irrigation system, this is something you can set up yourself. Look for drip irrigation kits. You can find kits that connect to your hose bib. If you want to get extra fancy, you could use a hose timer, but my faucets are so leaky that these were never a great solution for me.

There is nothing complicated about it. You just need to figure out how all the parts go together. You would connect a hose to your hose bib, run it near your planter area, use the adapter to go to a 1/2″ tube and run that along the length of your planter area. Then you poke small holes in the tub and use connectors to connect in 1/4″ tubing. There are a lot of options on how to dispense the water from basic drips to sprays to tubing with emitters every 6 or 12 inches. You can customize exactly where you want the water and how much you want.

Theoretically this setup means I’ll use less water because I will only water exactly the areas that need it, but in reality, I’ve been using it a lot more because it’s so easy to turn it on. Once all my new landscaping and potted plants get established, I should be able to reduce the watering a bit.

Open Sprinkler Review

opensprinkler_v20s_5-500x500When Tim installed my irrigation system, he was kind enough to throw in a free irrigation clock that he had sitting around. It’s a standard Hunter model (probably $75-100) and it worked great, but every time I looked at it, I thought about how simple the device really was and that I should be able to control it from my computer. Standard industry offerings are hundreds or thousands of dollars with monthly fees. They’re mostly intended for commercial use.

After a little searching, I found opensprinkler.com. Somebody else had the same idea and made such a nice package that he is able to sell it. The basic model is Arduino based but there are Raspberry Pi and Beagle Bone versions too. I chose the standard model for $155.

Installation was a snap. I labeled all the wires from the existing clock and transferred them over to the Open Sprinkler unit. I also ran an Ethernet cord from the clock in the corner of my garage up into the network closet. (It is SO convenient having the network closet share a wall with the garage!) I turned the unit on and very quickly was turning the sprinklers on and off from my computer. With a little extra configuration I was able to do it from my phone.

Why? Well yes, it’s a toy, but it also makes it very easy to walk around the yard testing zones or turning them on to blow out the line. Also, last summer I’d wake up to hear the rain and realize that my irrigation was scheduled to run in the morning. To avoid wasting water, I had to turn off the house alarm, go out in the garage, turn the program off, come back in, turn the alarm back on, and go back to bed. Now I can just reach for my phone and adjust it… if I even need to (more on that below.)

Aside form the convenience factor, here are some other features that I love:

  • I can completely manage the system from the comfort of my couch instead of standing in the garage.
  • Programs can be set to start based on sunrise or sunset. General recommendations for lawn watering are to do it a little bit before the sun comes up to avoid the hot sun burning off the water but also not let give moss a wet, dark place to thrive. This setting makes that super easy.
  • By checking the weather online, the system can automatically adjust the programs based on the humidity, temperature and precipitation from the previous days. This either means skipping an entire program or just running it for fewer minutes.
  • Programs can be set to run every N days instead of on specific days of the week.
  • You can view a log of when each zone was on. This will be nice when I try to track water usage and also to evaluate how well the Open Sprinkler system is performing.
  • As the software gets updated and perfected, I can update my unit with the click of a button.

All in all, I highly recommend this product so far. As long as it actually does the job of controlling the irrigation system without ever crashing, I’ll be very happy!