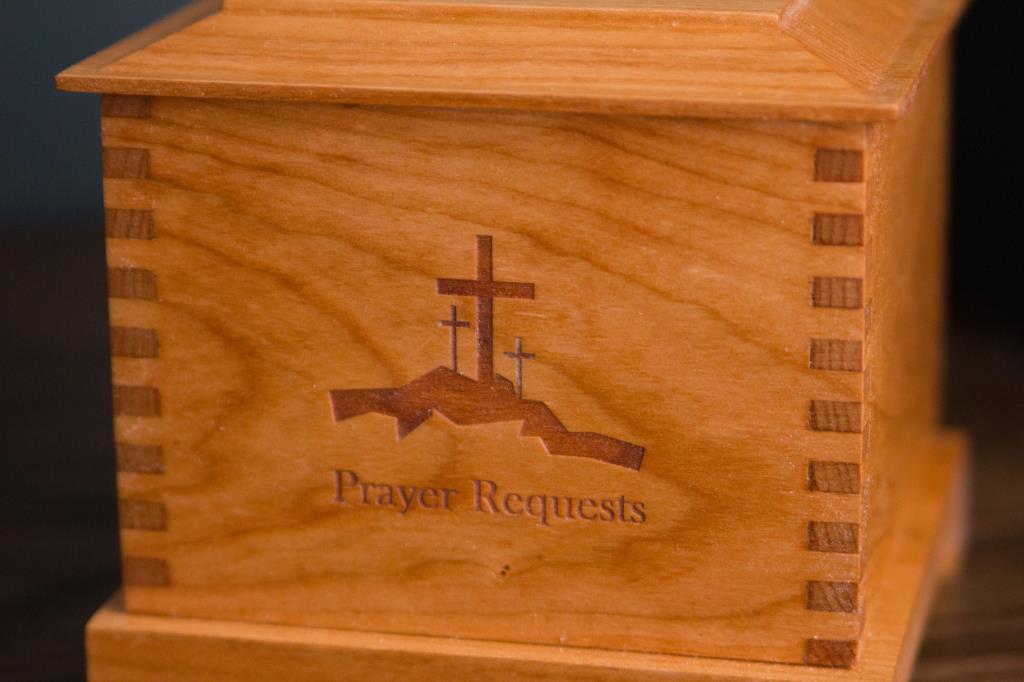
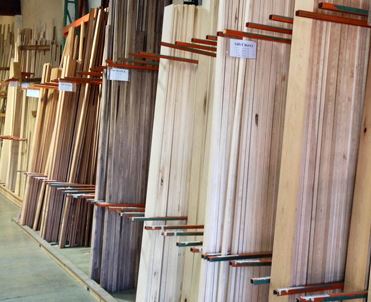
Church asked if I’d be willing to make a “prayer box” for church. The idea is that people can write down prayer requests on pieces of paper, put them in the box, and then Pastor will remember them in his prayers. There were no design requirements so I chatted about some ideas, got a thumbs up and I was off and running to Crosscut Hardwoods to pick up a nice hunk of 5/4 cherry.
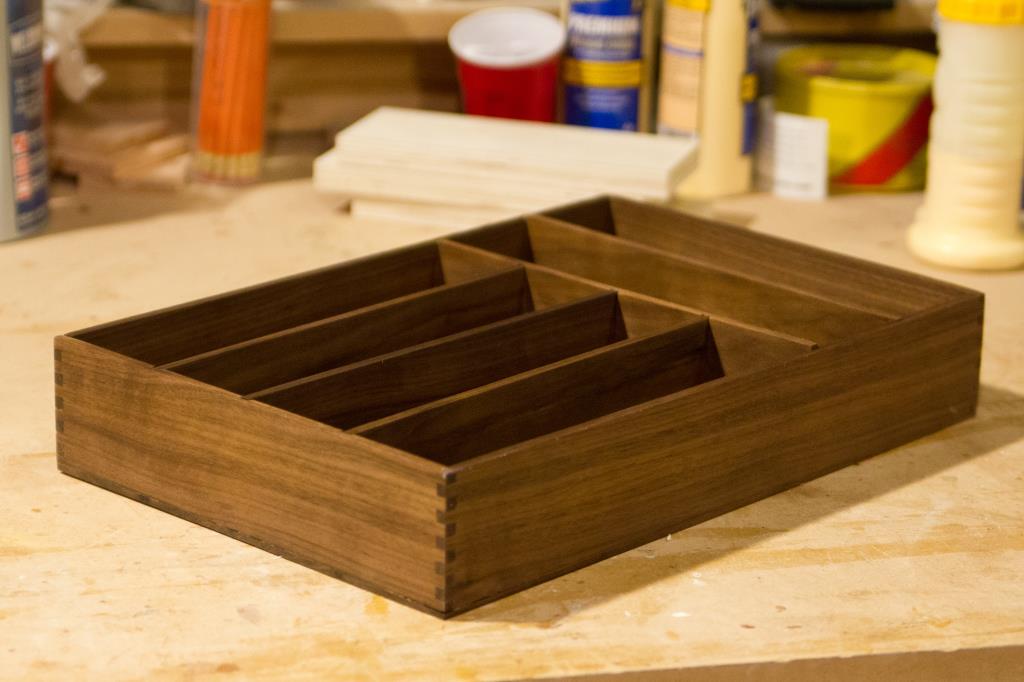
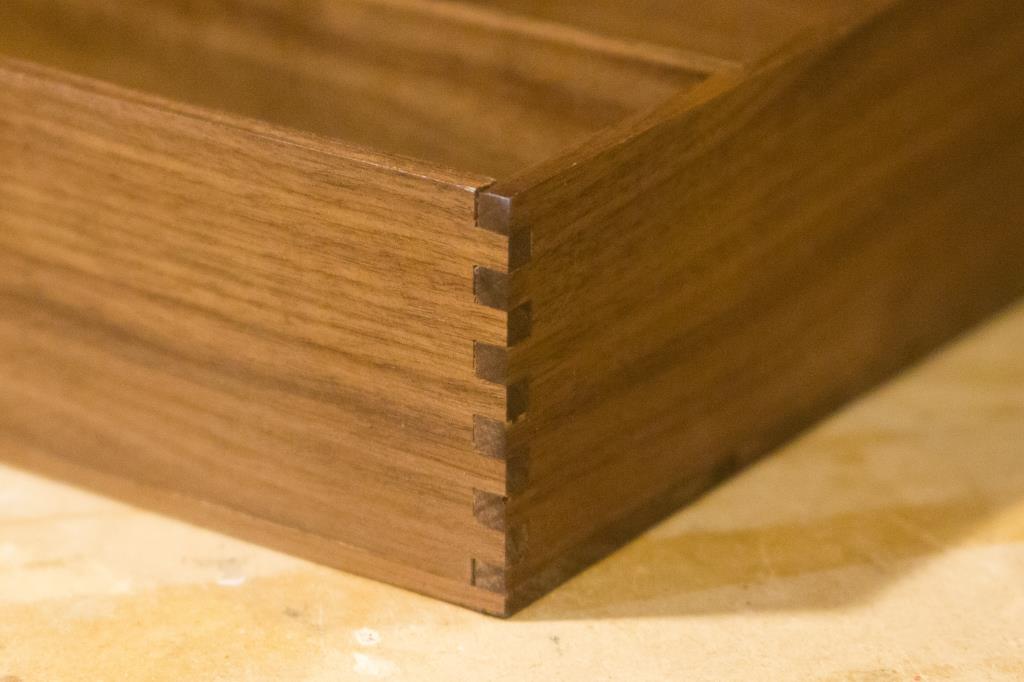
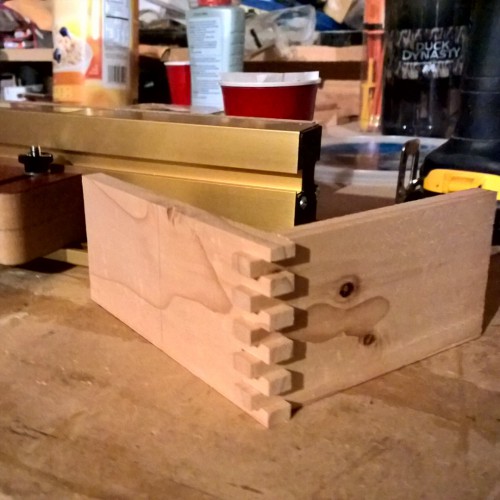
I wanted to play with my box joint jig again so I decided to do box joints. Unfortunately my first attempt failed because I didn’t clamp it well and the box wasn’t square when I was done. Instead of waste all that nice cherry wood, I sawed off the joints, cut some new box joints and then glued it together. So the box ended up smaller than I intended but I think it worked ok.
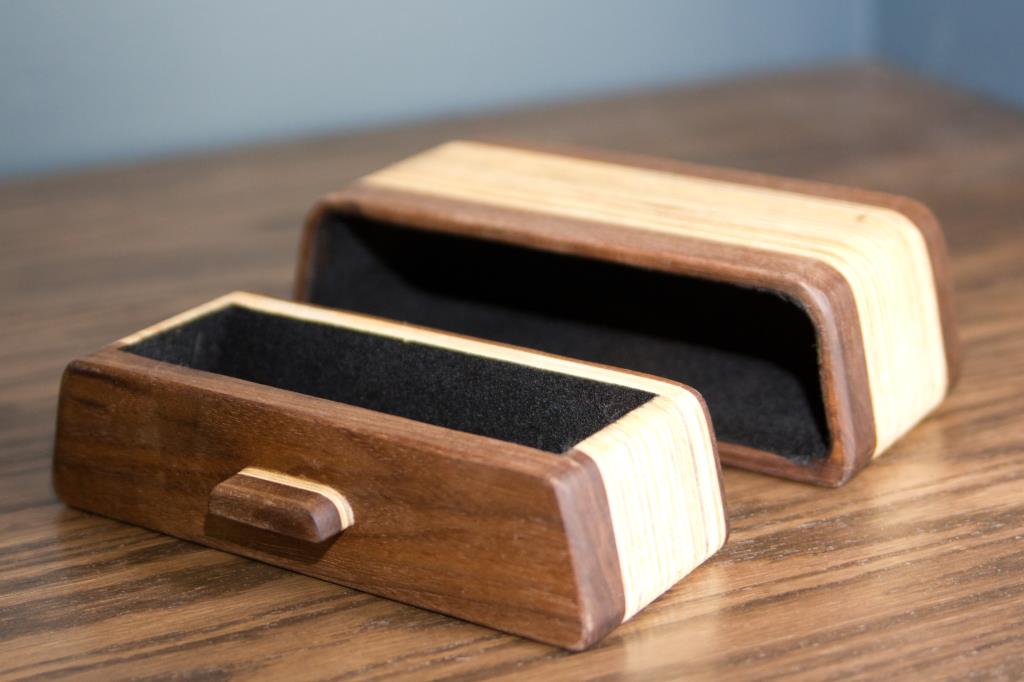
For the lid, I wanted to try a panel raising bit. I picked one up from Rockler and carefully cut the profile on the lid. It’s a huge router bit so it’s a little scary to use. I slowed the router way down and nibbled at the cut until it was the depth that I needed. I added a very thin layer of wood on the bottom of the lid that perfectly fits inside the box. So when you put the lid on, it is always centered and won’t slide off.
To make the box a little more special, I took it to the laser cutter and etched the church logo into the front of it. Dad was here when I did that so it was a good excuse to show him the laser cutter. Thankfully my testing was spot on and the logo ended up perfectly centered.
Instead of having people lift off the top to insert their cards, I wanted to put a slot in the top. But why just do a straight slot? I made it a cross. This was trickier than I had intended and I had trouble centering the cuts. Thankfully I had started with a very small slot so I switched to a wider slot and was able to cover up my mistake.
The final step was making a base for it. That was just a chunk of cherry and I used the router to remove the bottom half of the board except for the four feet on the corner.
For the finish I used an equal mixture of boiled linseed oil, mineral oil and wipe on poly. Four coats of that with a scrub from a synthetic pad in between coats completed the project.