
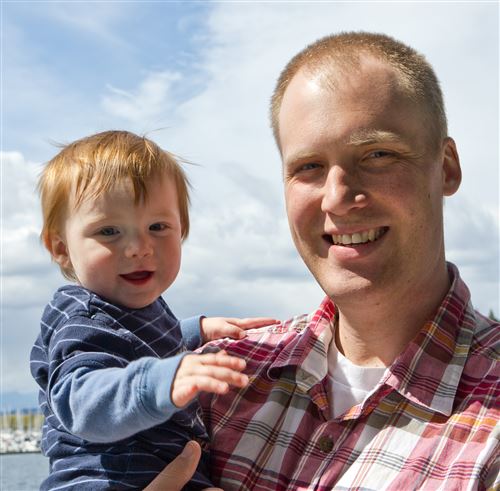
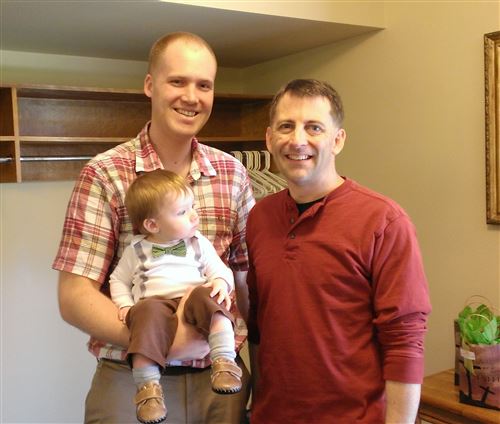
Tyla is good at entertaining Elijah and making him smile. Here is some video of her at the work party on Saturday.
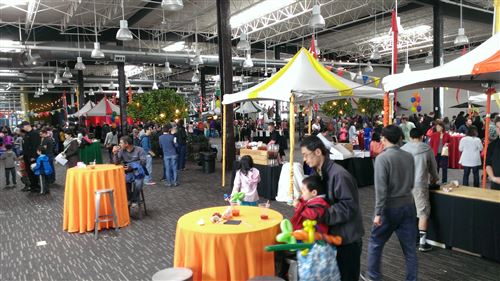
Carnival
On Saturday, we headed down to one of the cruise terminals in Seattle for a party thrown by my organization at work. (There are about 4000 people in this org.) They rented out the building and had it set up like a carnival. Elijah loved watching all the people and seeing the decorations. There was a play area for kids which kept him occupied while we chatted with some of my co-workers. Tyla and I both enjoyed sampling all the foods they had, and I’ll never pass up free Mac And Jacks. Elijah’s favorite part might have been the shuttle ride from the parking lot to the party. He loves watching big buses and this was his first time to ride in one.

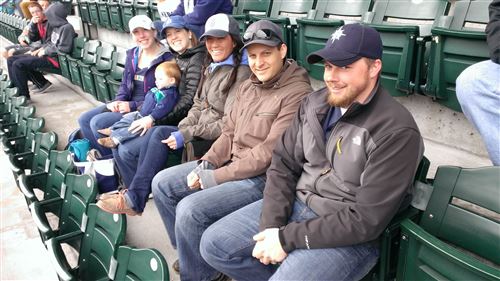
Mariners
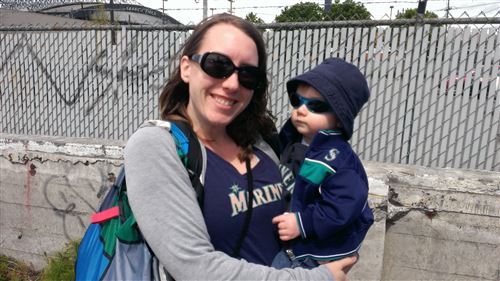
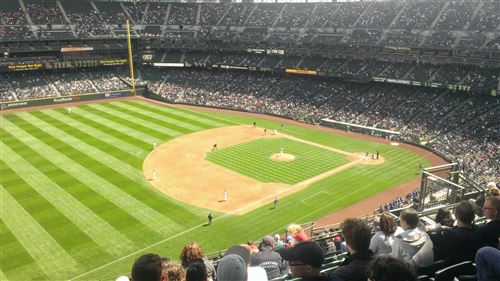
Tim called us last week and asked if we wanted some free tickets to the game on Sunday. Yes please! Elijah suited up in a variety of Mariners gear that he has acquired and we headed off to the game. We wondered how he would do but he did excellent! Our seats were in the 300 level so we wimped out and took the elevator. On the way up the elevator operator gave Elijah his first baseball card and on the way down a policeman gave him a Junior Policeman sticker. Unfortunately we underestimated how cold it would be with the strong wind blowing and seats in the shade so we didn’t stay for the whole game. We left in the top half of the 7th with the Mariners down 5-2 and they ended up coming back to win it 6-5. It would have been fun to see that, but we came home with a happy baby so I’d say the trip was a success.

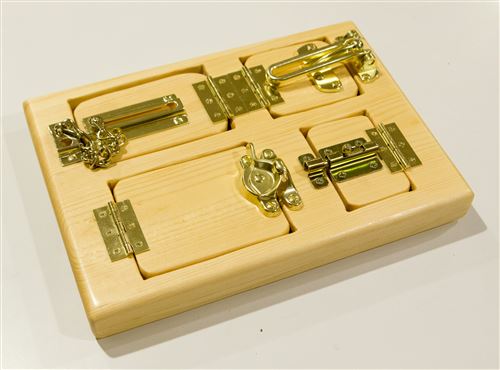
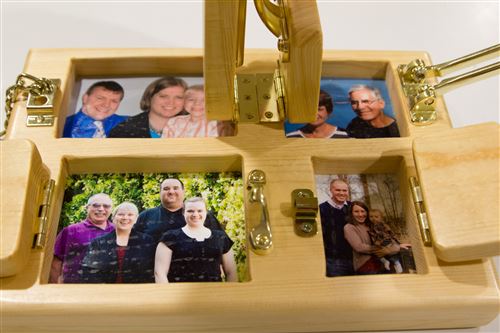
Custom Photo Latch Toy
Elijah loves playing with anything that has a latch or a knob. We also want to teach him about his relatives. I decided to combine the two into a homemade toy.
I started with a piece of 1” thick, 12” wide common board. I cut two pieces about a foot long. Out of the top one, I cut out four holes that would match the pictures. I thought I’d use the scroll saw that Tim lent me, but I had to cut a pretty big hole to start the blade and I wasn’t very good with the scroll saw. I decided to go with a jig saw instead but that still required big holes in the corners to start the saw. It wasn’t ideal but it worked.
I laminated the photos (as you can see there are quite a few bubbles in the lamination which was another mistake) and then I glued the two boards together with the photos in between. I used the table saw to trim up the four sides of the glue together boards, routered the edges with a roundover bit and then sanded it all down. Everything got two coats of polyurethane and then I attached the hinges and latches. Voila!
As with just about every project I do, there are so many things I could do better the second time around, but Elijah loves it as it is.
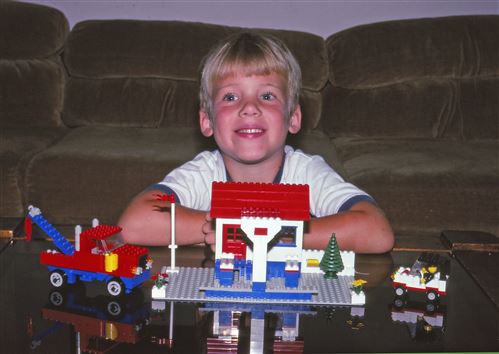
Throwback Thursday – Lego in 1985
Portland Beer
 I already wrote an article about our weekend trip to Portland, but our dinner deserves it’s own post. Tyla mentioned she was hungry for pizza so I headed to Yelp to find a place with good pizza that was also very family friendly. Hopworks Brewery showed up and I thought it could be the perfect dinner as long as Tyla didn’t mind celebrating our anniversary at a brewery. She was game so we went for it.
Absolutely incredible. This was one of the best restaurant experiences I’ve ever had. First of all, there were plenty of kids around and they even offered us a seat next to a play area (which we declined since Elijah isn’t really old enough to enjoy it yet.) Even though it was 6pm on a Saturday night, we were seated after only a 5-10 minute wait. Tyla enjoyed her pizza and I loved my habanero burger. The service was excellent and my 12 beer sampler platter was fantastic! Hopworks specializes in organic beer. That’s not normally something I filter my selection by, but whether it was organic or not, there were some delicious beers in the rotation. If I had to choose a winner, it would be the Velvet ESB. I’ll be on the hunt to find it locally.
Portland produces a lot of fantastic beer. I don’t know where Hopworks officially ranks on that scale, but they are tops in my book. More research is needed though.
Night Vision Camera
I’ve done quite a bit of DIY security work on our house and it’s built up into a system that I’m proud of. I haven’t blogged about it for obvious reasons, but one of the pieces is a bunch of security cameras. I recently added one more camera by the garage and it’s so cool that I had to share some info about it. The camera itself is the same model that I use most other places, but the difference is that I added an IR LED light that is supposed to be good for 200-300ft. This means that at night, the entire front of my house is now lit up light the mid-day sun, and best of all, it’s invisible to the naked eye. Here’s a screenshot with and without the IR light.


I know these screenshots are small, but when someone walks in front of my house or comes out of the path in the woods, I can see tons of detail and it’s all automatically recorded to my server.
If you’re ever interested in some DIY security at your house, let me know. I’m happy to chat about this and share what I’ve learned. It drives me nuts that I can’t blog more about it, but I really don’t feel like sharing the details of it (though even knowing probably wouldn’t help a thief too much if I did everything correctly.)
Portland Weekend
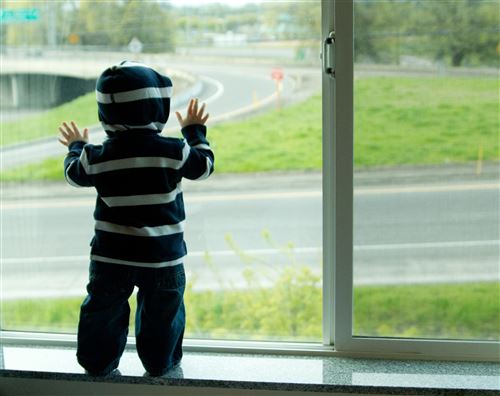
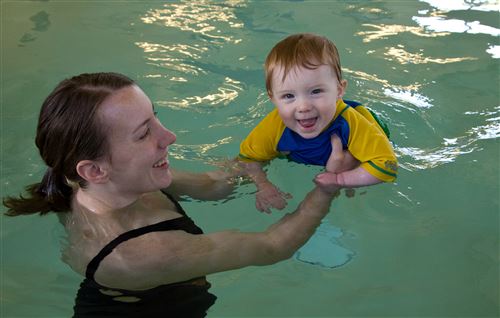
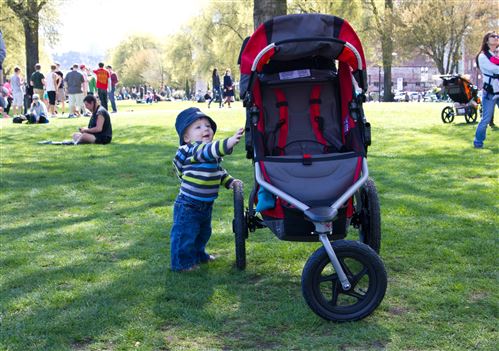
Tyla, Elijah and I made a quick trip to Portland for a little getaway to celebrate our fourth anniversary. It was our first real family vacation and boy is it different with a baby! Between his naps on Saturday, we took him for his first swim in a pool which he loved, walked along the river and through the huge market which Tyla loved, and then had dinner at a brewery which I loved. Something for everyone! Actually, I think we all enjoyed all of the activities. The weather was beautiful so it was hard to complain.
The hotel left something to be desired as it had more road noise than any place I’ve ever stayed before. The room came with a white noise machine and we had that cranked up along with Elijah’s white noise machine and I could STILL hear the cars. Elijah thought it was great though. He spent a lot of time standing in the window watching the cars go by.
On Sunday morning we visited Pastor Johnson’s church. He was our vicar and youth group leader way back when I was in high school and I went to his church in Minneapolis a bit too when I was working there. It was great to catch up with him again and see all of his energy being poured into the Portland area. The trip back went pretty smoothly with Elijah sleeping about half the way. He woke up right next to an exit with a Dairy Queen. How could resist?
I hear lots of people say how much they love Portland. I don’t know that I’ll ever love any city. I’d much prefer a huge tract of land with nobody else in sight. But as far as cities go, Portland is nice. It’s like Seattle but even more eccentric. They have some beautiful parks, great food trucks, and awesome beer. The city layout was frustrating. Even with two GPS’s going I managed to make a wrong turn on just about every drive. I understand how that evolves on the east coast where cities are really old, but on the west coast there’s not much of an excuse for it.
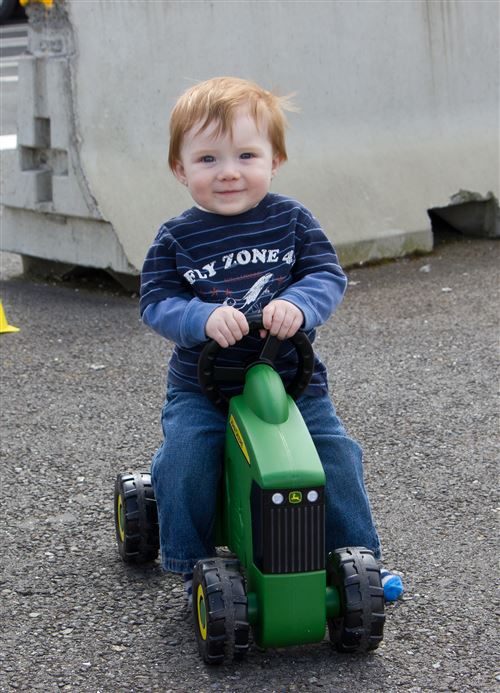
Here are a few pictures from the trip:
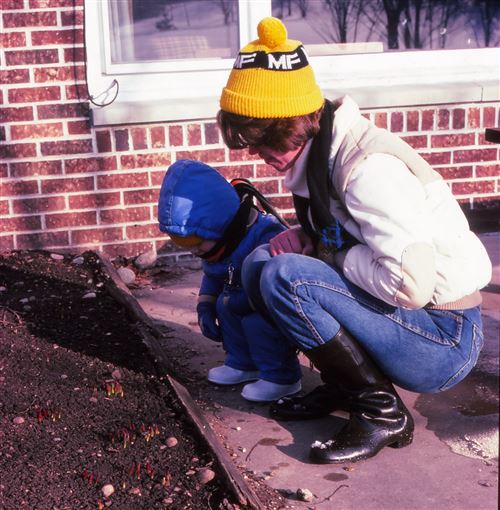
Throwback Thursday – Spring 1982
Everything is turning green around here. Tulips are already blooming and most of the trees have leaves. This picture from spring of 1982 seemed appropriate for this Throwback Thursday. Mom is helping me inspect the plants coming up out of the dirt.
2013 Ford Escape Long Term Update
The more I drive the car, the more I like it. Maybe it’s because I drive an economy car but I’m regularly impressed by the smooth and quiet ride of the Escape. The car had a bunch of features on it that I never would have thought I’d really want but some of them have grown on me. The biggest one is probably the memory seats and mirrors. I’m so much taller than Tyla that switching drivers takes quite a while. For a family vehicle that we both drive regularly, this feature is awesome. The power lift gate has been very handy too. With one arm full of baby and the other carrying bags, we just swipe our foot under the back bumper and the rear hatch opens automatically. That hands free goodness also lets us unlock the doors and start the car, all without digging out a key.
I put our Ford My Touch/Sync/Navigation in the “meh” category. It’s nice to have it all integrated and the big touch screen is good for displaying lots of info. The audio system has a bunch of inputs (radio, Sirius, USB, SD, etc) which is nice, but the actual user interface of the whole thing feels sluggish. Why can’t we just have a head unit that is basically an Android/Apple/Windows tablet? This interface already feels a big sluggish and out-of-date. What’s it going to feel like in 10 years? While I love having a nav system built-in to the car, I don’t know if I’d shell out the extra wad of cash to get this whole system again, especially when I think how it could be done better with a tablet at a fraction of the cost.
It has been in the shop for one issue which was covered under warranty. The coolant bypass valve failed which made the check engine light come on. They diagnosed that quickly and while it was in the shop, the parts came in for a recall. We had them keep the car and do it all at once. Our car was the first time they had run through the fairly involved recall repair and they ended up a part short which added more time. Once it was all done, they had kept our car for a week but they gave us a loaner so it wasn’t a huge issue.
I’m biased because my uncle works for Ford and pretty much everyone in my family drives a Ford. I was one of the oddballs who stepped out of the Ford family and went for a Subaru. But after driving this car, and after reading about what Alan Mulally has done at Ford in the past years, I’m pretty confident that our next purchase will be a Ford. The Subaru has just over 100K on it and is still going strong so if all goes well it will be a few years before we have to buy something new. But if I was buying a new car today, I’d probably go for a Focus as my commuter car for work. I’d love to get a big F150 but it’s hard to justify the cost at this point.