Every year flies by faster than the one before. I look back on a long list of great experiences and some missed opportunities as well. But all in all, it was another good year and it reconfirmed the fact that I’m blessed way more than I deserve. This website might be a bit of a silly hobby, but it’s times like these when I’m very happy to have it around. It’s fun to look back through the year and remember all the things we did!
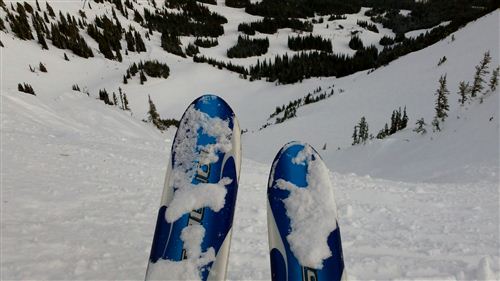
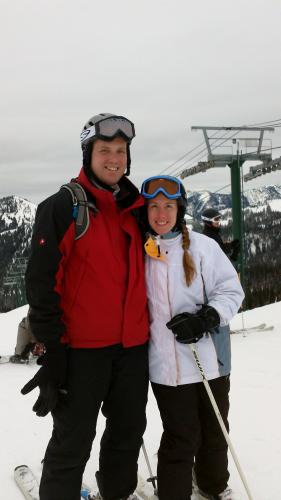
The first big trip of the year was up to Whistler for skiing with Jay. We just missed a big snow storm and ended up with high winds and icy conditions, but we still had a good time. Tim, Chelsea and Tyla came up for one night too which made it even better. Soon after we got back, the four of us headed through Stevens Pass to check out the Cascade Quest dog sled race.
I took a peek into the world of homebrew electronics when I built an LCD readout for my Media Center TV. The Arduino platform was very impressive and I have a couple more project ideas if I can find the time to work on them.
In March we began the seven month journey to our new home. Even when I bought the condo in 2006, I knew that I would eventually want something bigger, but the condo was supposed to be a stepping stone. The economics of it didn’t work out as planned, but we did eventually end up in a great new house. The first project was moving a bunch of our stuff into Tim and Chelsea’s garage so that we had more room to stage our home. They were a huge help throughout the whole process! We cleaned up the house, repainted the orange living room back to beige, and put it on the market in April. Every morning we had to leave the house in perfect condition in case a prospective buyer stopped by.
April was our first anniversary and we celebrated by heading out to the San Juan Islands for a stay at a bed and breakfast. It was a working ranch for rescued animals. We were given free run of the property and Tyla was in heaven petting all the goats, horses, sheep and dogs.
For Memorial Day, we camped with Tyla’s family at Grand Coulee Dam. While our last-minute campsite left much to be desired, the area was very impressive. I’m continually amazed at the incredible variety of terrain we can access with a few hours in the car. In April we drove a couple hours and ended up on a beautiful island in the Puget Sound. The next month we drove a few hours and ended up in the middle of a desert. And oh yeah, we drove through a big mountain range to get there. I love the Pacific Northwest!
In June we headed to Kanaskat Palmer State Park with a group from church. The weekend was fun, but right before we left we got word from our realtor that we might be receiving and offer over the weekend. That was on my mind for much of the trip. It didn’t pan out, but after dropping the price a little the following week, we received an offer! Even though it wasn’t quite as much as we hoped, we came to an agreement and the packing process began in earnest.
Between the time we accepted the offer and the day we closed, we were only at home for two weekends! It was a lot of work to cram into a short amount of time, but it all went well. With the help of a lot of friends and family, most of our belongings went into storage. A few more things went to Tim and Chelsea’s house and we moved into Logan’s apartment. Logan, we can’t thank you enough for opening up your home to us!
In the middle of the packing process, Luke, Rachel and David flew out to Washington for their summer vacation. After they left, we flew out east for our summer vacation. It began with a couple days in New York City and then ended with almost a week in Maine at Camp Ticawa. Thanks to the Abendroths for once again making us feel like family!
We closed on the sale of our home a few days after returning from vacation and then headed south to SeaQuest State Park for another camping trip. We picked this park because it was so close to Mt. St. Helens. The volcano didn’t blow and we had a great trip! This year-in-review contains never-before-released material because I apparently never blogged about that trip!
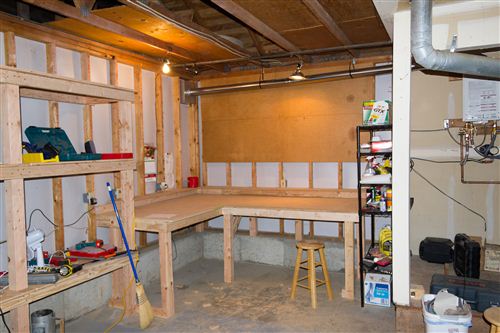
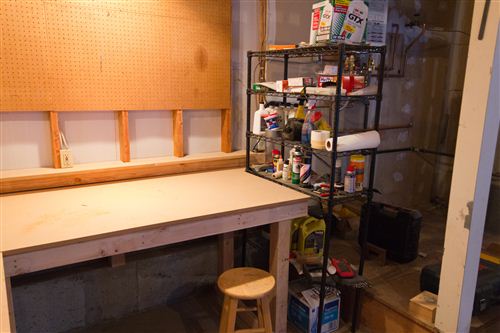
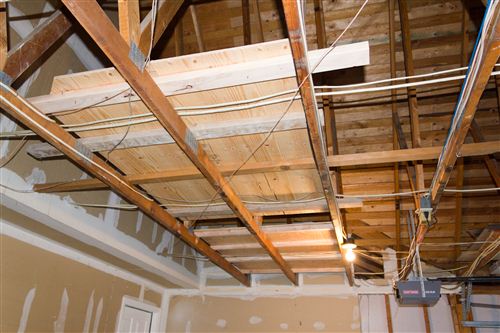
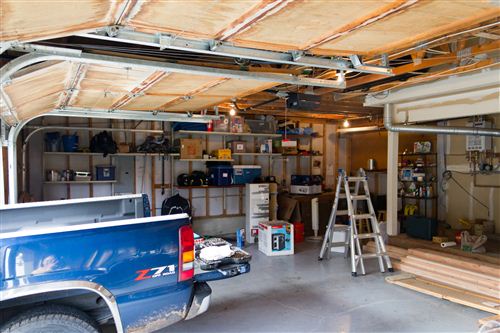
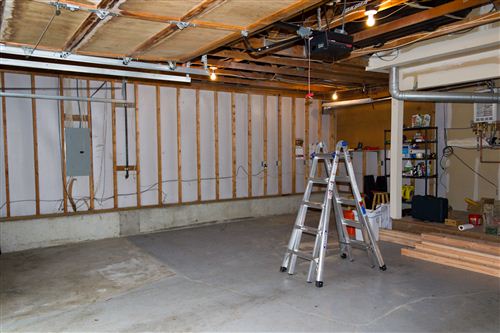
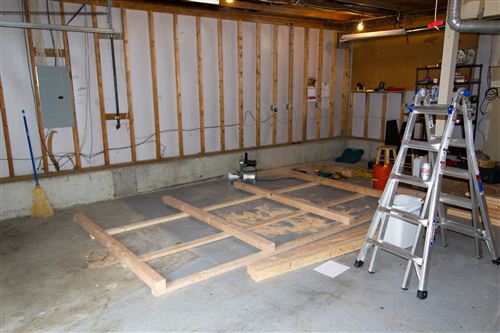
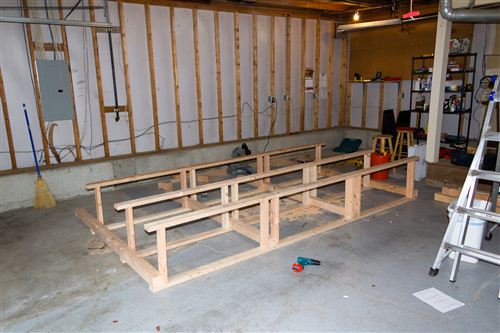
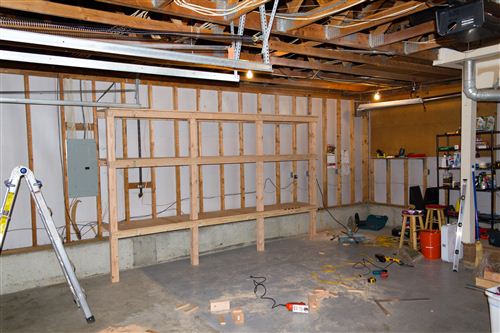
We spent a lot of time in August and September with our realtor. Typically we would look through piles of houses, pick a few to go see, and then we’d meet up with him after work to check them out. We saw a lot of instant duds and a few that made us think. I’d guess that we saw between 40 and 50 houses before settling on our current place in Woodinville. The purchase process was anything but smooth, but through it all we felt like the Lord wanted us to be in this house so we pressed forward.
Dad, Mom, Uncle Dean and Aunt Sandy came out for Labor Day weekend. By that point we were pretty sure we were getting the house but we couldn’t take them inside yet. Instead we took them on a whirlwind tour of the area including Boeing, Deception Pass, Red Hook Brewery, Mt. St. Helens and Canon Beach. I always enjoy playing tour guide and showing off this part of the country!
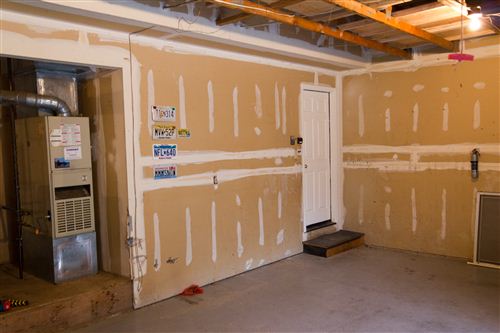
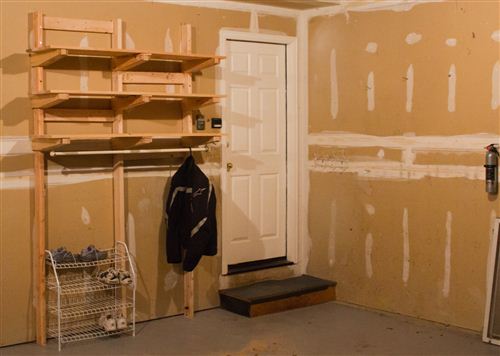
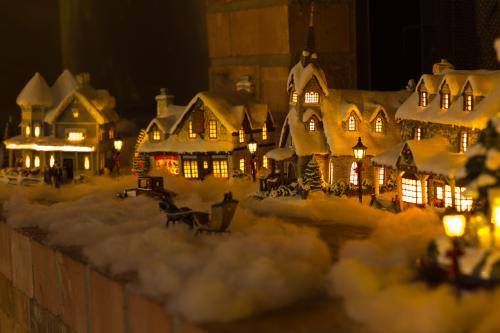
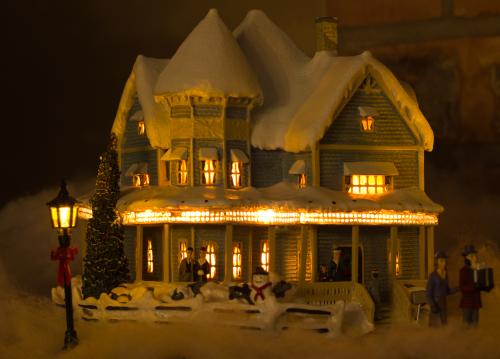
Church kept me very busy this year. I play the piano for our Monday night services sometimes and I’m also the property deacon. In addition to normal upkeep and repairs, we had a very large donation come through to renovate the house that is on our property. I gathered lots of input, drew up some plans, hired a general contractor, handed him a check and cut him loose. That project should be finishing up in about a month and I think the end product is going to look amazing! I’ll have to post some more information about that project once it’s done. You can spot a few photos on the church’s Facebook page.
I’ve been doing this blogging thing for so long that I completely missed the 9th anniversary of this blog in July. Roughly 10,000 unique visitors came to the site in 2011 and about half of them came back for more. Some probably came to find about one of my dozen Windows Phone apps. I’ve sold over 1000 of those this year, and while it doesn’t even come close to compensating me for my time, it’s fun to know that others enjoy my hobby.
When we look back at 2011, we’ll probably focus on the house, but we sure had a lot more going on than just that! What will be the big story of 2012?
Previous Year In Review Posts: 2003, 2004, 2005, 2006, 2007, 2008, 2009, 2010

 I’ve spent way too much time working on my most popular Windows Phone app this winter. Version 3.0 hit the marketplace in November and I just released version 3.5. There have been numerous updates for various things but biggest changes were support for multiple live tiles and live tiles that flip over to reveal a one day weather forecast. The updates have been very well received and it’s very rewarding to see the positive reviews fly in. Right now this is the #10 paid app in the sports category. I realize that’s not saying a LOT, but I’m still proud of it.
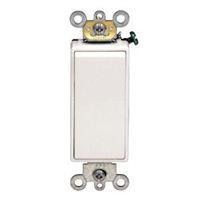
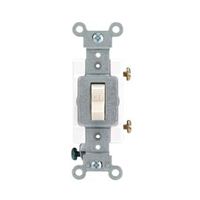
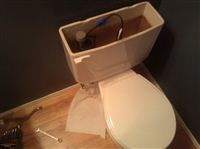 When the inspector went through this house, he noted that all of the toilets had very old gaskets that should be replaced. It wasn’t something we asked the homeowners to fix so I’ve been going through and getting them changed out. I’m far from an expert, but since I had a few issues that were solved by the Internet, I thought I’d give back some of the things I learned.
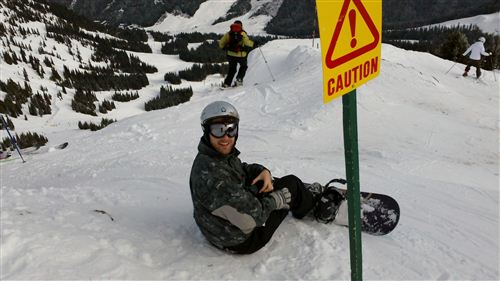


2011 Year In Review
Every year flies by faster than the one before. I look back on a long list of great experiences and some missed opportunities as well. But all in all, it was another good year and it reconfirmed the fact that I’m blessed way more than I deserve. This website might be a bit of a silly hobby, but it’s times like these when I’m very happy to have it around. It’s fun to look back through the year and remember all the things we did!
The first big trip of the year was up to Whistler for skiing with Jay. We just missed a big snow storm and ended up with high winds and icy conditions, but we still had a good time. Tim, Chelsea and Tyla came up for one night too which made it even better. Soon after we got back, the four of us headed through Stevens Pass to check out the Cascade Quest dog sled race.
I took a peek into the world of homebrew electronics when I built an LCD readout for my Media Center TV. The Arduino platform was very impressive and I have a couple more project ideas if I can find the time to work on them.
In March we began the seven month journey to our new home. Even when I bought the condo in 2006, I knew that I would eventually want something bigger, but the condo was supposed to be a stepping stone. The economics of it didn’t work out as planned, but we did eventually end up in a great new house. The first project was moving a bunch of our stuff into Tim and Chelsea’s garage so that we had more room to stage our home. They were a huge help throughout the whole process! We cleaned up the house, repainted the orange living room back to beige, and put it on the market in April. Every morning we had to leave the house in perfect condition in case a prospective buyer stopped by.
April was our first anniversary and we celebrated by heading out to the San Juan Islands for a stay at a bed and breakfast. It was a working ranch for rescued animals. We were given free run of the property and Tyla was in heaven petting all the goats, horses, sheep and dogs.
For Memorial Day, we camped with Tyla’s family at Grand Coulee Dam. While our last-minute campsite left much to be desired, the area was very impressive. I’m continually amazed at the incredible variety of terrain we can access with a few hours in the car. In April we drove a couple hours and ended up on a beautiful island in the Puget Sound. The next month we drove a few hours and ended up in the middle of a desert. And oh yeah, we drove through a big mountain range to get there. I love the Pacific Northwest!
In June we headed to Kanaskat Palmer State Park with a group from church. The weekend was fun, but right before we left we got word from our realtor that we might be receiving and offer over the weekend. That was on my mind for much of the trip. It didn’t pan out, but after dropping the price a little the following week, we received an offer! Even though it wasn’t quite as much as we hoped, we came to an agreement and the packing process began in earnest.
Between the time we accepted the offer and the day we closed, we were only at home for two weekends! It was a lot of work to cram into a short amount of time, but it all went well. With the help of a lot of friends and family, most of our belongings went into storage. A few more things went to Tim and Chelsea’s house and we moved into Logan’s apartment. Logan, we can’t thank you enough for opening up your home to us!
In the middle of the packing process, Luke, Rachel and David flew out to Washington for their summer vacation. After they left, we flew out east for our summer vacation. It began with a couple days in New York City and then ended with almost a week in Maine at Camp Ticawa. Thanks to the Abendroths for once again making us feel like family!
We closed on the sale of our home a few days after returning from vacation and then headed south to SeaQuest State Park for another camping trip. We picked this park because it was so close to Mt. St. Helens. The volcano didn’t blow and we had a great trip! This year-in-review contains never-before-released material because I apparently never blogged about that trip!
We spent a lot of time in August and September with our realtor. Typically we would look through piles of houses, pick a few to go see, and then we’d meet up with him after work to check them out. We saw a lot of instant duds and a few that made us think. I’d guess that we saw between 40 and 50 houses before settling on our current place in Woodinville. The purchase process was anything but smooth, but through it all we felt like the Lord wanted us to be in this house so we pressed forward.
Dad, Mom, Uncle Dean and Aunt Sandy came out for Labor Day weekend. By that point we were pretty sure we were getting the house but we couldn’t take them inside yet. Instead we took them on a whirlwind tour of the area including Boeing, Deception Pass, Red Hook Brewery, Mt. St. Helens and Canon Beach. I always enjoy playing tour guide and showing off this part of the country!
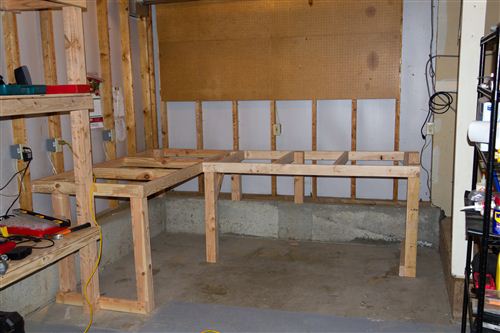
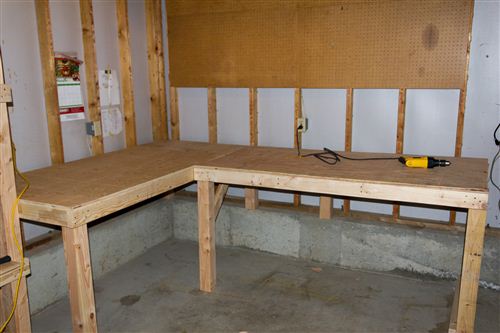
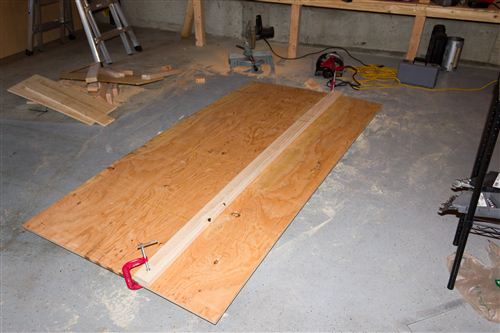
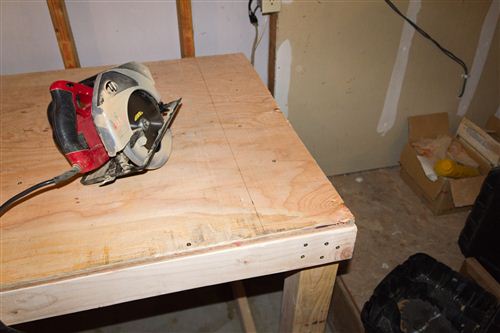
Church kept me very busy this year. I play the piano for our Monday night services sometimes and I’m also the property deacon. In addition to normal upkeep and repairs, we had a very large donation come through to renovate the house that is on our property. I gathered lots of input, drew up some plans, hired a general contractor, handed him a check and cut him loose. That project should be finishing up in about a month and I think the end product is going to look amazing! I’ll have to post some more information about that project once it’s done. You can spot a few photos on the church’s Facebook page.
I’ve been doing this blogging thing for so long that I completely missed the 9th anniversary of this blog in July. Roughly 10,000 unique visitors came to the site in 2011 and about half of them came back for more. Some probably came to find about one of my dozen Windows Phone apps. I’ve sold over 1000 of those this year, and while it doesn’t even come close to compensating me for my time, it’s fun to know that others enjoy my hobby.
When we look back at 2011, we’ll probably focus on the house, but we sure had a lot more going on than just that! What will be the big story of 2012?
Previous Year In Review Posts: 2003, 2004, 2005, 2006, 2007, 2008, 2009, 2010