The next step in the home theater project was getting some sort of projector screen in place. I’ve been using a blank wall since we moved in, but this really isn’t a wonderful solution. There are a couple nail holes that screw up the picture, there is texture on the walls, and the paint isn’t pure white.
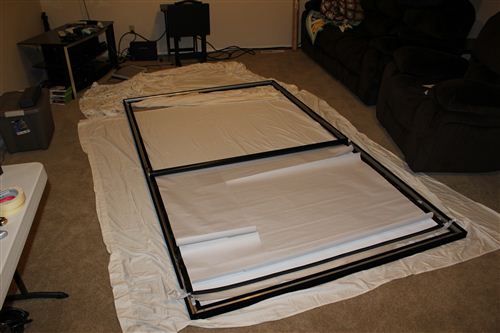
There are a number of articles online that describe various ways to create you own screen. After doing a lot of research, I decided to opt for a cheap pre-made screen instead. I purchased a 120” Elite Screens Sable Fixed Frame screen. One of the reasons this screen is less than one third of the cost of most screens is that it packs down into a reasonable size box for shipping. That translates to “some assembly required.”
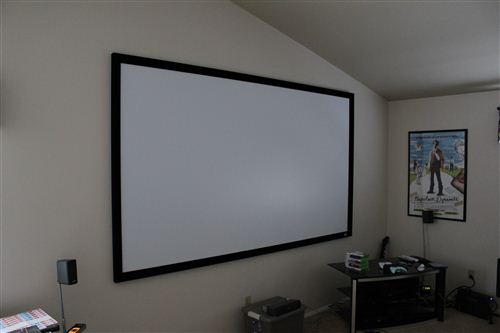
It took me about 1.5 hours to get the screen put together, but I could probably cut that in half now that I know what I’m doing. You basically assemble the frame with a few screws and then methodically stretch the material with clips to provide a smooth flat surface. Tim and Chelsea came over to help mount it on to the wall and it took all four of us to get it on there.
I’m fairly pleased with the end result The black velvet border really sucks up any light from the projector that flows over the edge of the screen. That is important because it allows you to easily fill the whole screen with the picture. The screen does have some imperfections and a noticeable hot spot when the picture is a solid color. I’m playing around with a few ideas to minimize the appearance of the flaws, but for the price, this is still good deal.
Next up: mounting speakers on the wall and running speaker wire inside the walls.