
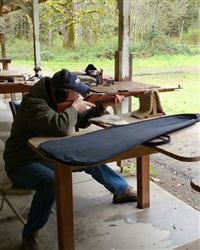
Last week, MikeF, a friend from work, took me as a guest to the Snoqualmie Valley Rifle Club. If you’ve ever driving up to Snoqualmie Falls from Fall City, there’s a big hairpin corner before you wind your way up the hill to the falls. There’s a small dirt road with a gate that leads off the outside of that corner, and at the end of the road is the gun club. The grounds aren’t very fancy, but they’re a lot of fun. The rifle range is 200 yards long and the pistol range is about 50. There is also an action pistol area for competitions if the rest of the range is shut down. There’s no rangemaster and everyone present is responsible for safety. If you want to go out and set up your targets, you get everyone to agree to a cease fire and flip a switch that activates a loud siren and flashing lights.
 The nice thing about the club is that it’s very informal. You shoot what you want at what you want as long as you are being safe and you clean up after yourself. While I love shooting trap at the Kenmore range, their rifle/pistol range is extremely restrictive. The biggest annoyance at Kenmore is that you can only put one round in your gun at a time. The Snoqualmie club has no such restriction.
Mike let me shoot his newly refinished 1891/30 Mosin Nagant. It’s a bolt-action, internal magazine rifle developed by the Russian army in the late 1800s and used through both world wars. In fact, there are still a lot of them in use today. Mike’s gun was made in 1943 and came with the original bayonet and the kit that the soldier would have carried. There are so many of these guns floating around that you can pick one up for under $150. It shoots 7.62x54mmR ammo which is pretty big. It’s just over three inches long and there’s no mistaking what’s going on when you pull the trigger. He hadn’t done anything to sight in the gun yet, but we were having good luck with it shooting a paper target at 50 yards and we were even able to hit a metal torso out at 200 yards without much trouble.
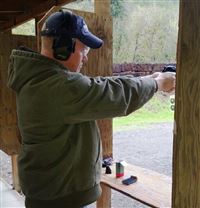 He also brought his sub compact 9mm Ruger with a 13 round magazine. I’ve only shot a handgun once in my life so it was fun to give it another shot (pun intended.) We didn’t win any awards for accuracy but we blew through a couple boxes of ammo.
Even with the downpour while we were packing up, it was a great day. We met some great people at the range and I left wanting to join. They only offer signups once per month and I’m booked for the next 2-3 months on those days, but after that I hope to join. I don’t have a rifle or pistol yet, but that’s going to change before much longer. I’m looking to pick up a .22 handgun. The Browning Buck Mark Camper UFX and Ruger Mark III Standard are the top contenders right now. Sure it’s not the most manly gun, but ammo is cheap so it’s a good way to practice. If you buy in bulk, a .22 round is a little over 4 cents. A 9mm is about 45 cents per round.
But then again, that Mosin was a lot of fun to shoot and it’s pretty cheap. Maybe I need one of those too.
 In roughly two months, I’ll have a son! Time is flying and crawling at the same time. We’ve been making lots of decisions along the way, and one of them is about his baptism.
 When I bought the condo, I wanted to change the locks so I called a locksmith and paid him something like $100 to change a couple locks. Since then I’ve learned that this is a super easy project to do on your own.
 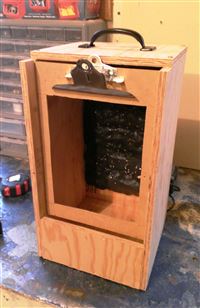 Mom and Dad got me a great
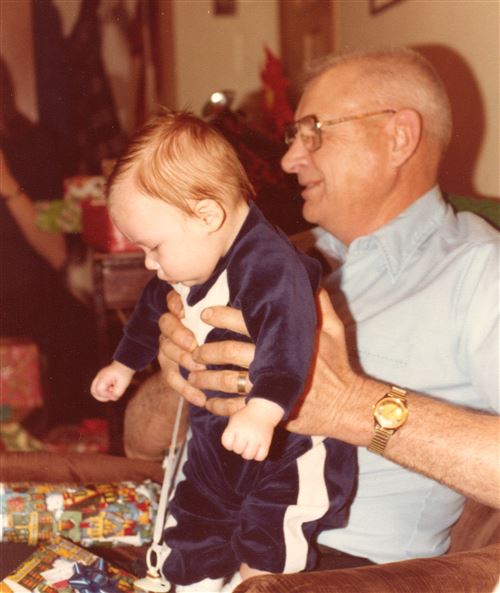
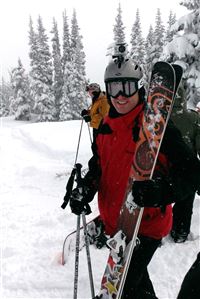 As we came back from our vacation last Wednesday, I checked the forecast and saw that it was dumping in the mountains. I immediately emailed work, told them I was going to extend my vacation by one more day and recruited a friend from work to come with me. (Safety first, ski and ride with a buddy on deep days!)
 Even though Facebook has a billion users, there are still new people joining and at least one of the people who joined recently is reading this blog post. So I thought it would be good to do a blog post about my thoughts on privacy and Facebook.
Three Years