
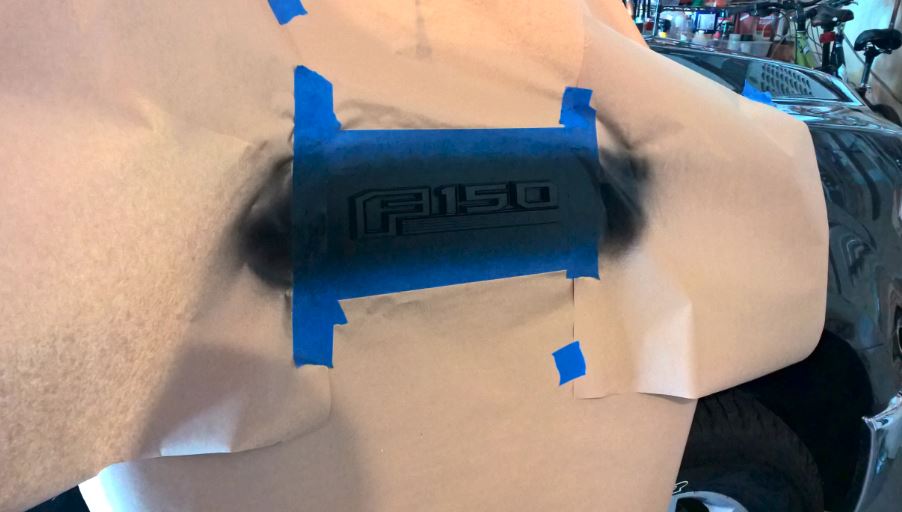
I liked the way the Plasti Dip looked on the back of my truck so I decided to do it on the F150 logos on the sides too. It was a quick job and I actually was able to do it in the garage. My truck barely fits in with the mirrors folded and there’s a small chance that if I was creative I could even close the garage door.
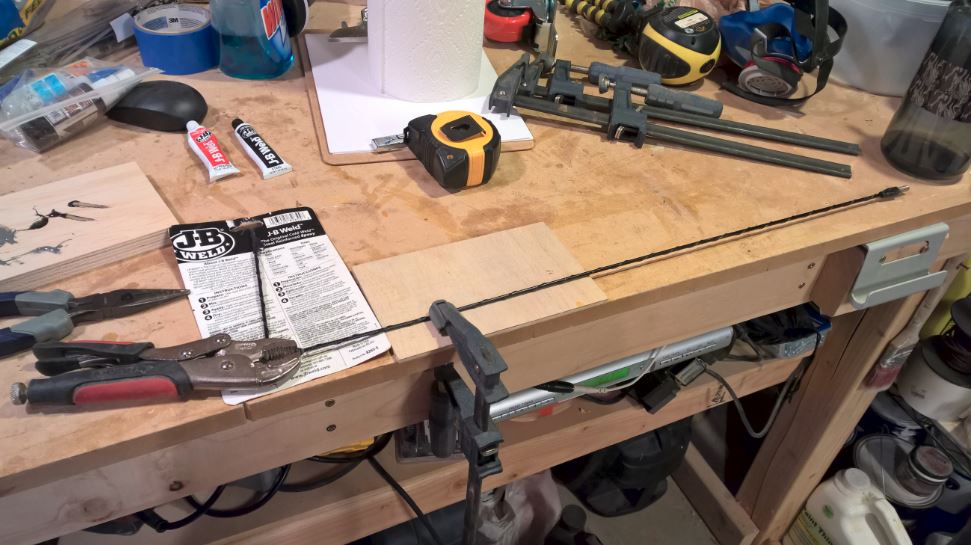
The other small tweak I made was to my antenna. It stuck up probably 8-10 inches above the top of the truck. I like the idea of it hitting a garage roof to give me warning, but that’s way too much warning. Since I regularly park in garages at work, it was pretty annoying. The solution? Cut it shorter. There’s really nothing too fancy about it. Antennas just unscrew and then you can cut them with a hacksaw. I tried to use some JB Weld to put the ball back on top of the antenna, but I couldn’t get it to stick on solidly so I just left it off. Who cares? I suppose I damaged my radio reception a little, but I almost never use the radio and it worked fine even with the antenna completely unscrewed.


Puget Sound Basins
When we booked the stay in the caboose, I looked at a map, noticed it was on water in the south end of Puget Sound and I assumed it was on Hood Canal. Wrong. It turns out that the sound is divided up into a bunch of different “basins” and Hood Canal is just one of them. We were actually staying on the “South Basin”. The Wikipedia article about Puget Sound has a very nice map showing the different basins and I’ve included that map below.
It felt like the difference between high tide and low tide was huge while we were down there in the South Basin, but surely the tide is the same everywhere, right? Nope. Here’s a quote from Wikipedia: “The difference in height between the Higher High Water and the Lower Low Water averages about 8.3 feet (2.5 m) at Port Townsend on Admiralty Inlet, but increases to about 14.4 feet (4.4 m) at Olympia, the southern end of Puget Sound.” It has something to do with all the interconnections and interplay between the basins, but I couldn’t find any good info explaining the physics of it.
The shoreline is over 1300 miles long! That’s roughly the driving distance from New York City to Miami. We’ve explored only a tiny portion of it, but there are lots of great spots for further investigation in the future.