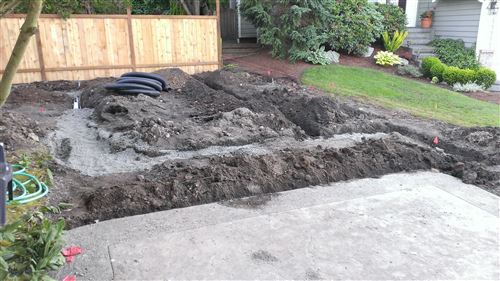
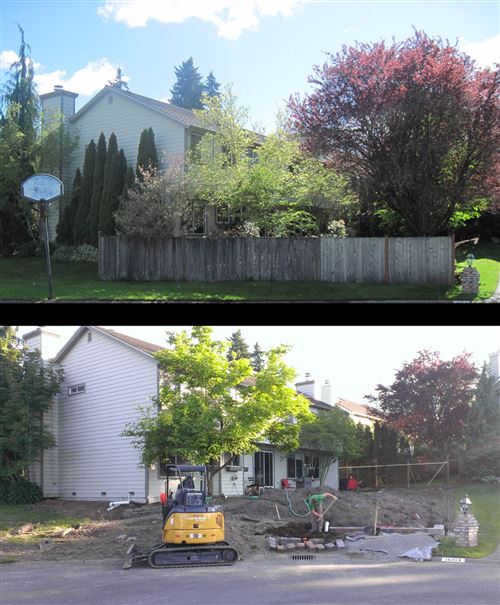
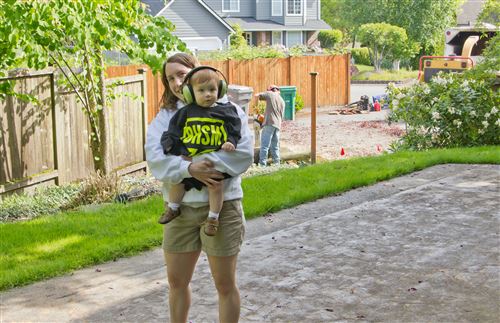
These updates are coming fast and furious now. Lots of items are getting crossed off the list which feels great! So much of the work up to this point has been digging and doing early stages of tasks.
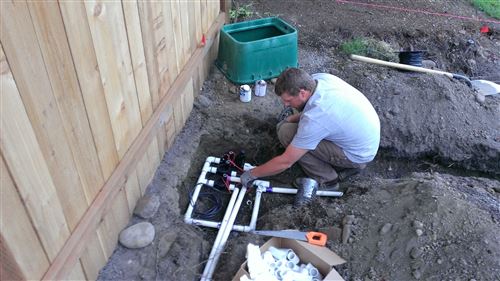
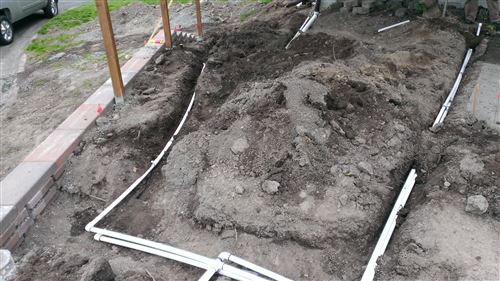
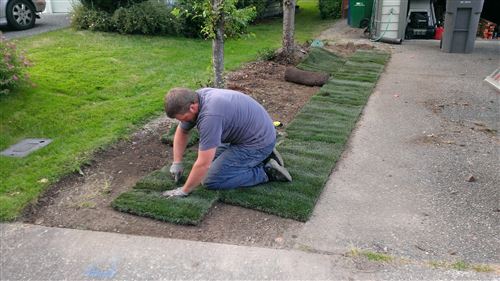
The sod that Tim put in by the front cherry trees is looking really healthy. The irrigation was all connected so I went out morning and evening and turned the valve by hand to water that section. A few days later, we hooked up the irrigation controller so now it’s all done automatically on a timer. The back yard irrigation is done and wired too. All the nozzles are in. We tested to make sure coverage was good and it was such a joy to see the whole area get perfectly covered with water. I used to spend so much time dragging sprinklers around and trying to get it all aligned correctly!
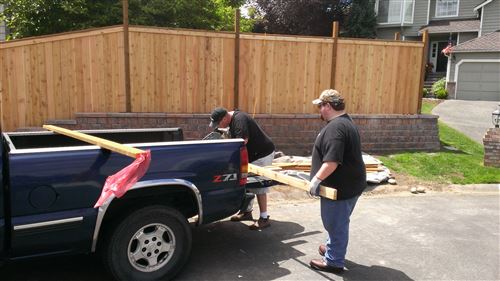
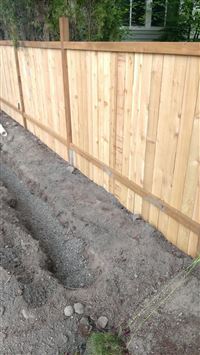
I finished putting up the fence rails and most of the planks. There’s a timelapse of part of that work below. Then Ken and Logan came over on Saturday to help me cut the final boards and attach all the tops rails. I also got all the post tops chopped off and the caps put on. The next phase there is staining and hopefully I’ll be doing that this week. That’s a tricky proposition though because I have to be really careful about overspray. If it isn’t feasible then I’ll be hand rolling the fence which isn’t the end of the world.
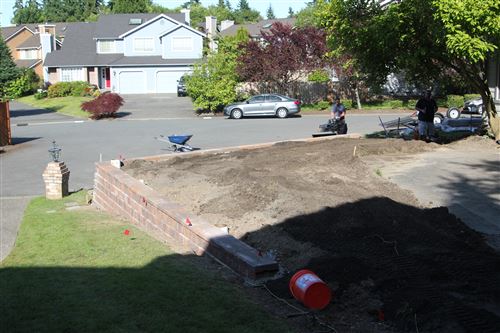
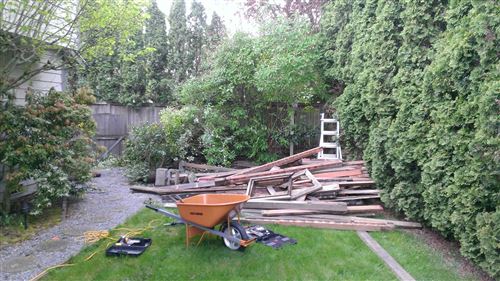
A couple other smaller tasks got crossed off too. I connected the sump pump to the drainage system, installed metal flashing along the fence that borders the neighbors yard to keep their higher dirt/pine needs from coming in direct contact with the bottom ~8” of fence, and I dug out part of our old rock pathway where we will now have sod.
Remaining tasks are adding a few more pickup loads of dirt to level out the yard, planting trees, installing sod, and building the gates.

 I am far from an expert on fence building so after reading a bunch of articles on the web and enlisting some help, I built one wall of my fence before starting on the rest of it. This turned out to be a good decision because I could make all my mistakes on a smaller scale and then move more quickly on the rest of the fence. Here are some of the tips I picked up along the way: