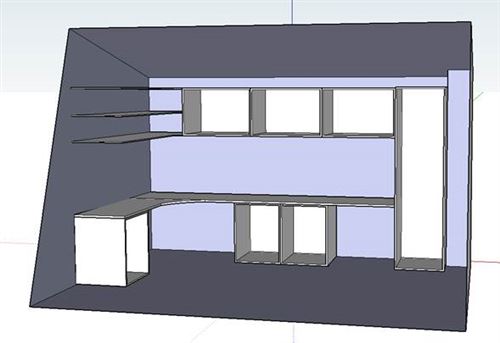
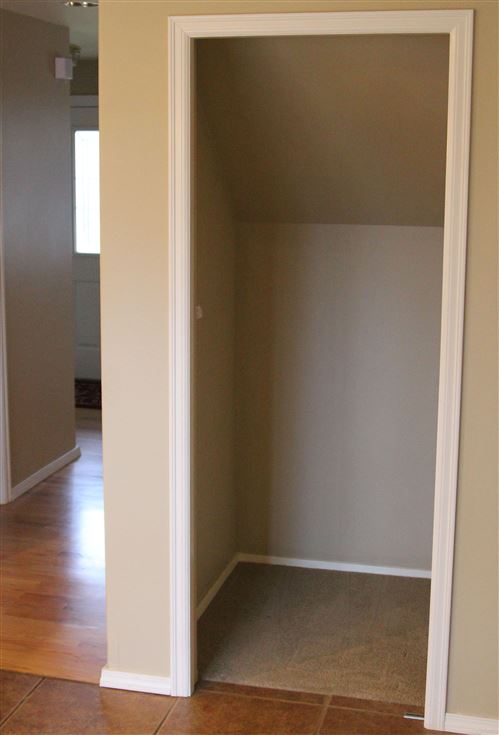
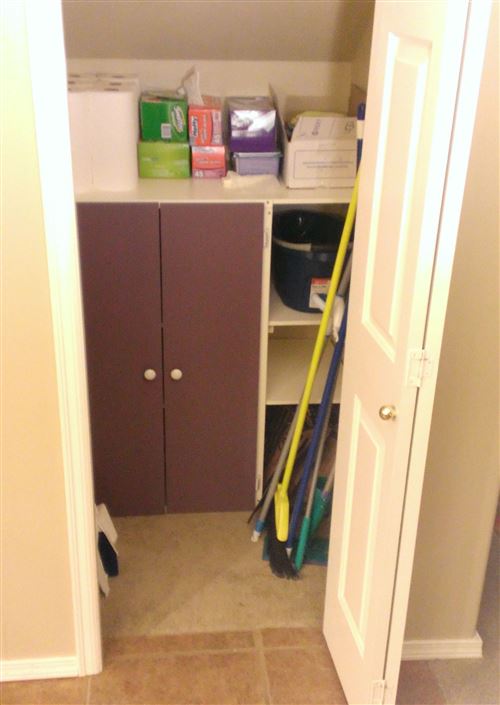
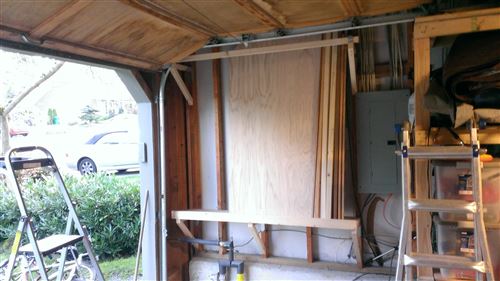
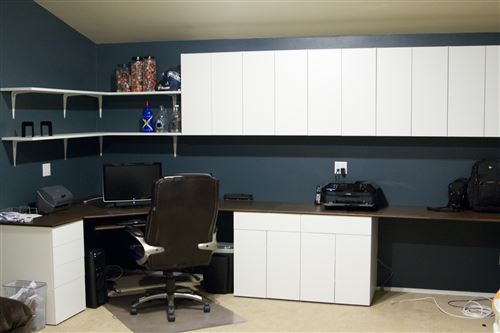
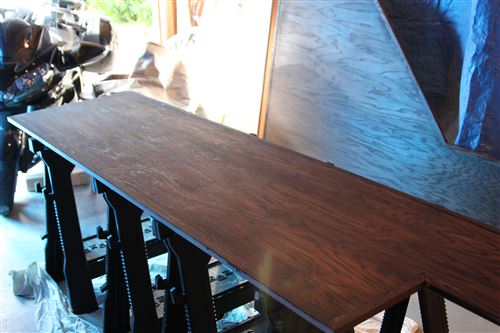
We have a closet underneath our stairs that opens out into the kitchen and family room area. That’s where a lot of our cleaning supplies get stored along with extra trash bags, paper towels, etc. We’ve always wanted to have that be a little more organized so I embarked on a small project to build some shelves and cabinets.
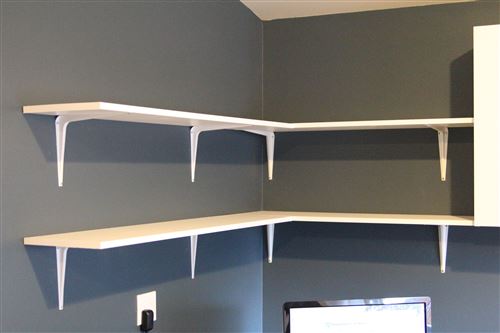
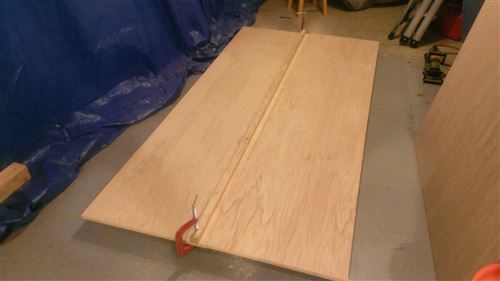
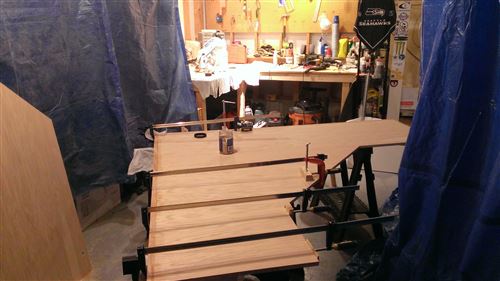
I started by designing the project with Google Sketchup. I’m really liking that tool and hope to use it more. It’s a great way to visualize the design decisions and then also to take measurements of the various pieces that need to be cut. The entire project was built out of 1/2” MDF with a little bit of 1/4” MDF for some facing. I cut everything to size first and painted it before I assembled it. I’ve never painted/stained a project BEFORE putting all the pieces together but it sure made painting a lot easier. I’ll probably try that again, but I won’t do it for a project like this where everything needs to fit precisely into a pre-defined space. As I started installing it, I realized that the closet wasn’t square so I ended up with some goofy looking gaps and pieces that didn’t fit quite right. The pictures below show it loaded up with our supplies and honestly you can’t see most of the issues. I do need to cover up the screw holes around the door (this would have been a good use for a finish nailer) but that should be pretty quick.
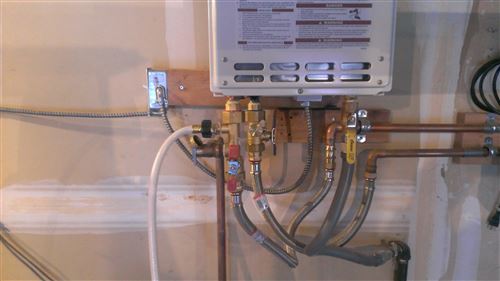
I got to use some new tools in this project. The table saw was a huge help as I was able to make big, repeatable cuts very quickly. I don’t miss crawling around on the floor, clamping a straight edge onto the big sheet and then using the circular saw to make each cut. I also made good use of a self-leveling laser that I got for Christmas. It made it super easy to attach the closet support pieces to the wall and get everything at the same height.
All in all I’m happy with how quickly this project came together (7 days from first cut to final install). If I can’t learn to live with the gaps then I’ll either rebuild part of it or add some trim, but something tells me that probably won’t happen. I learned a lot from this project and will probably put the skills to use again in one of our upstairs storage closets.


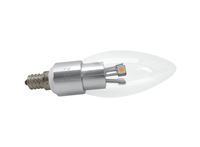 Tyla laughs whenever I start talking about light bulbs, but here we go again. Our living room, eating area and kitchen are now completely incandescent free. When we bought the house, that area contained 11 60-watt bulbs, 2 100-watt bulbs, and 5 40-watt bulbs. When all the lights were on, that was using over a killowatt every single hour! We spend most of our time in that area and if we left all those lights on for 5 hours a day, that’s $193/year in electricity bills. With the new combination of CFL and LED bulbs, that same usage would cost $32. Not too shabby. By my calculations, it will take us about 2-3 years to recoup the cost of the bulbs and then we’ll be saving money.
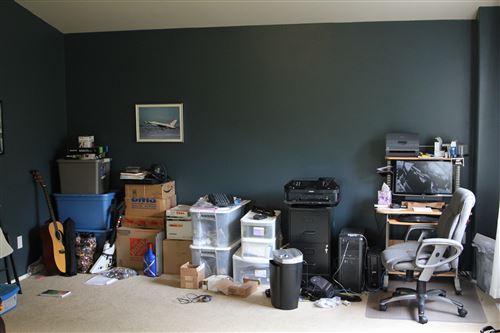
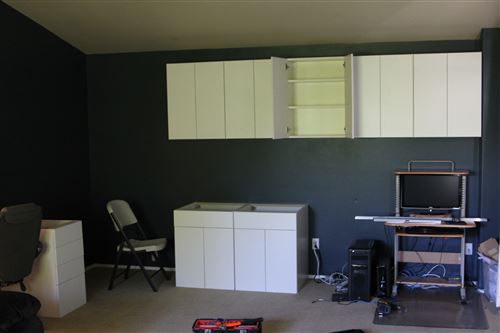
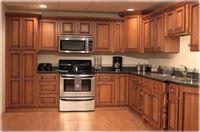 I don’t know when Ikea started selling cabinets, but I’ve been hearing a lot about them lately. Sure they sell very cheap melamine cabinets, but they also sell cabinets that look very high-end. We have a homeowners mailing list at work which is usually full of high end remodels, but even people there have been buying the cabinets and having their contractors assemble and install them.