[UPDATE] A couple days after I declared success on this project, the village piece stopped lighting up even when I put batteries back in it. If any of you electrical wizards out there can tell me what I did wrong, I would love to know. Or maybe it’s just some crazy coincidence that both bulbs burned out at the same time mere days after I changed the power source. Occam’s Razor disagrees with that theory. I’ve left the post as it was originally written so you can debug it for me (and laugh at my feeling of success.)
Tyla always sets up our Thomas Kinkaide Christmas village as part of the decorations. Just about every piece has a plug so it all goes into a power strip which, this year, we can control with a remote. But there were two pieces that ran on batteries and thus had separate switches. This year I set out to convert them to use power from the wall just like the rest of the pieces.
The first piece I tried were the street lights. They took two batteries. I purchased an adjustable power adapter, set it to 3V, touched the wires to the right places and POOF. I blew out the lights. I still don’t know what happened because I had tried quite a few things before I realized the lights were broken, but I think I might have hooked up the power while the batteries were also inserted resulting in 6 volts to the lights. Oops. I immediately went online and purchased replacement streetlights. They’re from a different village set but look fine in our set. This new set was sold with a power adapter so I had no problems there.
The second village piece was a little skating rink. Now it should be noted that there’s only one place to buy pieces for this village set (The Bradford Exchange.) They’re extremely annoying to deal with. Anything you order takes at least a month to arrive, most pieces are limited editions, and you often have to sign up for a set of pieces that arrive installments just to get the one you want. The net effect is that if destroyed this village piece, there was pretty much no way to replace it. I was appropriately nervous given the broken streetlights staring at me from the trash can.
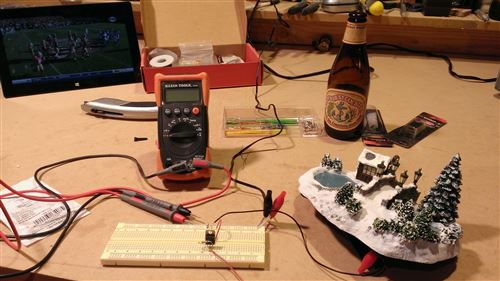
I measured the voltage of the adjustable wall wart and even though I had it set to 3V, it said 3.2V. For most projects, I would have just tried that to see if it worked, but I decided to learn something new and build a circuit to knock the voltage down to something more like 2.6 or 2.7V which is what two lightly used AAs would produce.
To that end, I purchased an LM317 adjustable voltage regular and dug out the rest of my electronics parts. After watching some YouTube videos and lots of trial and error, I ended up with a simple circuit that spit out 2.72V. Perfect!
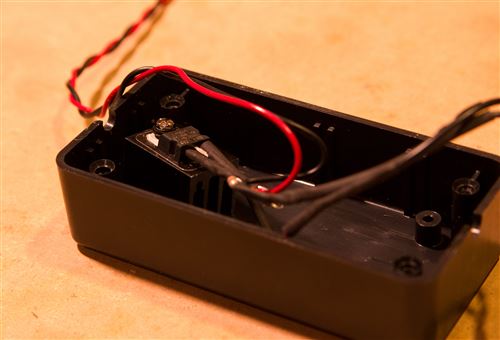
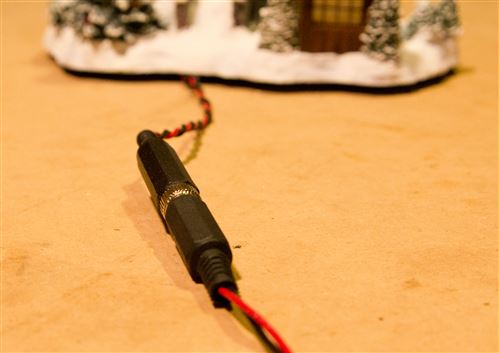
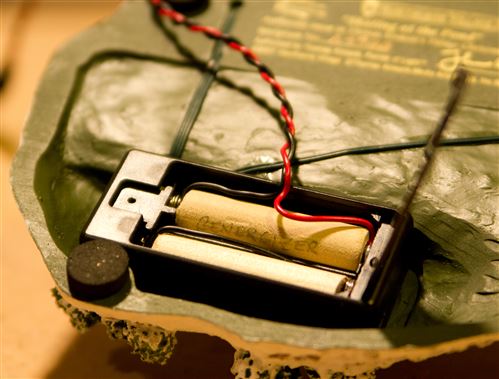
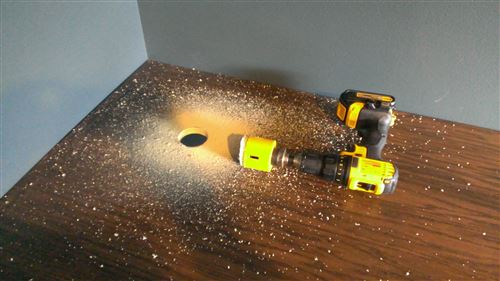
The next task was to transfer this off the breadboard and solder the connections. I made everything nice and neat with shrink wrap and a small box to hold the voltage regular and it’s heat sink. (I added a heat sink after taking the picture above.) I used red and black wires to help me remember positive and negative voltage, but it dawned on me later that I should have used white so it was easier to hide under the fake snow. The wire was twisted using a trick I learned from Ben Heck: clamp down the wires on one end and stick the other ends in your power drill. Voila! I also added a plug near the village piece for easy setup, takedown and storage.
The last piece of the puzzle was connecting the wires to the terminals where the batteries would normally go. I could have soldered them on, but I was trying to modify the village piece as little as possible. So instead of anything permanent, I created wooden batteries! I cut 1/2” dowels, drilled pilot holes in each end, and attached screws. The first battery got the positive and negative leads from the plug attached to its ends. The second battery just has a wire running between the two ends to transfer the power. Now I have removable “batteries” and I suppose I could use this same setup to power other 3V battery devices.
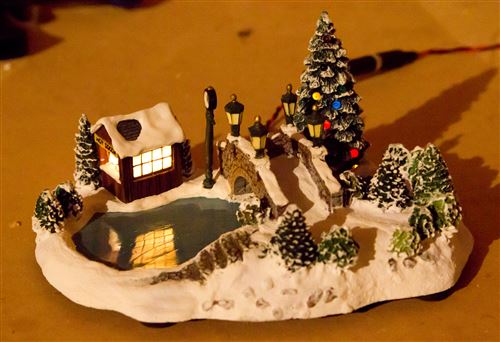
It was pretty nerve-wracking the first time I tried it (after measuring the voltage a hundred times), but everything works! I was able to turn the wall wart down to 4.5V and still get 2.7V out of the voltage regulator. The heat sink is doing it’s job and the box has a very tiny bit of extra warmth but nothing anywhere near dangerous. Here’s what the finished product looks like with the light inside the cocoa stand and the large pine tree:
If we get any more battery powered pieces, I should be able to add a couple more leads off of this same voltage regulator, make some more wooden batteries, and be done pretty quickly.


 A lot has changed since the last article about the
  I’ve been running this CascadeSkier thing on the side for five years now. The sidebar gadget is still running but will be phased out as people move to Windows 8. The

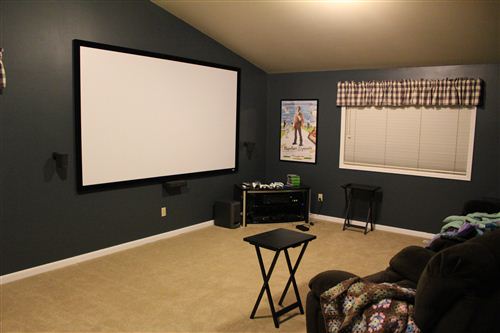
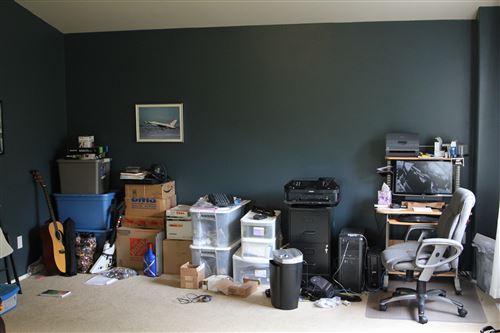
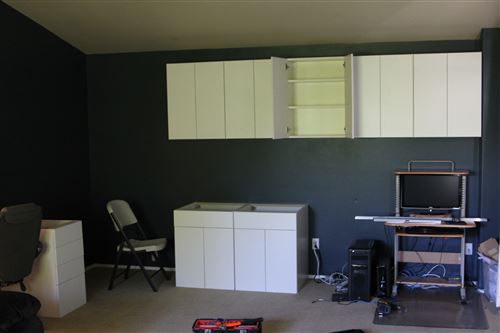
 I’ve gotten a few questions about my theater room and how much it costs to put something like this together. I know it’s impolite to talk about stuff like this in public, but on the flip side, I also want to point out that this might not be nearly as expensive as you think. Plus when I was putting this together, it was very helpful to read through other people’s build list. So I’ll just list out all the gear that I used and you can click the links if you want to look into buying it for yourself. I did this almost as cheaply as I could except that I splurged and spent a couple hundred extra to get a slightly better projector that had a lot of lens shift. That makes it a lot easier to mount it wherever is convenient and adjust the lens to hit the screen. And I suppose you could save some more money if you go for a 720p projector instead of 1080p, but if you can afford it at all, go for 1080p. At this size of a screen, you’ll notice the difference.