 Obviously I’m loving woodworking right now. It’s a very relaxing and satisfying hobby, and it’s a great one for me right now because I can easily do it in the garage when I have a few spare minutes. Any new hobby can seem intimidating at first, but woodworking doesn’t require a huge investment or training course to get started.
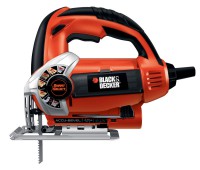
Theoretically you could do a lot with just a handsaw, but you’ll probably want some sore of power tools to get started. One of the best initial purchases is a jig saw. It’s small, easy to control, relatively safe, and best of all: cheap! There are plenty of options, but I have a $40 Black and Decker that still serves me well. Toss in some wood glue and sandpaper and you’re pretty much off to the races. From there just check to see what your specific project requires. You might need to add in a hammer and nails or a screwdriver and screws. You may end up wishing for a drill and drill bits too. Even if you bought all that stuff, you would have spent less than $150 to pick up a brand new hobby.
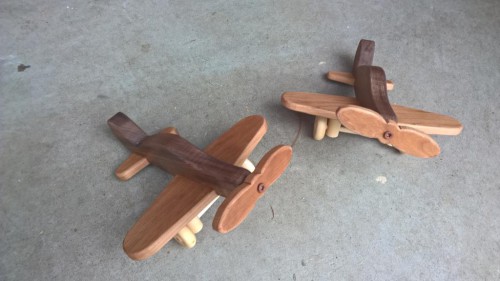
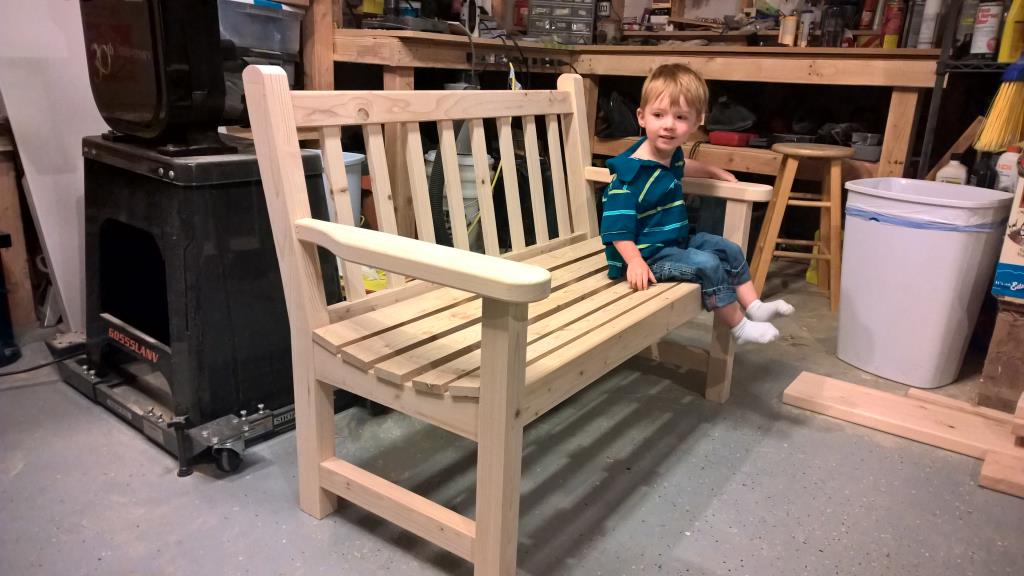
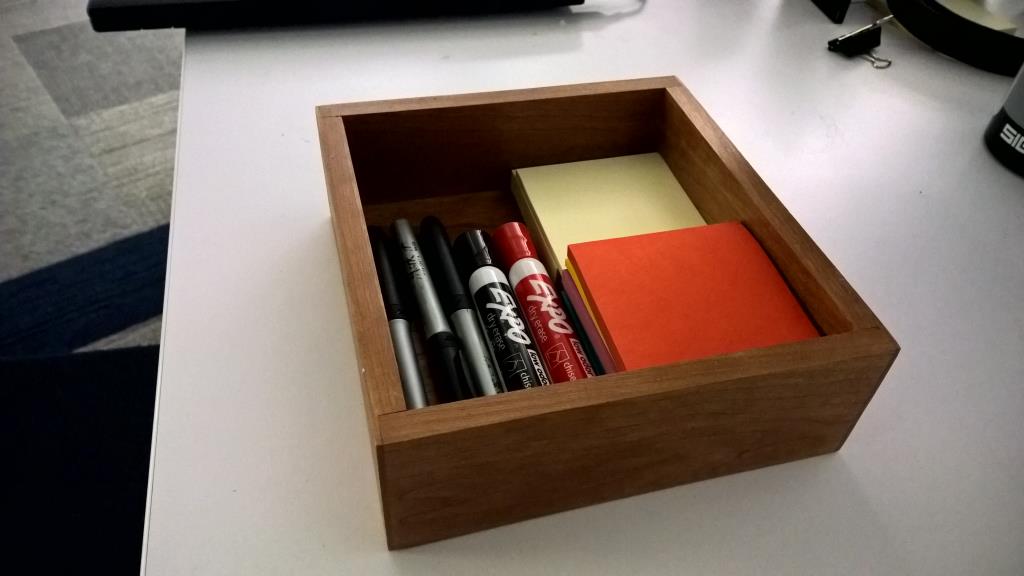
Now, what should you build? The best projects are ones that fill a need. Maybe you want something to organize clutter on your desk, a toy for your kid, or a place to hang your coats. If you want some more guidance, there are tons of great YouTube channels. I’ve covered many of them before, but specifically, check out Steve Ramsey’s list of videos for projects that require limited tools.
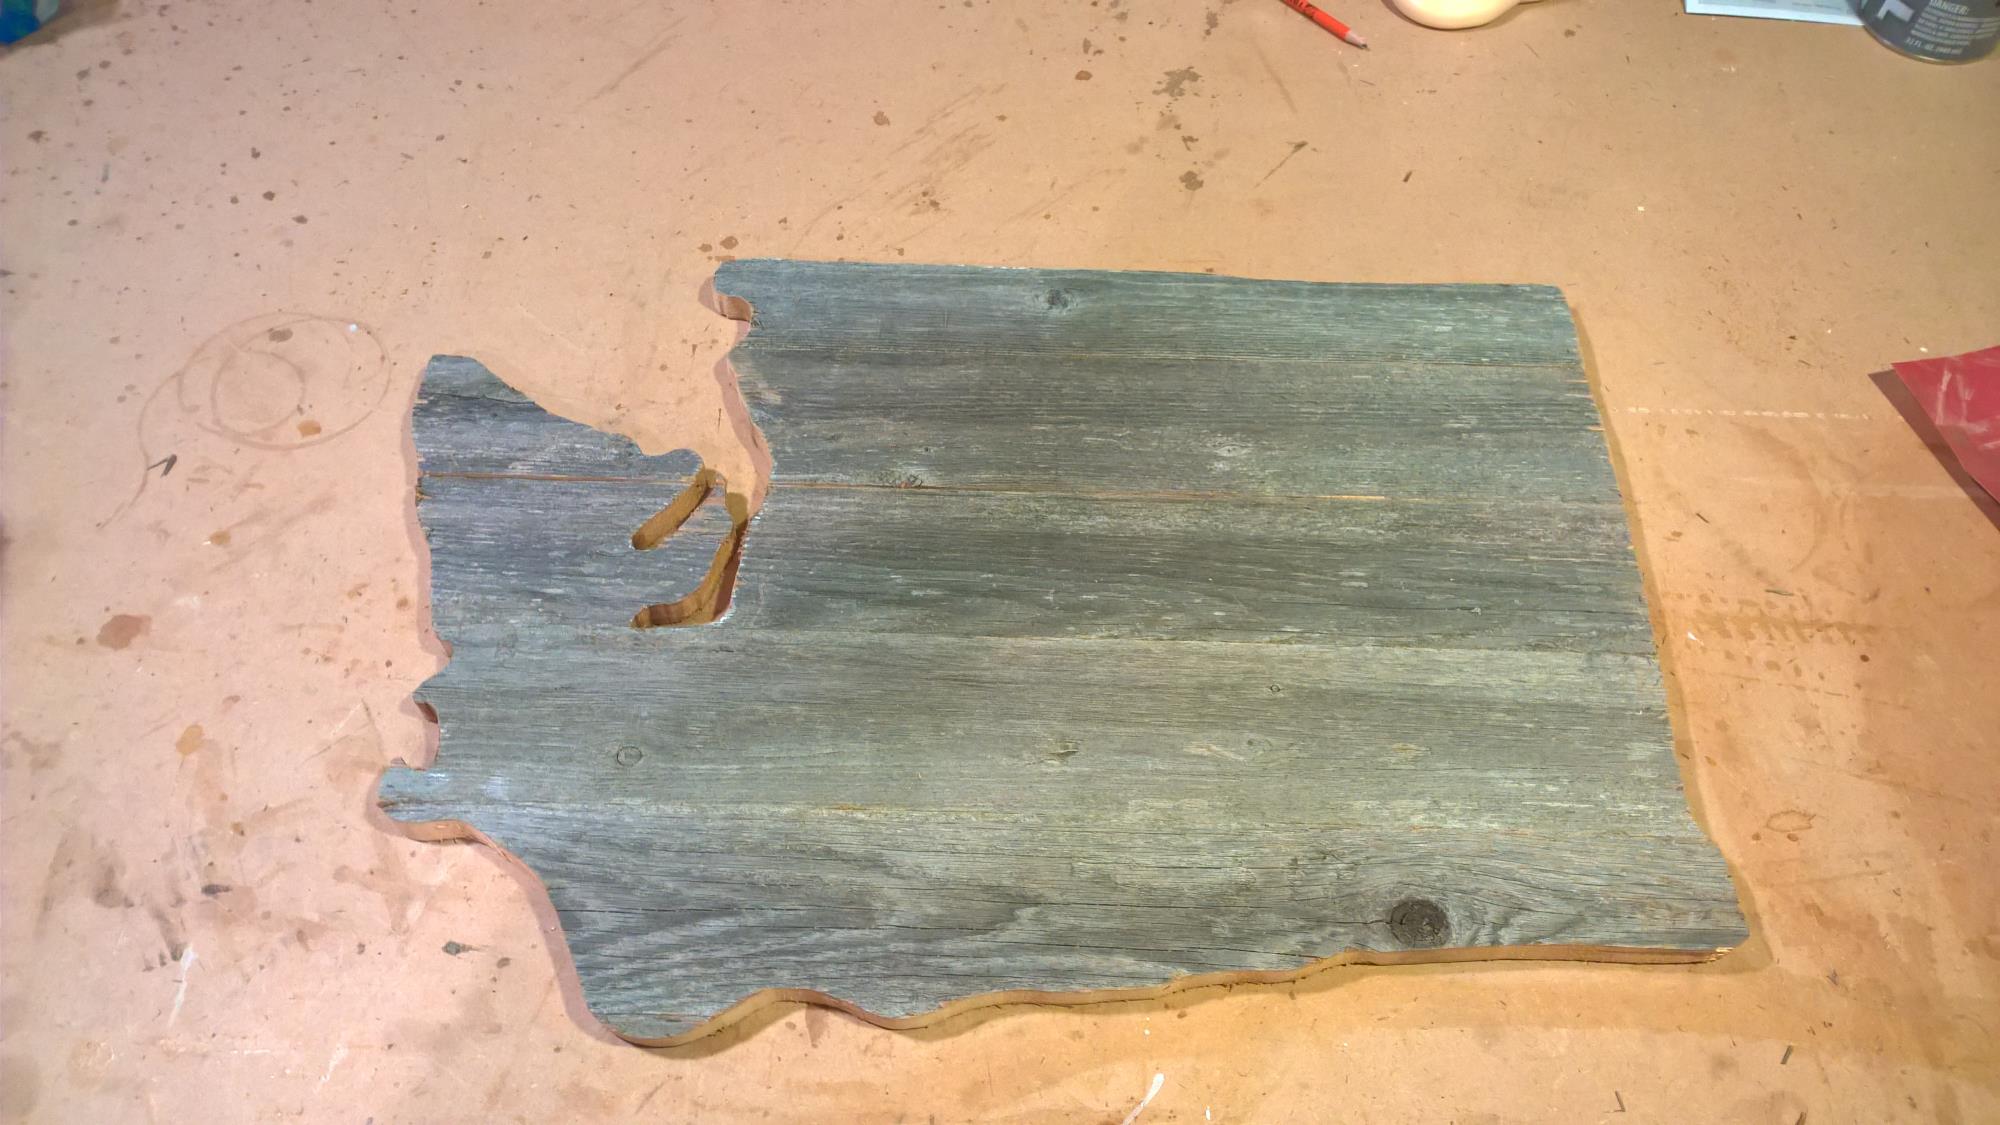
Making things with your hands is a wonderful experience whether you’re doing woodworking or some other kind of craft. Just try it out! The worst that will probably happen is that you waste some wood and you learn something.
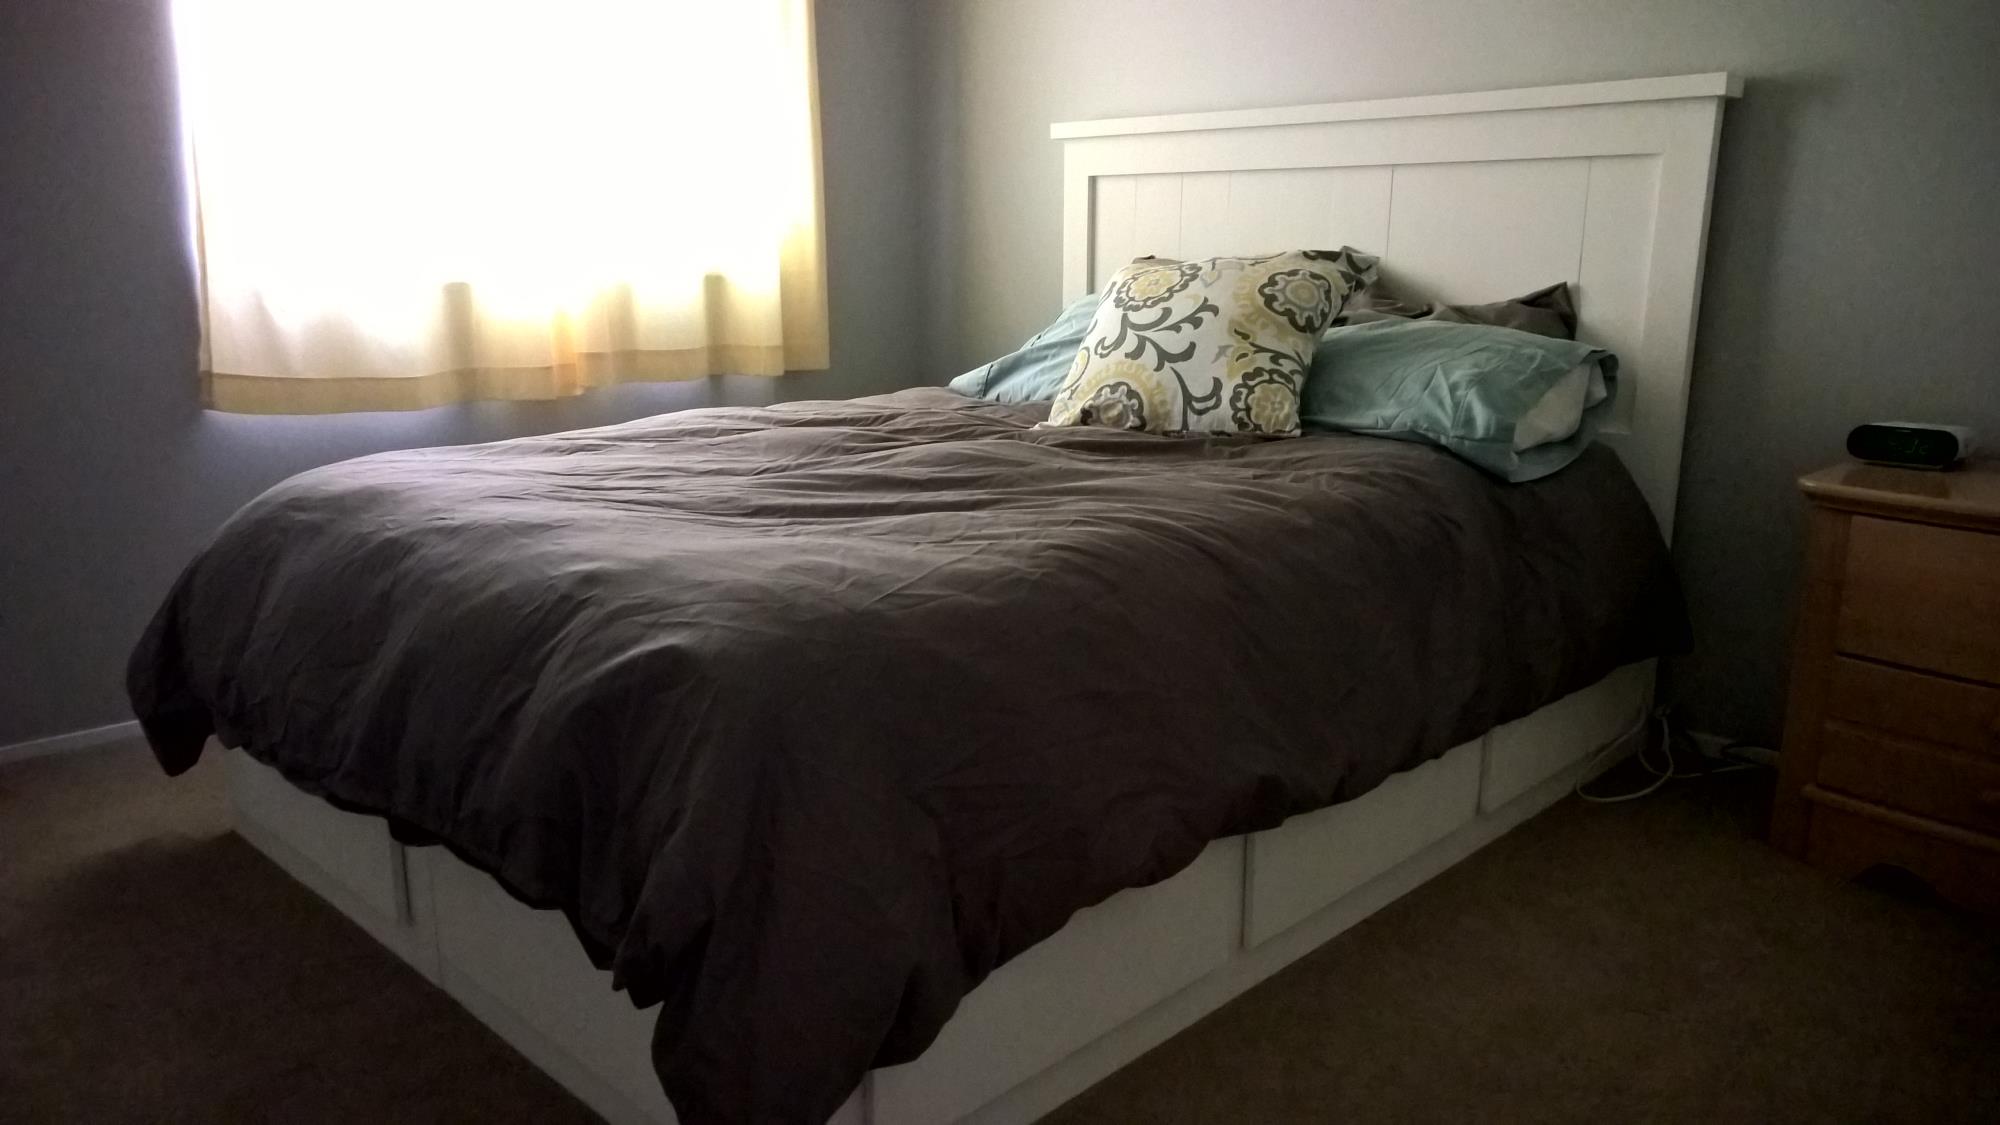
[UPDATE] Great timing! Steve recently posted a video showing how to build a bed with just a couple basic tools. No fancy workshop required!