
 There have been a lot of surprises and lessons learned from being a first-time parent. One of the biggest that I keep coming back to is how impossible it is to apply the scientific method to parenting. The scientific method basically says that you ask a question, do some research, construct a hypothesis, test it with experiments, analyze your data and then draw conclusions. Surely solving a parenting challenge could be approached the same way?
In theory, yes, it would work, but when you’re only dealing with even just one kid, the problems come at you so fast that it’s impossible to isolate one problem at a time and experiment with solutions. Your child isn’t sleeping well? Try making the room warmer or colder, putting him to bed sooner or later, feeding him more or less during the day or at night, sleeping with white noise or without noise, and the list goes on and on. The first night you pick one experiment and try it. Ok that didn’t work. But before you can try the next experiment on your list, you have a new set of problems like your kid missed a nap or your kid is teething, etc. The experiments start compounding until it feels like you’re just struggling to keep up, much less making any progress on the problems. And even if something you try does work one day, it doesn’t mean it will ever work again. Or just because it didn’t work today, it doesn’t mean it won’t work tomorrow. Instead of driving the boat, it’s easy to feel like you’re getting dragged behind it.
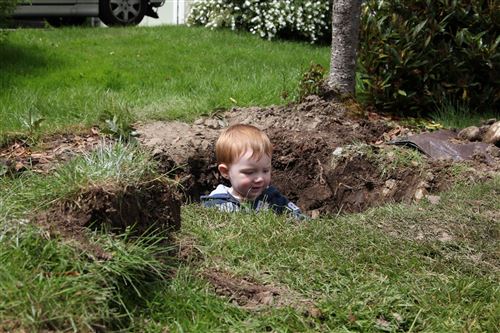
So far the only “solution” I’ve found is to just go with the flow as much as you can. Pick your battles and let the rest slide. Ignore the mountains of “advice” that come from every book, website, and Facebook post and do what you need to do to survive and raise a healthy, well-behaved child. If you succeed then you did it right.
 A while back somebody commented that the emailed receipts from various physical stores feels like a privacy concern because they know your email. Umm… let’s take a step back and think about all the ways that you are being tracked today:
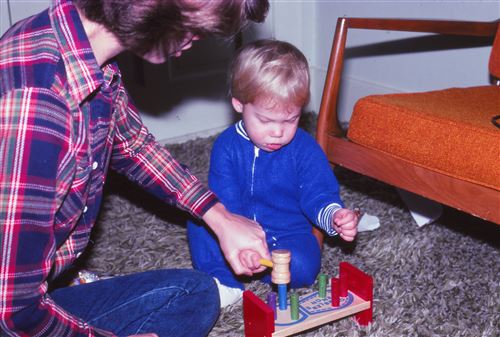
 Now that my job at work is 100% focused on running a product in the cloud, I’ve been spending some time at home playing around with Azure (Microsoft’s cloud offering) and wow is it impressive! I remember looking at it a couple years ago and just seeing a garbled mess that was impossible to decipher, but now it’s gotten ridiculously easy.
 I’ve been reading some fantastic books lately, but I realized that I haven’t written a lot about them. The three best ones in the last year or so are:
 I love the idea of solar, but I don’t live in a great part of the country for it. We are one of the sunniest places in the US for 3-4 months of the year and then we switch to one of the most overcast places. A couple years ago, a guy at work did a big solar installation on his house. His monitoring website doesn’t have a password on it, so I check in every once in a while to check out how much money he is saving. Over the two years since he installed it, he has generated 7.51MWh while using 21.9MWh. So he has knocked about a third off his electricity bill saving him roughly $750. I bet he has a LONG way to go to recoup his investment.
Happy Labor Day