
 In roughly two months, I’ll have a son! Time is flying and crawling at the same time. We’ve been making lots of decisions along the way, and one of them is about his baptism.
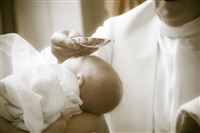
General tradition is to have the baptism in church fairly soon after the birth, but other than saying that there’s no age too young, there’s nothing in the Bible about specifically how quickly it needs to happen. The Bible says that everyone is sinful from conception, we’re only saved through faith in Christ who died to rescue us from the judgment for our sin, and that this faith is created and maintained through the Gospel that God brings to us in baptism and the Lord’s Supper. That’s what we know. What we don’t know is what happens to an unbaptized person, specifically children. It’s a tough question filled with lots of emotions, but since the Bible is silent on that topic, we shouldn’t try to fill in an answer. Tyla and I don’t want to put ourselves in a situation where we’d have to wonder if something were to happen, so we’ve chosen to do the baptism right in the hospital when he is born. Pastor said he’s happy to be on call and drive over when we’re ready for him, but if he’s not available and the situation is urgent then we’ll do it ourselves. Baptism is about the act that God is performing in the heart of the recipient, not about the person doing the baptism.
We know that many of you are interested in being involved and some are even flying across the country to be here, so we’re planning an affirmation in church later in the month. There won’t be any specific religious significance to the affirmation, but we will do it to let the congregation know that our son was indeed baptized and share the celebration of another soul being added to God’s kingdom. We’re shooting for Sunday, June 23 which should be a week or two after our son is born, but obviously we’ll adjust if there are unexpected circumstances.
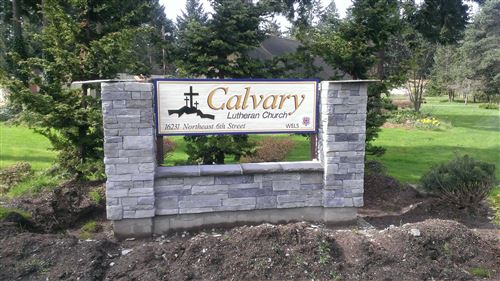
P.S. I know that the readers of this blog have lots of different opinions about baptism and about religion in general, but if you want to know more about our baptism beliefs, our church’s site has a good overview. And of course I’m happy to talk about it too.
 When I bought the condo, I wanted to change the locks so I called a locksmith and paid him something like $100 to change a couple locks. Since then I’ve learned that this is a super easy project to do on your own.
 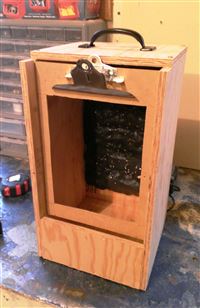 Mom and Dad got me a great
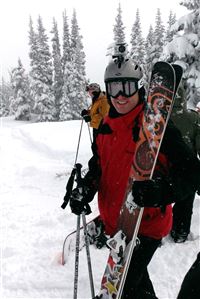 As we came back from our vacation last Wednesday, I checked the forecast and saw that it was dumping in the mountains. I immediately emailed work, told them I was going to extend my vacation by one more day and recruited a friend from work to come with me. (Safety first, ski and ride with a buddy on deep days!)
 Even though Facebook has a billion users, there are still new people joining and at least one of the people who joined recently is reading this blog post. So I thought it would be good to do a blog post about my thoughts on privacy and Facebook.
Three Years