
Fort Peck, Montana. It’s not the first thing that comes to mind when you think about a summer vacation, but nonetheless, that’s where we were last weekend. Tyla’s family on her Dad’s side had planned a big family reunion. It was probably the biggest family gathering since her grandpa died in 1999.
Getting to Fort Peck is not small feat of traveling. Your options are:
- Fly to Great Falls, MT and then drive ~5 hours to Fort Peck or fly into Glasgow, MT and drive 30 minutes to Fort Peck. Both are not cheap options and then you have to rent a car.
- The Empire Builder line from Amtrak happens to go from our area to Glasgow. That takes 16-24 hours but it’s not cheap either and oh yeah, you have to rent a car when you get there.
- Drive 915 miles.
After much debate, we decided to drive.
Don (Tyla’s Dad) made the trip a few times when his kids were younger. He would leave super early in the morning, drive until the car got wild, and then stop at a hotel with the pool to let the kids burn off energy. Then day 2 would just be whatever was left of the ~15 hour drive.
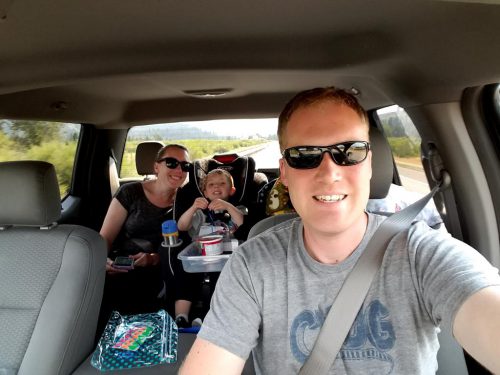
We planned to follow his advice so at 4:15 am on Thursday, the car was totally packed and I had just put my sleepy 4 year old son in the back seat. I hit the button to start the car and… nothing. Huh?! Thinking it was a dead battery, I put the car in neutral and pushed it out to the driveway so it would be easy to jump start it with the truck. After some finagling, I realized it wasn’t just a dead battery. It was some crazy electrical gremlin. Stuff was flickering on and off, the car wasn’t always recognizing our keyless key fob thingy, and if I did succeed in getting the car ignition turned on (just the fan, AC, lights, etc), I couldn’t get it turned off. At 4:15 in the morning, it was totally confusing.
After about 5 or 10 minutes I decided to give up and take the truck. But wait, the car is sitting in the driveway with the windows rolled down. I can’t leave it there. But at this point, I couldn’t even get it turned on enough to put it back into neutral! I searched around on the internet trying to find the override switch to put it into neutral, but failed. After much prayer and random guesses, I finally got it back into neutral. But… I wasn’t strong enough to push it up the hill into the garage! With Tyla’s help we were just barely able to get it back into the garage.
We transferred everything over to the truck (pulling stuff out through the back seat because we couldn’t get the electronic rear hatch open) and left the house 1.5 hours later than planned. What a start to a very long trip! I tried to stay calm though and just realize that there was some reason that God didn’t want us to take that car or wanted us to leave later or something. I didn’t know why He wanted it this way, but I knew that somehow it was for the best.
Elijah was obviously fully awake at this point, but he ended up getting some sleep around lunchtime. He was an incredible traveler! It exceeded our wildest expectations. Our only stops were for gas and super quick bathroom breaks. We made it out there and back in pretty much the same amount of travel time as Don, Logan and Megan who were in the other vehicle. I never would have guessed that going into this.
The truck ended up being nice to have on the trip. We had a lot more room inside and it was very easy to pack stuff in the back. I also appreciated the extra horsepower. Interstate speed limits in Montana top out at 80 and the two lane highways are 70. It was awesome being able to punch the accelerator at 70mph and easily jump up to 90 or so to pass someone on those two lane roads. I’m not sure the 1.4L EcoBoost Escape would have handled that as well. We got 19.3 mpg on the trip out and 18.7 on the way back. I’m assuming that we had a tail wind on the way out and a head wind on the way back. It’s a little lower than the published highway ratings due largely to the high speed limits and speed up/slow down style of 2 lane roads. We averaged over 65 mph including stops! I normally plan for a 50mph average when I’m traveling long distances with other people.
We made it to Great Falls, MT on the first night and stayed in a hotel with a nice pool and waterslide. It took about 10 hours to get to that point and then we only had 5 hours of driving left the next day.
Don’s twin brother (Dean) and his wife were very kind to let us stay in their beautiful home overlooking the Fort Peck Dam. We thoroughly enjoyed our time with them. Elijah’s favorite part was Dean’s ATV. There were a few miles of dirt roads behind his house and we took the ATV out every day for a ride. Tyla took some rides with me too.
The family reunion was on Saturday and we had over 80 people at the park. The total population of Fort Peck is 233 (as of 2010) so we made a noticeable bump on the population chart that day! Nearly all of the relatives were there. I was lost in a sea of names but found some great people to chart with. Tyla was positively giddy with all the people she got to reconnect with. And Elijah was in heaven with all the kids that were running around. He especially latched onto Dean’s granddaughters who were 8 and 10.
Aside from the family stuff, we also got to do a little exploring. On Saturday, Don took us out to show us the two farms that his family had owned and worked. We spent over an hour driving around dirt roads to check them out. Don’t tell Don you grew up in the middle of nowhere because he’ll just laugh at you. You’ve got nothing on him!
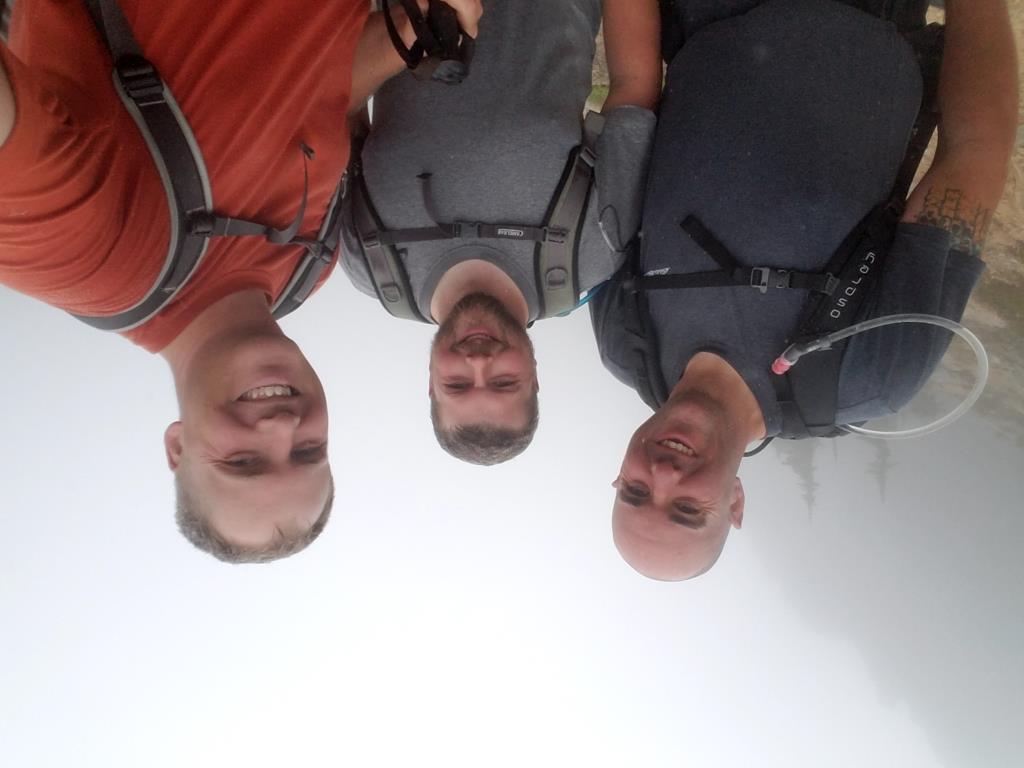
On Sunday he and Dean showed us the spillway for the dam and led us on a 4WD adventure up to the top of “TV Tower Hill”. It’s the highest hill in the area so it has a great view (and lots of communications antennas.)
The drive back started at sunrise on Monday morning. We made it back to Post Falls, ID the first night and then drove the 5 hours home on Tuesday. Our stop there was at the Red Lion hotel. They win the award for best free hotel breakfast ever! The buffet was delicious and we had an incredible view overlooking the Spokane River. At both hotel stops on the way out and the way back, we were able to have dinner with Logan, Megan and Don who stopped in the same town.
So we drove 1830 miles (plus the miles driving around while we were there) in 6 days with 2 days of visiting in the middle. It was a LOT but man that drive is so beautiful. I like the Seattle area but I would LOVE to live further away from the hustle and bustle. Those endless miles with no other cars around were very addicting.
A huge thank you goes out to Dean and Aileen for opening up their house to us and another one goes to Tyla for all the prep work she did to entertain Elijah on the trip. He was definitely done by the last day of travel, but all in all, he gets an A+. Our success now has me thinking about a family road trip to visit some of the national parks down in Utah…
P.S. This post is already crazy long so I’ll save the pictures for another day. It will take me a while to sort through them and edit them.


F150 Paint Fix
Very early in the life of my F150, I noticed a pretty bad scratch on the hood. I don’t know if I put it there or if it came that way, but I just did my best to ignore it.
After 10,000 miles, I finally realized I should just ask the Internet so I posted this picture on Instagram and Facebook asking for help.
Sixteen minutes later, MattM replied and suggested that I use Meguiar’s M2 Mirror Glaze Fine-Cut Cleaner. I had a couple other things in my cart and got free same-day shipping.
I’ve never used anything like this, but I grabbed a clean towel and went for it. I started with a small drop at first, saw quick results and did a few more small applications. Voila! It was GONE! Not just gone like I couldn’t really notice anymore if I didn’t look closely, but totally gone. It worked so easily and so well that I tackled another scratch towards the back of the truck. Thanks for the tip Matt!