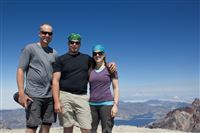
 Mt. St. Helens is an amazing National Park. The volcano blew in 1980 and experts thought it would be a complete dead zone for 400 years. Within 3 years, life started reappearing in the desolation. Science has rarely had an opportunity to study a spot like this up close. So it’s understandable that they don’t allow very many people on the mountain! Nobody can go inside the crater or along the north side of it where most of the devastation was. You are allowed to climb up the south side, but you need a permit and during most of the year (except the dead of winter) only 100 people are allowed to climb per day.
Last year, AndyD and StehanieW climbed it with their family, but since you have to pick your climbing day months in advance, they got unlucky and climbed in complete fog. They wanted to do it again to see the sights so on Feb 1, Andy snagged some climbing passes.
The climbing group was to include myself, Tim, Chelsea, Andy and Stephanie. Tyla really wanted to come along, but her knees don’t do well on long hikes so she reluctantly abstained. A couple days before we were to head out, Andy and Stephanie had to back out for personal reasons. Tim, Chelsea and I decided to carry on so on Saturday afternoon we headed around to the south side of the mountain. The plan was to stay in a campground the night before so that we could get an early start. Our campground was in Cougar, WA which is about 20 minutes from the trailhead. There are also free campsites (if you have the climbing pass) right at the trailhead but those are first come first serve.
We arrived at the trailhead on Sunday morning around 7:30am and by 8am we were on the trail. This trailhead is called Climber’s Bivouac. At 3900 feet, it’s the highest point that you can drive on Mt. St. Helens. If you’ve driven to the mountain before, you most likely drove to the Johnston Ridge Visitor’s Center that is north of the mountain. There’s also one other smaller Visitor’s Center on the east side. Neither are as high as this trailhead.
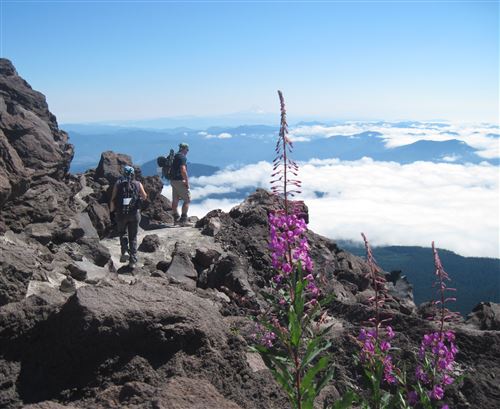
The route begins with a 2 mile stroll through the woods. It goes up about 1000 feet. This part flew by on the way up as we were fresh and the trail was simple. At 2 miles, you abruptly come to the end of the tree line and reach a sign saying that you must have one of the climbing passes to carry on past that location. No one is allowed above 4900’ on the mountain without a pass. We had broken out of the clouds a during the hike through the woods and as we continued, we were in blue clear sky with a blanket of clouds below. We could see Mt. Adams and Mt. Hood sticking proudly out of the cloud layer. Quite a sight!
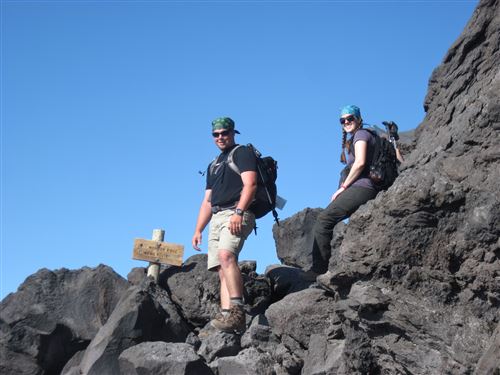
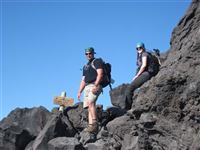
At this point, the trail completely changes character and head up an old lava flow (from an eruption before the 1980 eruption.) This stretch lasts about 1.5 miles and it’s tough. The rocks will rip up your hands so gloves are recommended. There are many points where you have to climb up on all fours. Climbing over these huge boulders is tough to begin with, but to make it even worse, there’s no specific path to follow. There are route markers every couple hundred yards and you just have to make your way to the next one. Sometimes you can see a good route to take and sometimes we seemed to end up taking the hardest possible route.
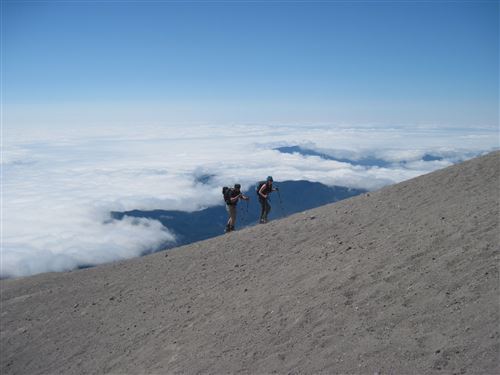
The lava flow boulders end eventually and now it’s on to the ash! The last mile is a slog up an ash field. For every step up, you slide have a step back. And by this point, you’re really getting up there so the oxygen is a lot thinner than you are used to. This is the point where the wind can also be whipping the ash around so general advice is to make sure you can cover every part of your skin (long sleeves, long pants, and a bandana for your face.) Thankfully the wind was calm so we stuck with gaiters to keep ash out of our shoes and our hiking poles to give us extra stability.
We made it to the top of the mountain (8366 feet above sea level) in 4 hours and 40 minutes. We did get passed by about a dozen people, but looking through other trip reports, this is a respectable amount of time. We said from the beginning that our goal was the top, not the amount of time it took so we took plenty of breaks for photos and rests.
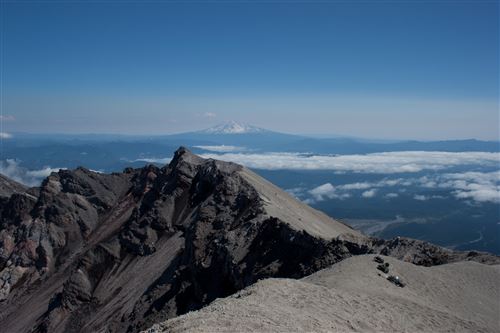
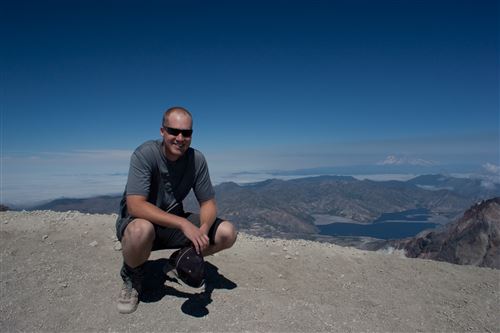
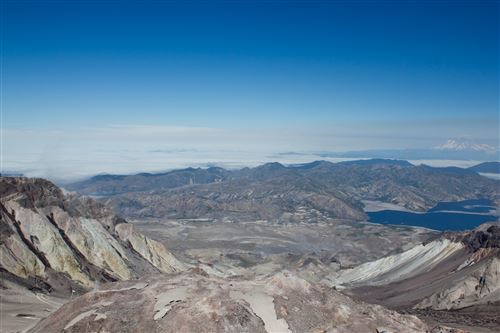
You can walk all the way up to the crater rim and wow, what a view! It’s so unlike anything I’ve ever seen before (and I’ve been to the visitor’s center many times.) The sheer magnitude of it is readily apparent. We stayed up there for about 30 minutes taking in the views of Rainier, Adams and Hood in the distance and watching steam escape from vents in the lava dome in the center of the crater. I hastily snapped a bunch of photos for a panorama. There are a few problems from where it was stitched together and I should have taken more photos, but I had to stand uncomfortably close to the rim and the wind was blowing pretty hard trying to push me in.
As we began our descent, the ash field was pretty simple. You could keep a good pace with a controlled slide on the heels of your feet, and before no time, we were back at the lava fields. Ugh. Going down was harder than going up. We were only about half way through when I could tell my legs were shot. Your calves take a beating going up and the thighs take the brunt going down.
After what seemed like ages, we made it to the tree line. The smooth trail was glorious, but even the gentle downhill slope was super painful on the thighs and knees. Tim and Chelsea definitely set the pace for this part of the hike as I lagged behind. At one point near the end, I had stopped to get something out of my pack and thought I was standing next to a pile of poo. I realized it was my own B.O. The trees seemed to last twice as long as they did on the way up, but we made it to the parking lot, thoroughly beaten and completely covered in ash and sweat.
One big decision on a hike like this is how much water to take. If you’ve ever run out before (as Tim and I have), you want to err on the side of bringing too much. But every liter weighs 2.25 pounds and you don’t want to be carrying any more weight than necessary. I took a 3 liter Camelbak full of water and a 2 liter one full of Gatorade. The Gatorade ran out right at the crater rim and I finished the hike with 1/4 liter left. Perfect!
It took us 3 hours and 20 minutes to get down which means we were hiking for 8 hours plus 30 minutes at the top. Even though we were so tired, the lure of our beds was strong. We went back to the campground, took showers, and packed up the campsite while we were cooking food on the fire. After eating a delicious meal (anything would have tasted good at that point!) we hopped in the truck and headed home.
It was a long day and I don’t know that any of us are jumping to do it again soon, but we’re all thrilled that we did it!
I owe a special thanks to my wonderful wife who was supportive of me going even though she was staying behind. Thank you Tyla! I love you!
Chelsea and I both carried our little cameras up which were easily accessible during the hike. TIm and I both carried our dSLRs to the top, but his was much easier to get to than mine. We took quite a few photos but it’s really hard to show the scale of the hike in these photos! Nonetheless, I’ve included some of my favorites in this post and put more in the photos gallery. You can also view a big panorama from the top of the mountain. Drag your mouse around and zoom in and out to get the full effect. Also notice the thumbnails on the right side of the panorama. If you click on them the page will reorient and zoom in to points that I’ve marked on the photo.
View the full panorama

 Back when I used to have time to go hiking, I was constantly amazed at how predictable my hiking speed was. This takes a little practice, but here are some rules of them. I didn’t invent them but everyone needs to tweak them a little bit to their own habits.
 We’re starting to get some beautiful summer weekends so I thought I would like out a few of my favorite day or weekend trips.
 When you hang out in the same groups and same areas for a long time, it’s easy to think that you’re getting to be a pretty good skier, hiker, etc. Skiing at Crystal always reminds me of this. You can ride up the Forest Queen list and hear people talking about how incredible they are (on blue and green beginner runs), but if you head out to the Northway lift, you’ll see people throwing backflips off cliffs and not bragging at all. Living in the Pacific Northwest, there’s always someone nearby who is infinitely better than you. We have some incredible outdoor athletes around here!
 Usually by now the weather is cool and rainy and it would stay that way through next spring. We’re still completely dry (dryest Aug-Sept on record and second dryest July-Sept!) so Tyla’s parents decided to take advantage of the bonus sunshine and go camping. They headed up to Bay View State Park for the weekend, and Tyla and I visited them for the day on Saturday.
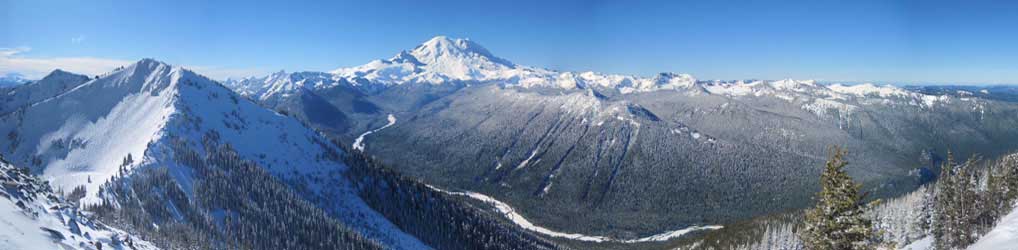
 My parents were out over Labor Day for their annual visit. I’ll have a couple posts about our activities from the weekend, and this first one is about our trip to Crystal Mountain. I don’t get down there in the summer very often since we usually drive past and head to Rainier.