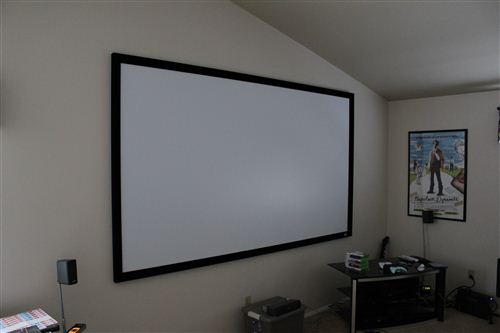
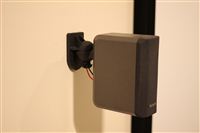
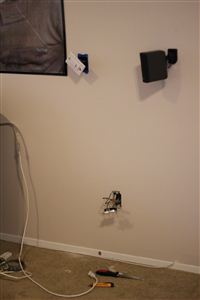
 The theater room previously had speaker stands for the four corner speakers and a box holding up the center channel. I decided to go with a wall mount since it would look a little nicer and free up some floor space. The only problem was getting the wires down the wall cleanly.
I ended up running them inside the walls. The rear speakers were fairly simple because there’s no insulation in that wall. I drilled a small hole at the top and a little bigger hole at the bottom. It took some work with the fish tape but I got those pretty easily. I was able to modify the speaker mounts from MonoPrice so that the wire appears to come directly out of the mount and right into the speaker, and I used the mounts upside down so they’d fit my speakers.
For the front speakers, I had to make a three sided cut at the bottom of the wall and fold the drywall back to reach in and grab the fish tape. That meant more spackling and texturing to patch the hole, but there was no other way to find the fish tape in the wall.
The speaker wire was a 100ft spool of wire from MonoPrice rated for in-wall use. I suppose I could have switched to something else once I got out of the wall, but I just stuck with it for the whole run.
I had initially intended to pull the baseboards off and hide the wire behind/under them, but there’s too much cable and too little space with my mini-half-height baseboards. Instead I picked up some Baseboard Cablemate strips from Home Depot. It should just look like I have thick baseboards when I’m done running the wires inside there.
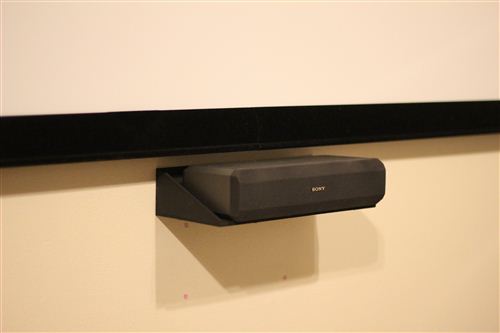
And finally, the last piece to the puzzle was mounting the center channel. It doesn’t have a place to screw in a speaker mount like the other speakers. I picked up some 6” shelf brackets from Home Depot, but I’m not happy with how they look. My new plan is to build a small box with an open front, mount that on the wall and then place the speaker inside it. The wires would run out through a hole in the back and in to the wall.
This project is coming together nicely! I have a pile of paint swatches on my desk. Picking the color will be the next step. Right now I’m leaning toward a dark gray but I’m not sure if I’ll throw in a blue tint.
PS. In case you haven’t noticed by now, I love MonoPrice. If you ever need any kind of cable, go there first. Why pay $40 for an HDMI cable from Best Buy when the same thing is $3 from MonoPrice?

 We like to eat dinner while we watch movies in the theater room. For some movies the light bouncing off the screen is enough to illuminate our food, but for darker movies, it can be a challenge to scoop up those tricky peas.
 Jay sent me a recipe and said it was so awesome that I had to make it. Since he rarely sends me recipes, I figured I’d give it a shot.
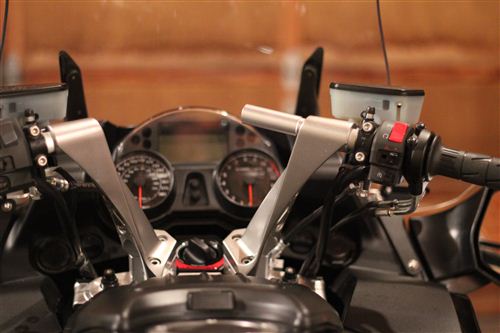
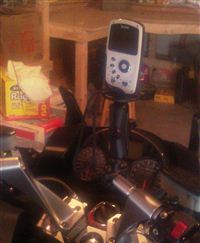 One of the gizmos that I added last week was a little extra handlebar space to mount gadgets. I decided to try hooking on a camera mount to see how it worked with our little video camera. I like the height of it because it can be above the windshield if I have the windshield down or completely below the windshield when I raise the windshield.
 We’ve had an interesting winter. It started off with a bang, dried out for quite a while, and now we’re getting alternating snow dumps and rain. I skipped the pass again this year and again I wonder if that was the right idea. My plan was to pick out the best days, take vacation, and go skiing, but that hasn’t happened yet.
 Every October, Microsoft has a big auction for charity. Employees can put things up for other employees to bid on. Four years ago, I won a day of semi-professional ski photography.